
Climbing Mt Fuji was one of the most memorable hiking experiences our family has taken on. We climbed the Yoshida Trail as a family of four, with our children aged 10 and 13, starting from the Fuji-Subaru Line 5th Station and spending a night at a mountain hut before making our way to the summit. From the first steps at the 5th Station to the long climb through the numbered stations, an overnight stay on the mountain and finally standing at the summit, this was far more than simply ticking Mt Fuji off our travel list.
Explore our itineraries hassle-free with these recommended services!
eSIM
Car Rental
In this post, we share our Mt Fuji summit experience and two-day itinerary exactly as it unfolded, including our climb to Original 8th Station, our sunrise experience, the final push to the summit and our descent back to the 5th Station. If you're planning to climb Mt Fuji yourself, this first-hand account will give you a realistic feel for what the journey can be like.
Planning your own Mt Fuji climb?
Before following our itinerary, read our Mt Fuji Climb Planning Guide below for information on climbing season, routes, difficulty, training, packing, mountain huts, fees, weather and other preparation essentials.
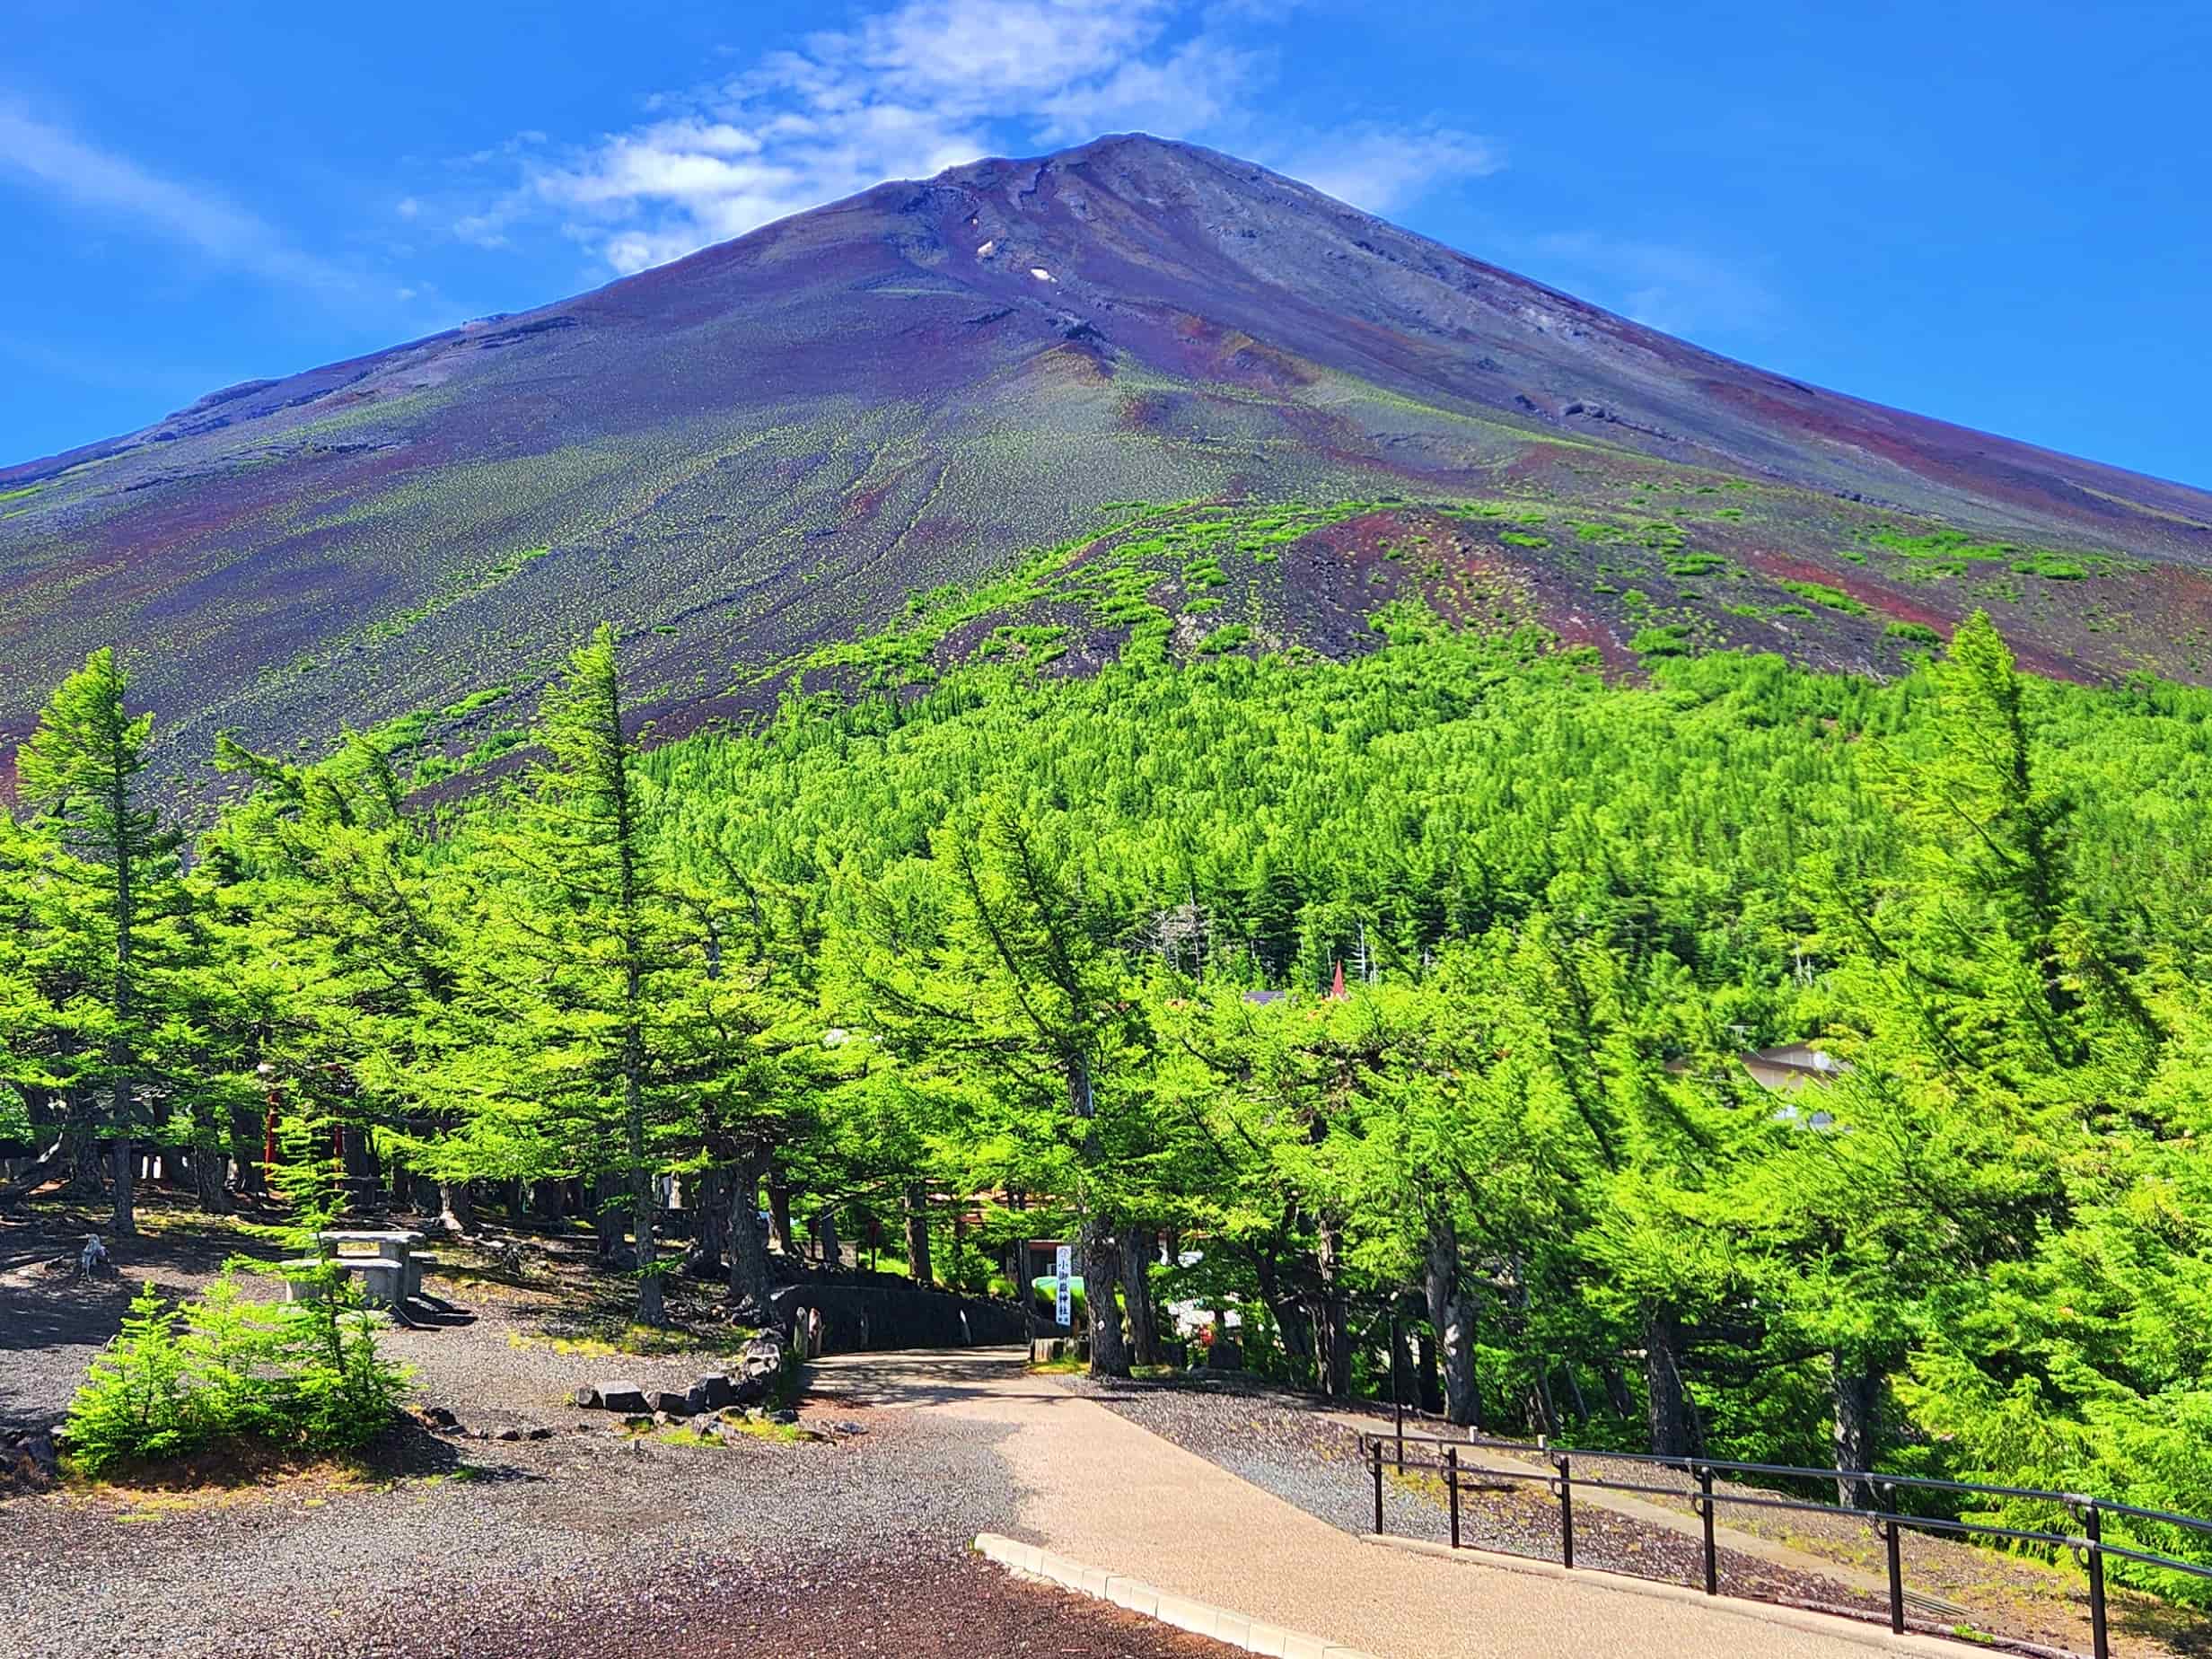
Our Mt Fuji Itinerary at a Glance
We summited Mt Fuji via the Yoshida Trail, so the rest of this itinerary focuses on our experience along this route. If you are planning to summit via the Subashiri, Gotemba or Fujinomiya Trails, the routes, terrain, access and overall experience can differ. For an overview on these alternative routes, refer to our Mt Fuji Climb Planning Guide.
Here is our actual itinerary before we take you through each part of the climb in detail:
| Day | Time | What We Did |
|---|---|---|
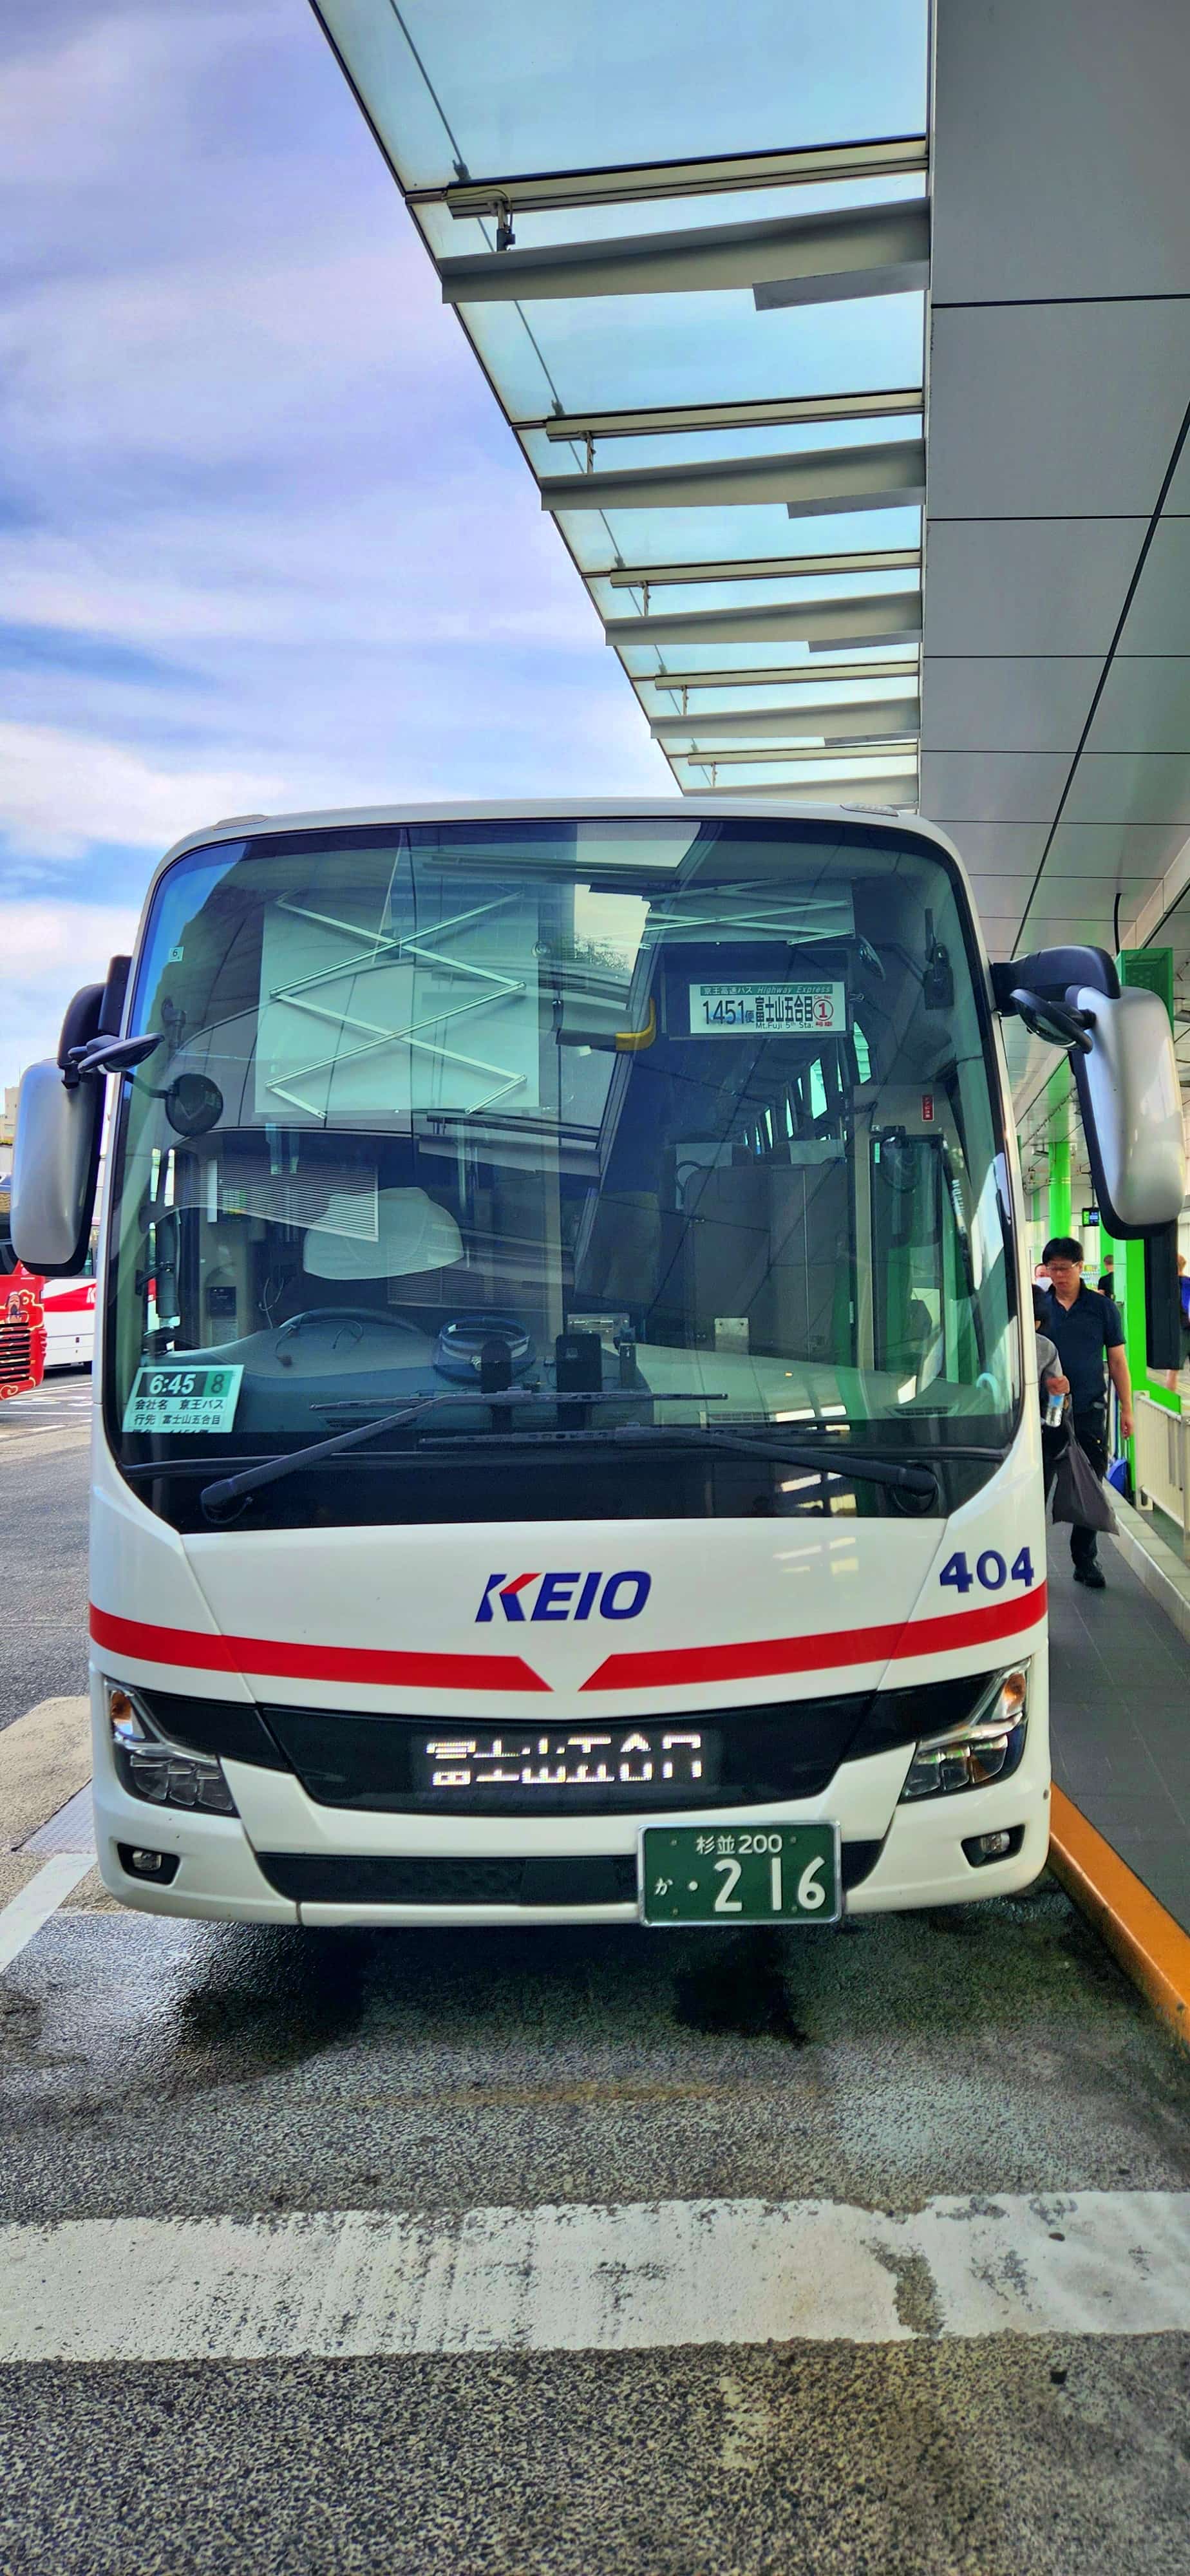
| Day 1 | 6:45am | Departed Shinjuku Expressway Bus Terminal (Busta Shinjuku) on the Highway Bus to Fuji-Subaru Line 5th Station |
| Day 1 | 9:00am | Arrived at Fuji-Subaru Line 5th Station |
| Day 1 | 9:00–10:30am | Acclimatised and completed last-minute shopping |
| Day 1 | 10:30am | Completed entry process, gear check and started climbing |
| Day 1 | 6:50pm | Reached our mountain hut at Original 8th Station |
| Day 2 | Until sunrise | Stayed at the hut until after sunrise rather than making our planned pre-dawn summit push |
| Day 2 | 5:30am | Started climbing from Original 8th Station |
| Day 2 | 8:20am | Reached the summit |
| Day 2 | 8:20–9:30am | Spent approximately 1 hour at the summit |
| Day 2 | 9:30am | Started descending |
| Day 2 | 4:00pm | Arrived at Fuji-Subaru Line 5th Station |
| Day 2 | 5:45pm | Departed Fuji-Subaru Line 5th Station to Kawaguchiko Station |
| Day 2 | 6:45pm | Arrived at Kawaguchiko Station |
| Day 2 | 7:10pm | Departed Kawaguchiko Station on the Highway Bus to Shinjuku Expressway Bus Terminal (Busta Shinjuku) |
| Day 2 | 9:00pm | Arrived at Shinjuku Expressway Bus Terminal (Busta Shinjuku) |
Day 1 – Starting the Climb
From Shinjuku to Fuji-Subaru Line 5th Station
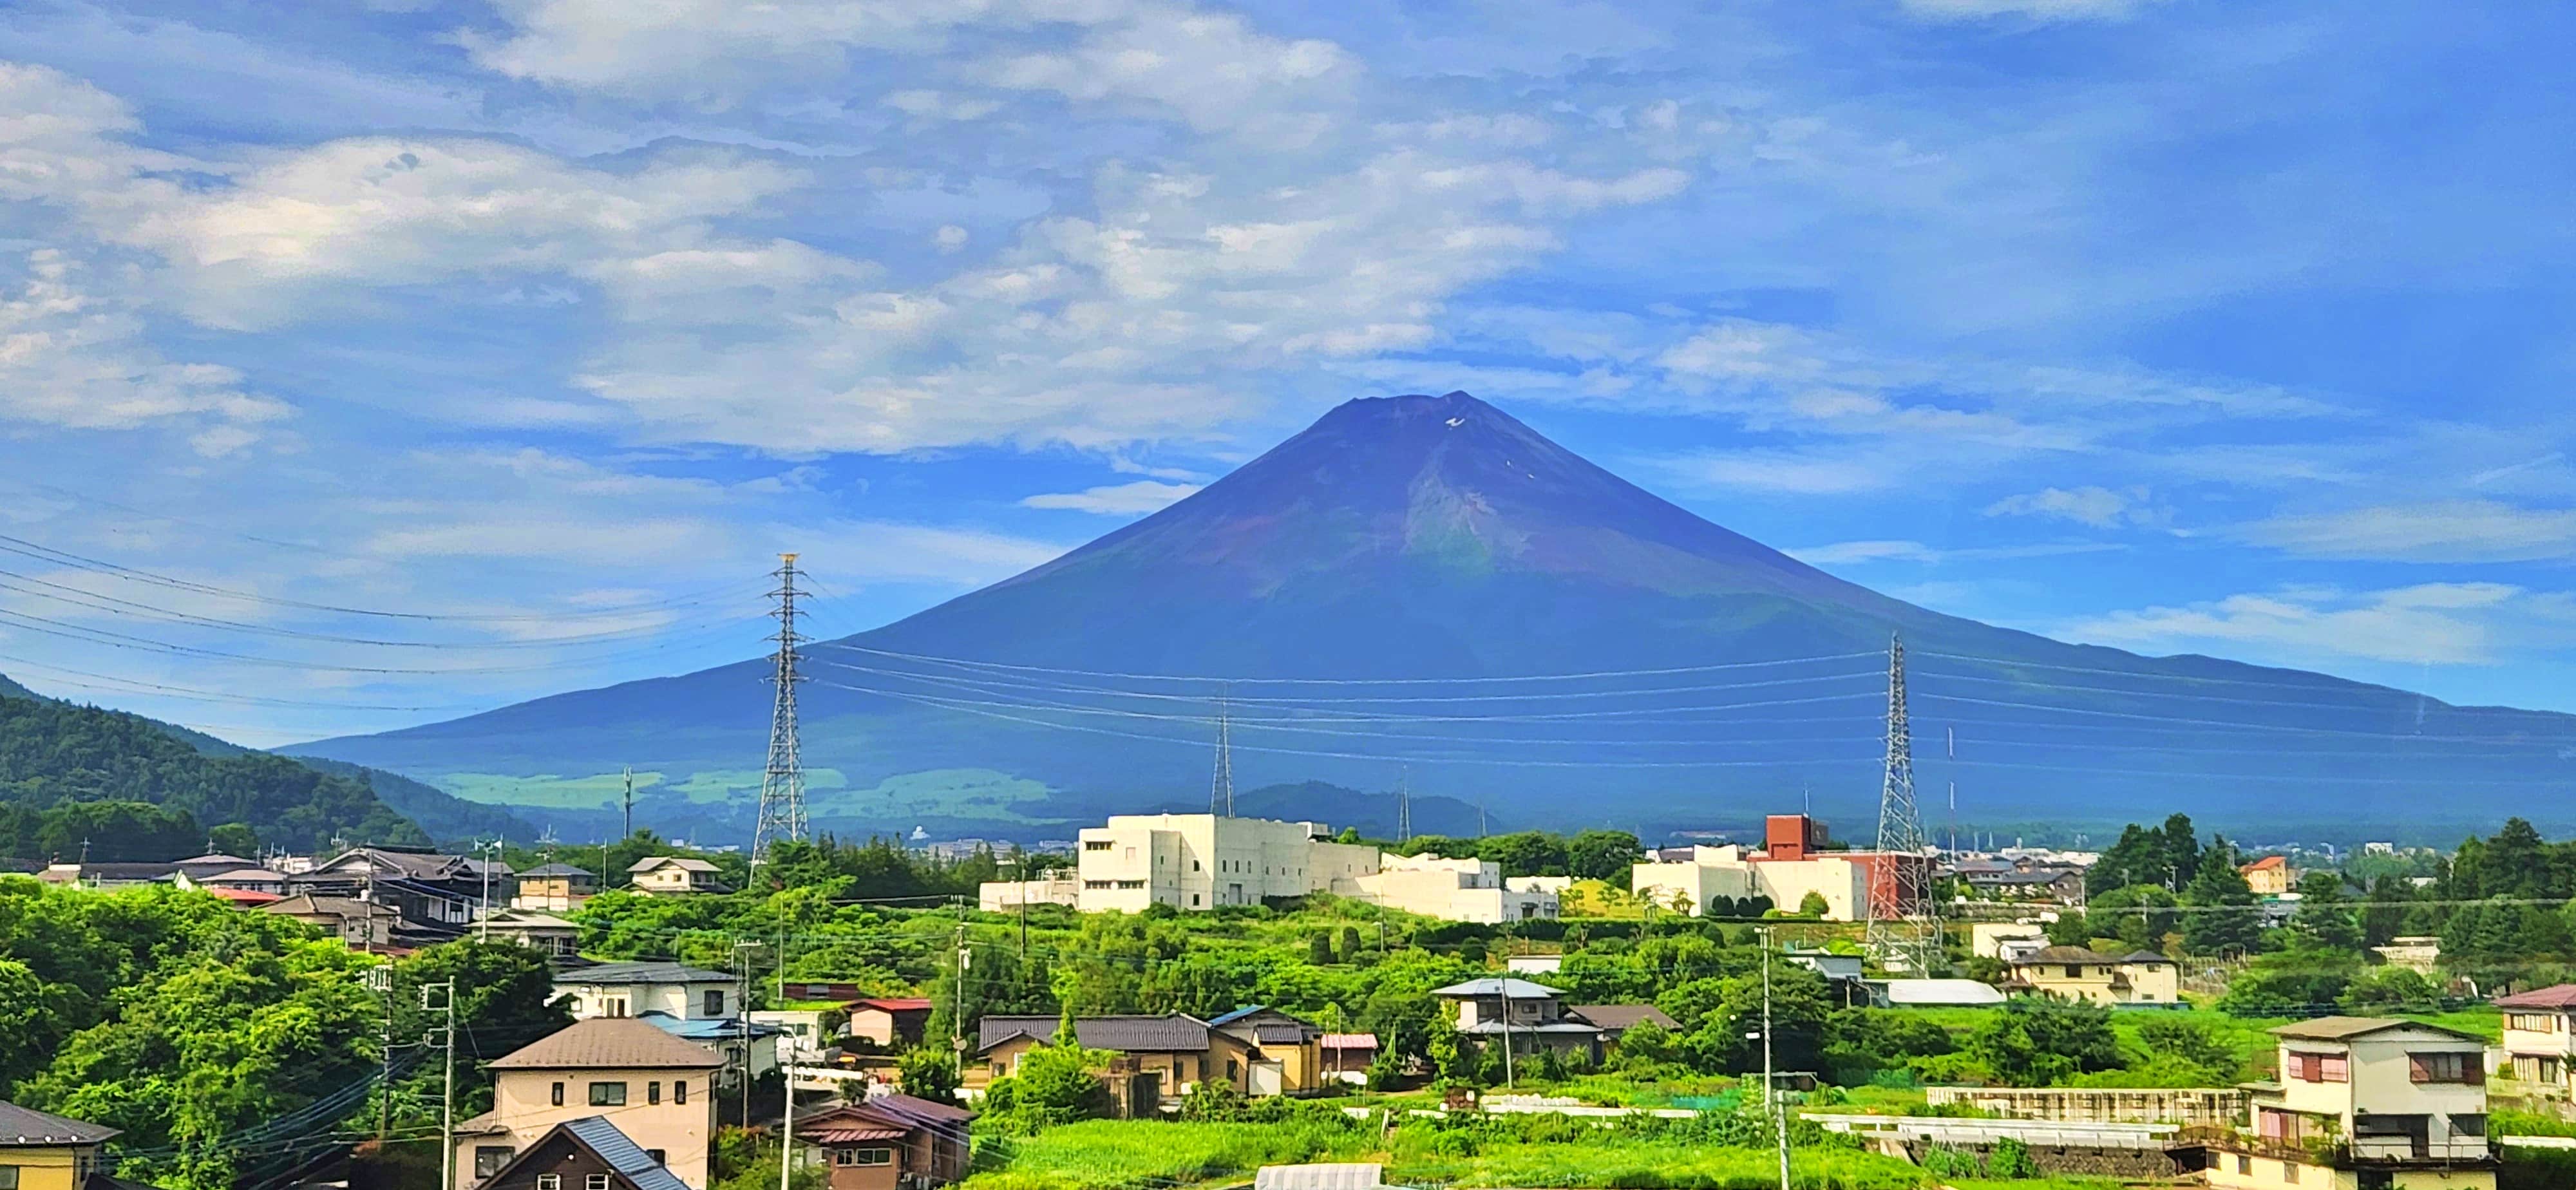
Our Mt Fuji summit trek began well before we reached the mountain itself. We started our journey from Shinjuku Bus Terminal (Busta Shinjuku), making our way towards the Fuji-Subaru Line 5th Station, the starting point for our climb via the Yoshida Trail. The journey to the 5th Station was an important part of the day rather than simply a transfer to the trailhead. As we travelled away from Tokyo, the scenery gradually changed from the busy city environment to the quieter landscapes around Mt Fuji. We eventually arrived at the Fuji-Subaru Line 5th Station at around 9:00 am.
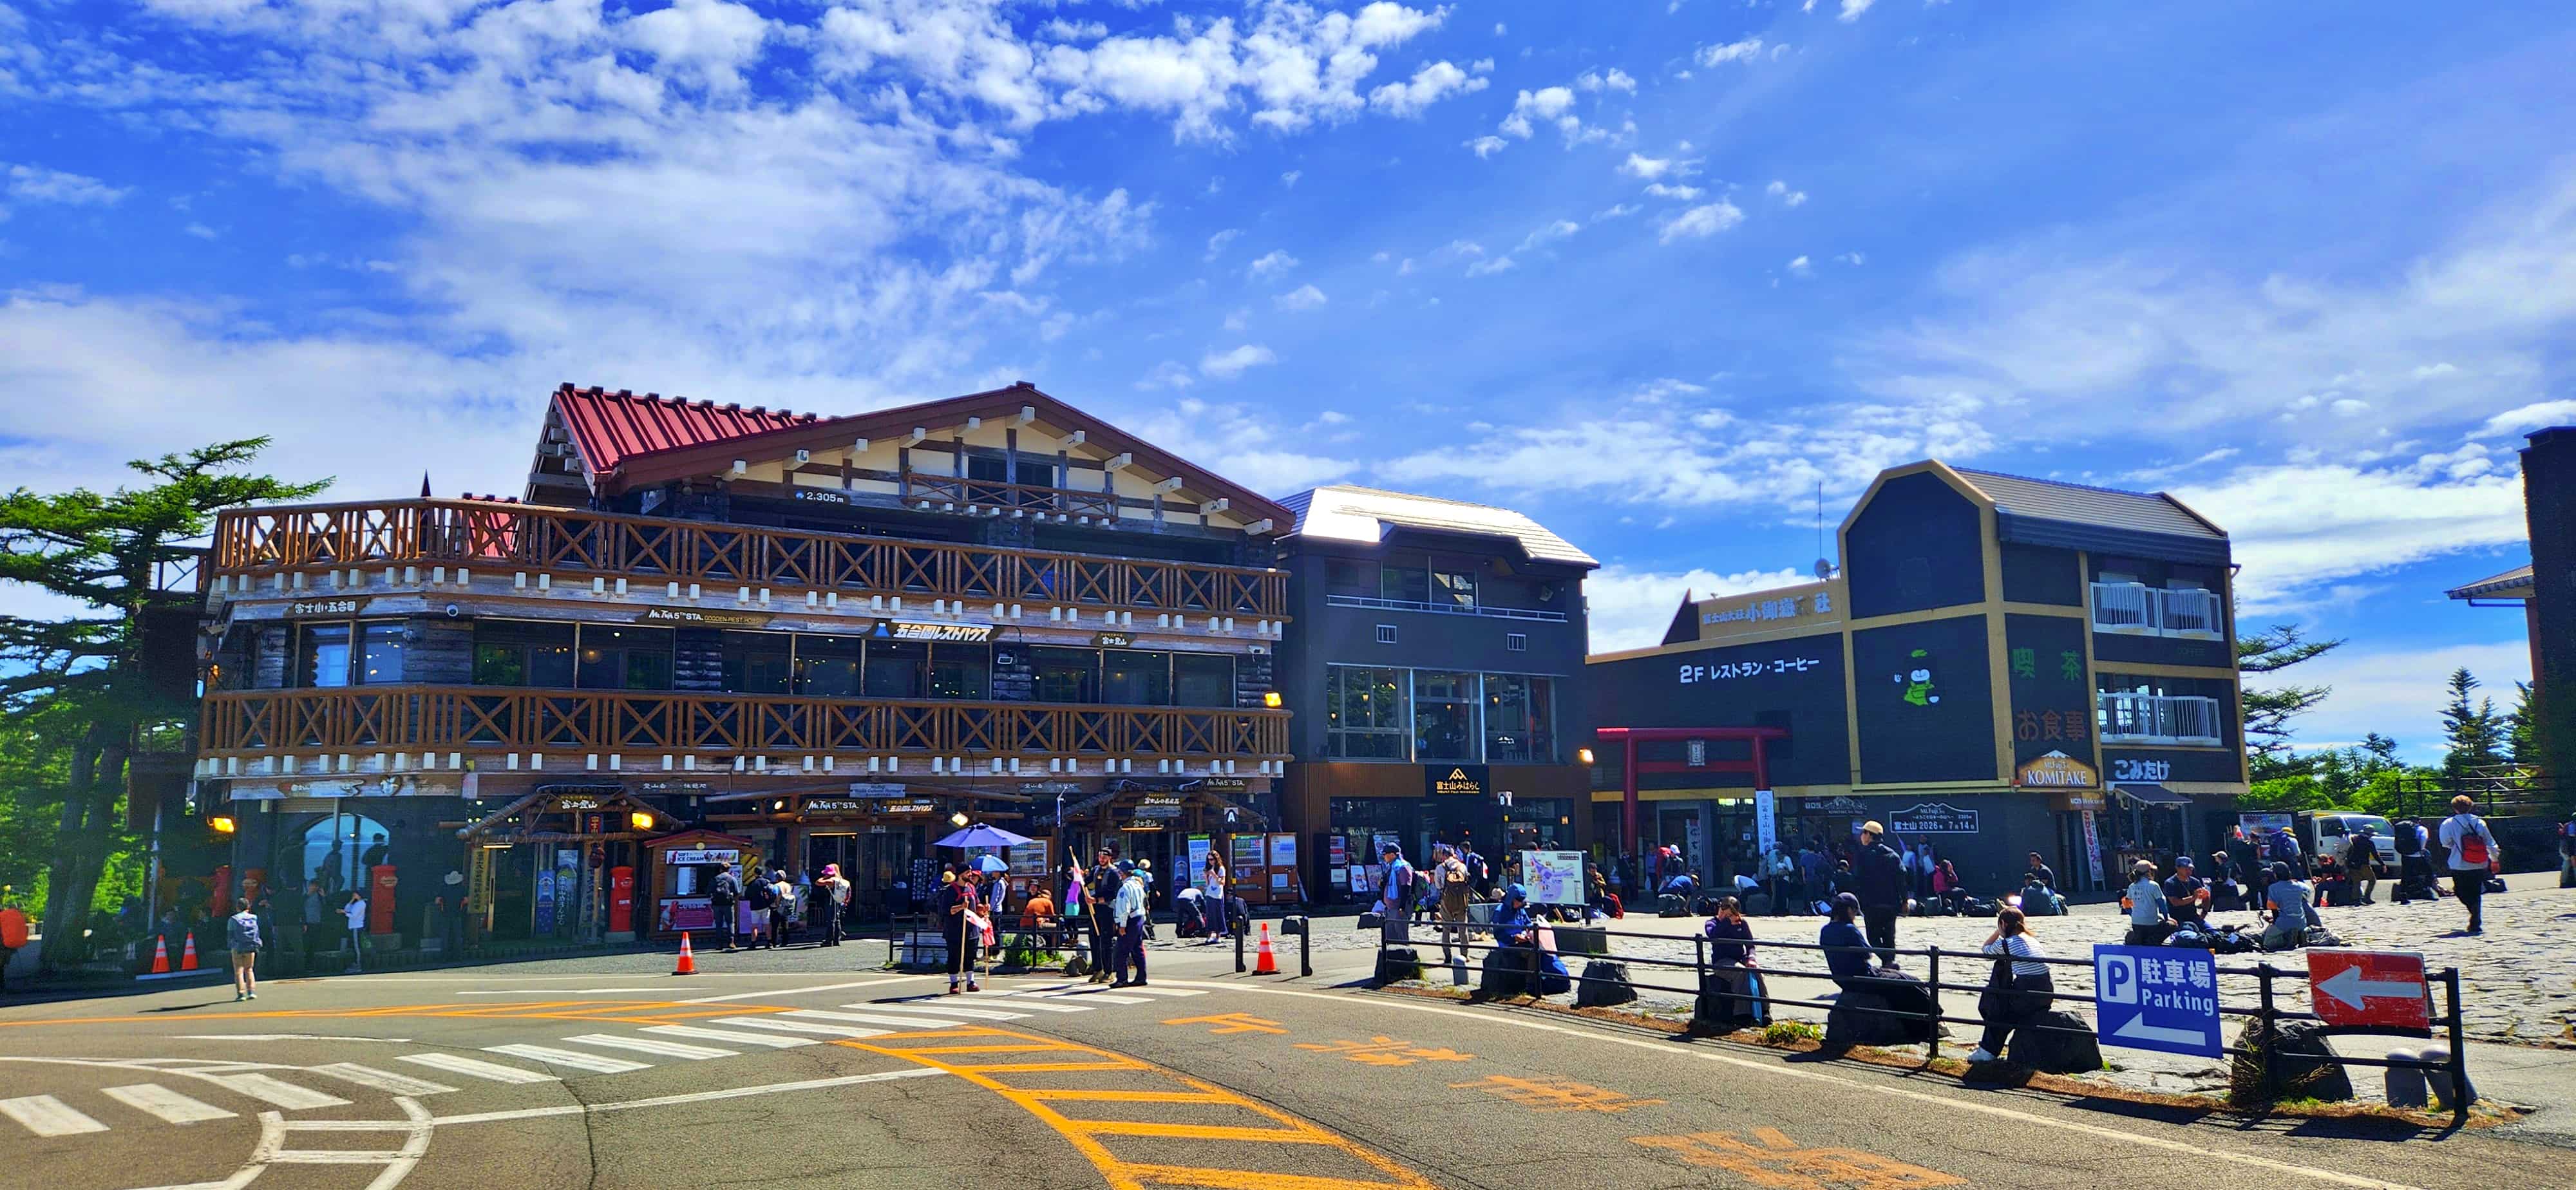
Fuji-Subaru Line 5th Station – Where Our Climb Began
Rather than immediately heading for the trail, we spent about an hour and 30 minutes acclimatising to the altitude and getting ourselves organised. There is an observation deck behind the Fuji-Subaru Line 5th Station and Fujisan Komitake Shrine, providing views towards the summit; this was a good place to take a few photos and enjoy the scenery before starting the climb.
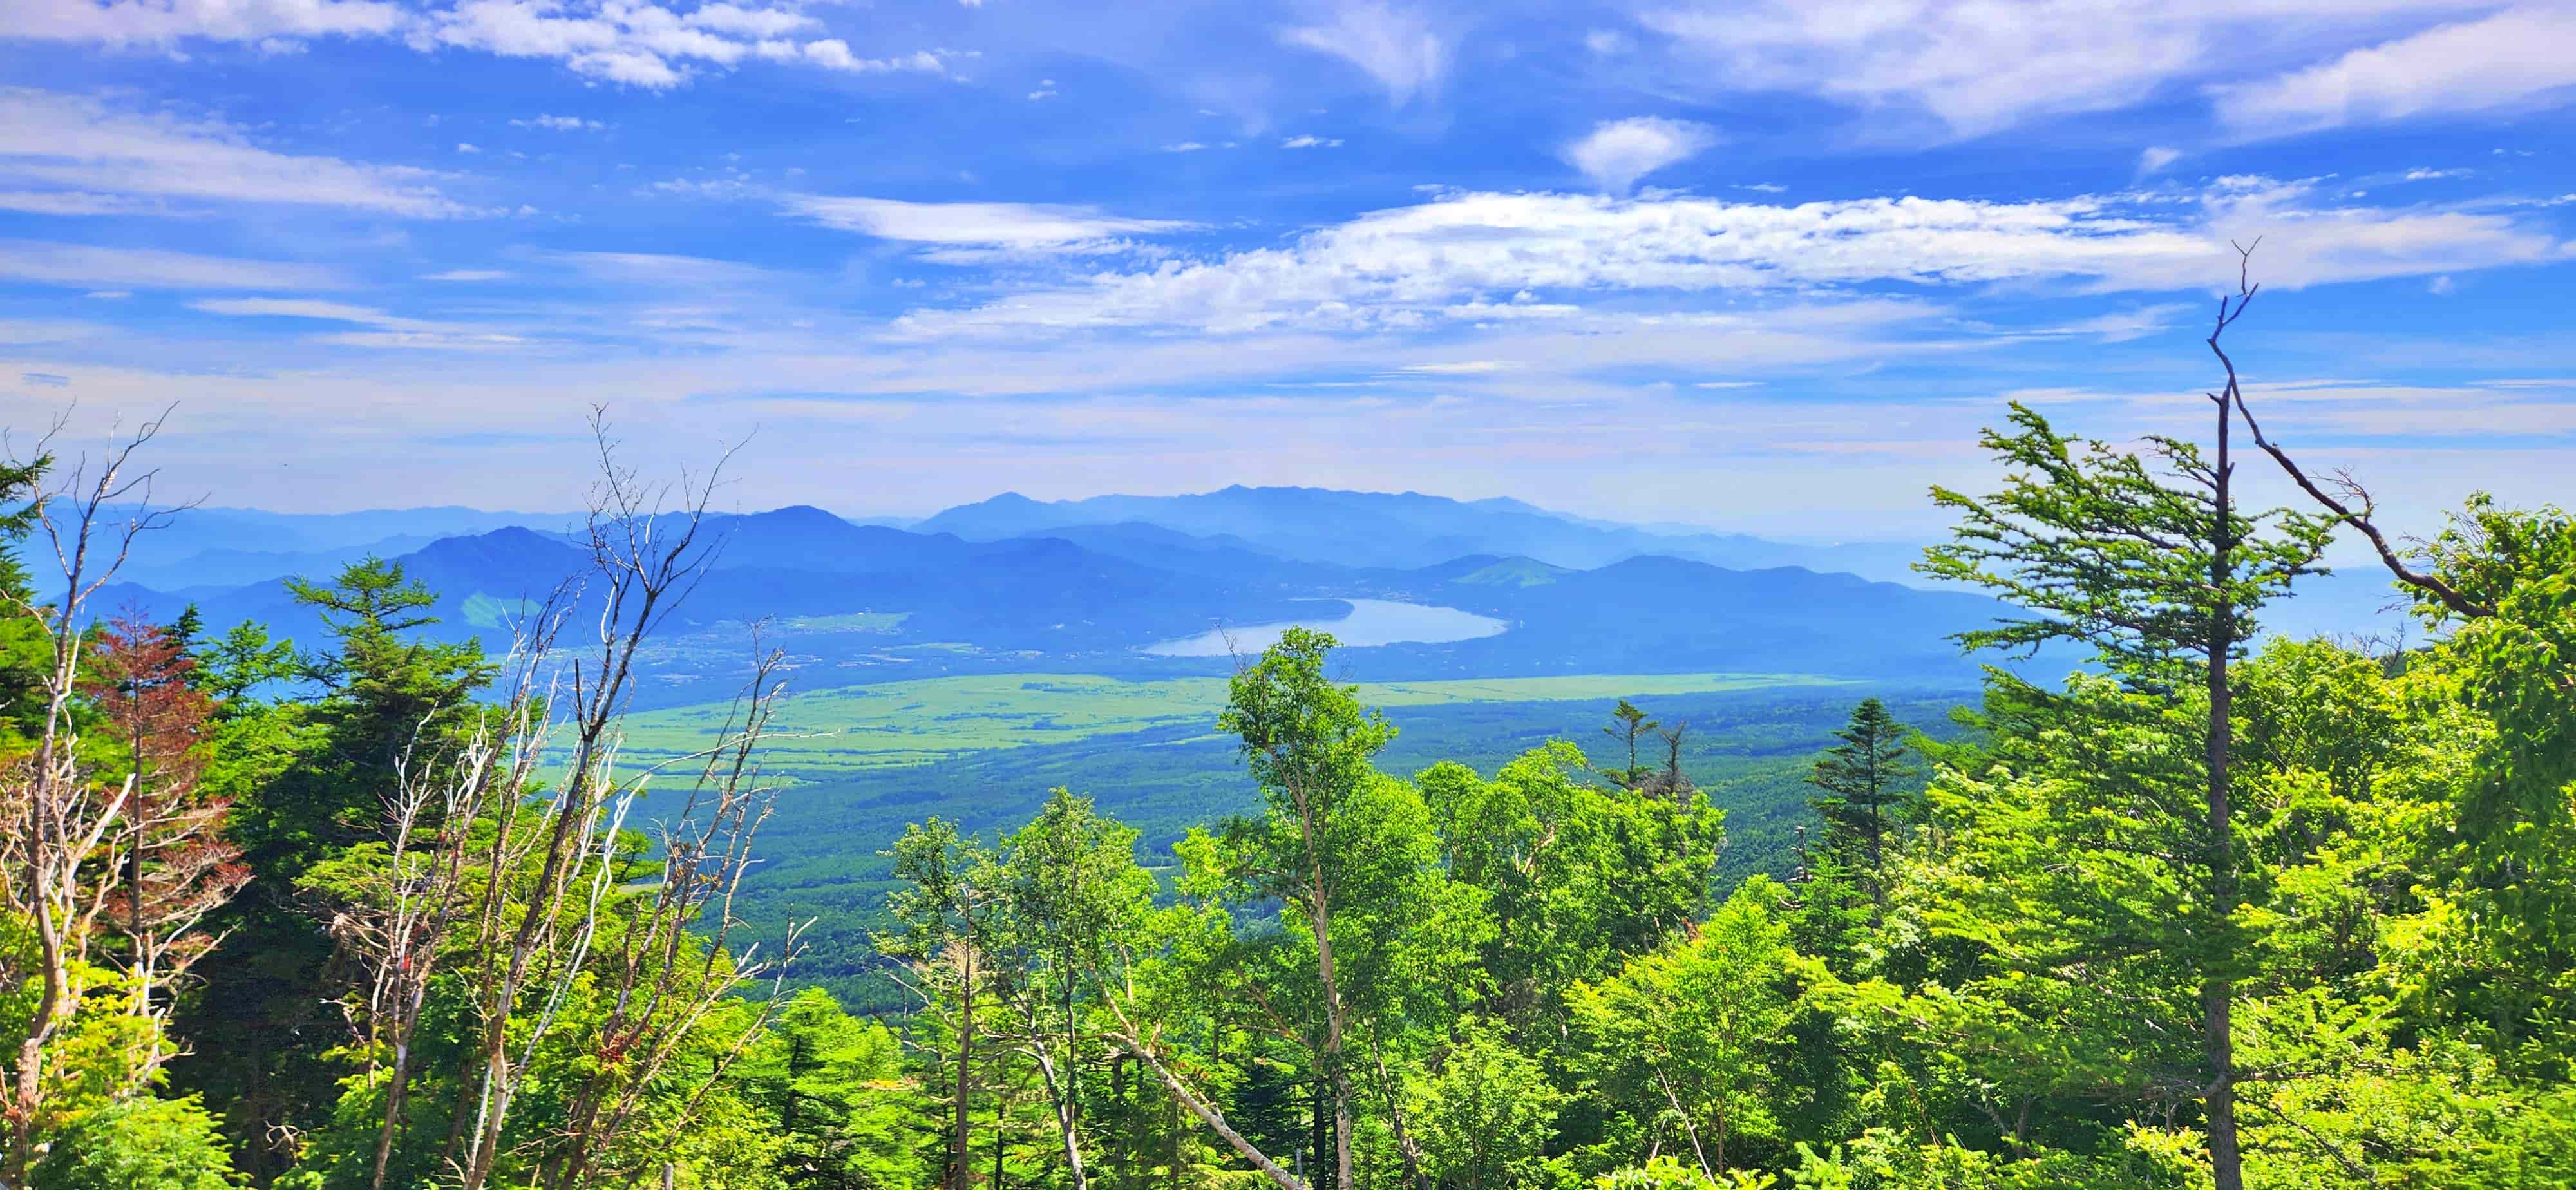
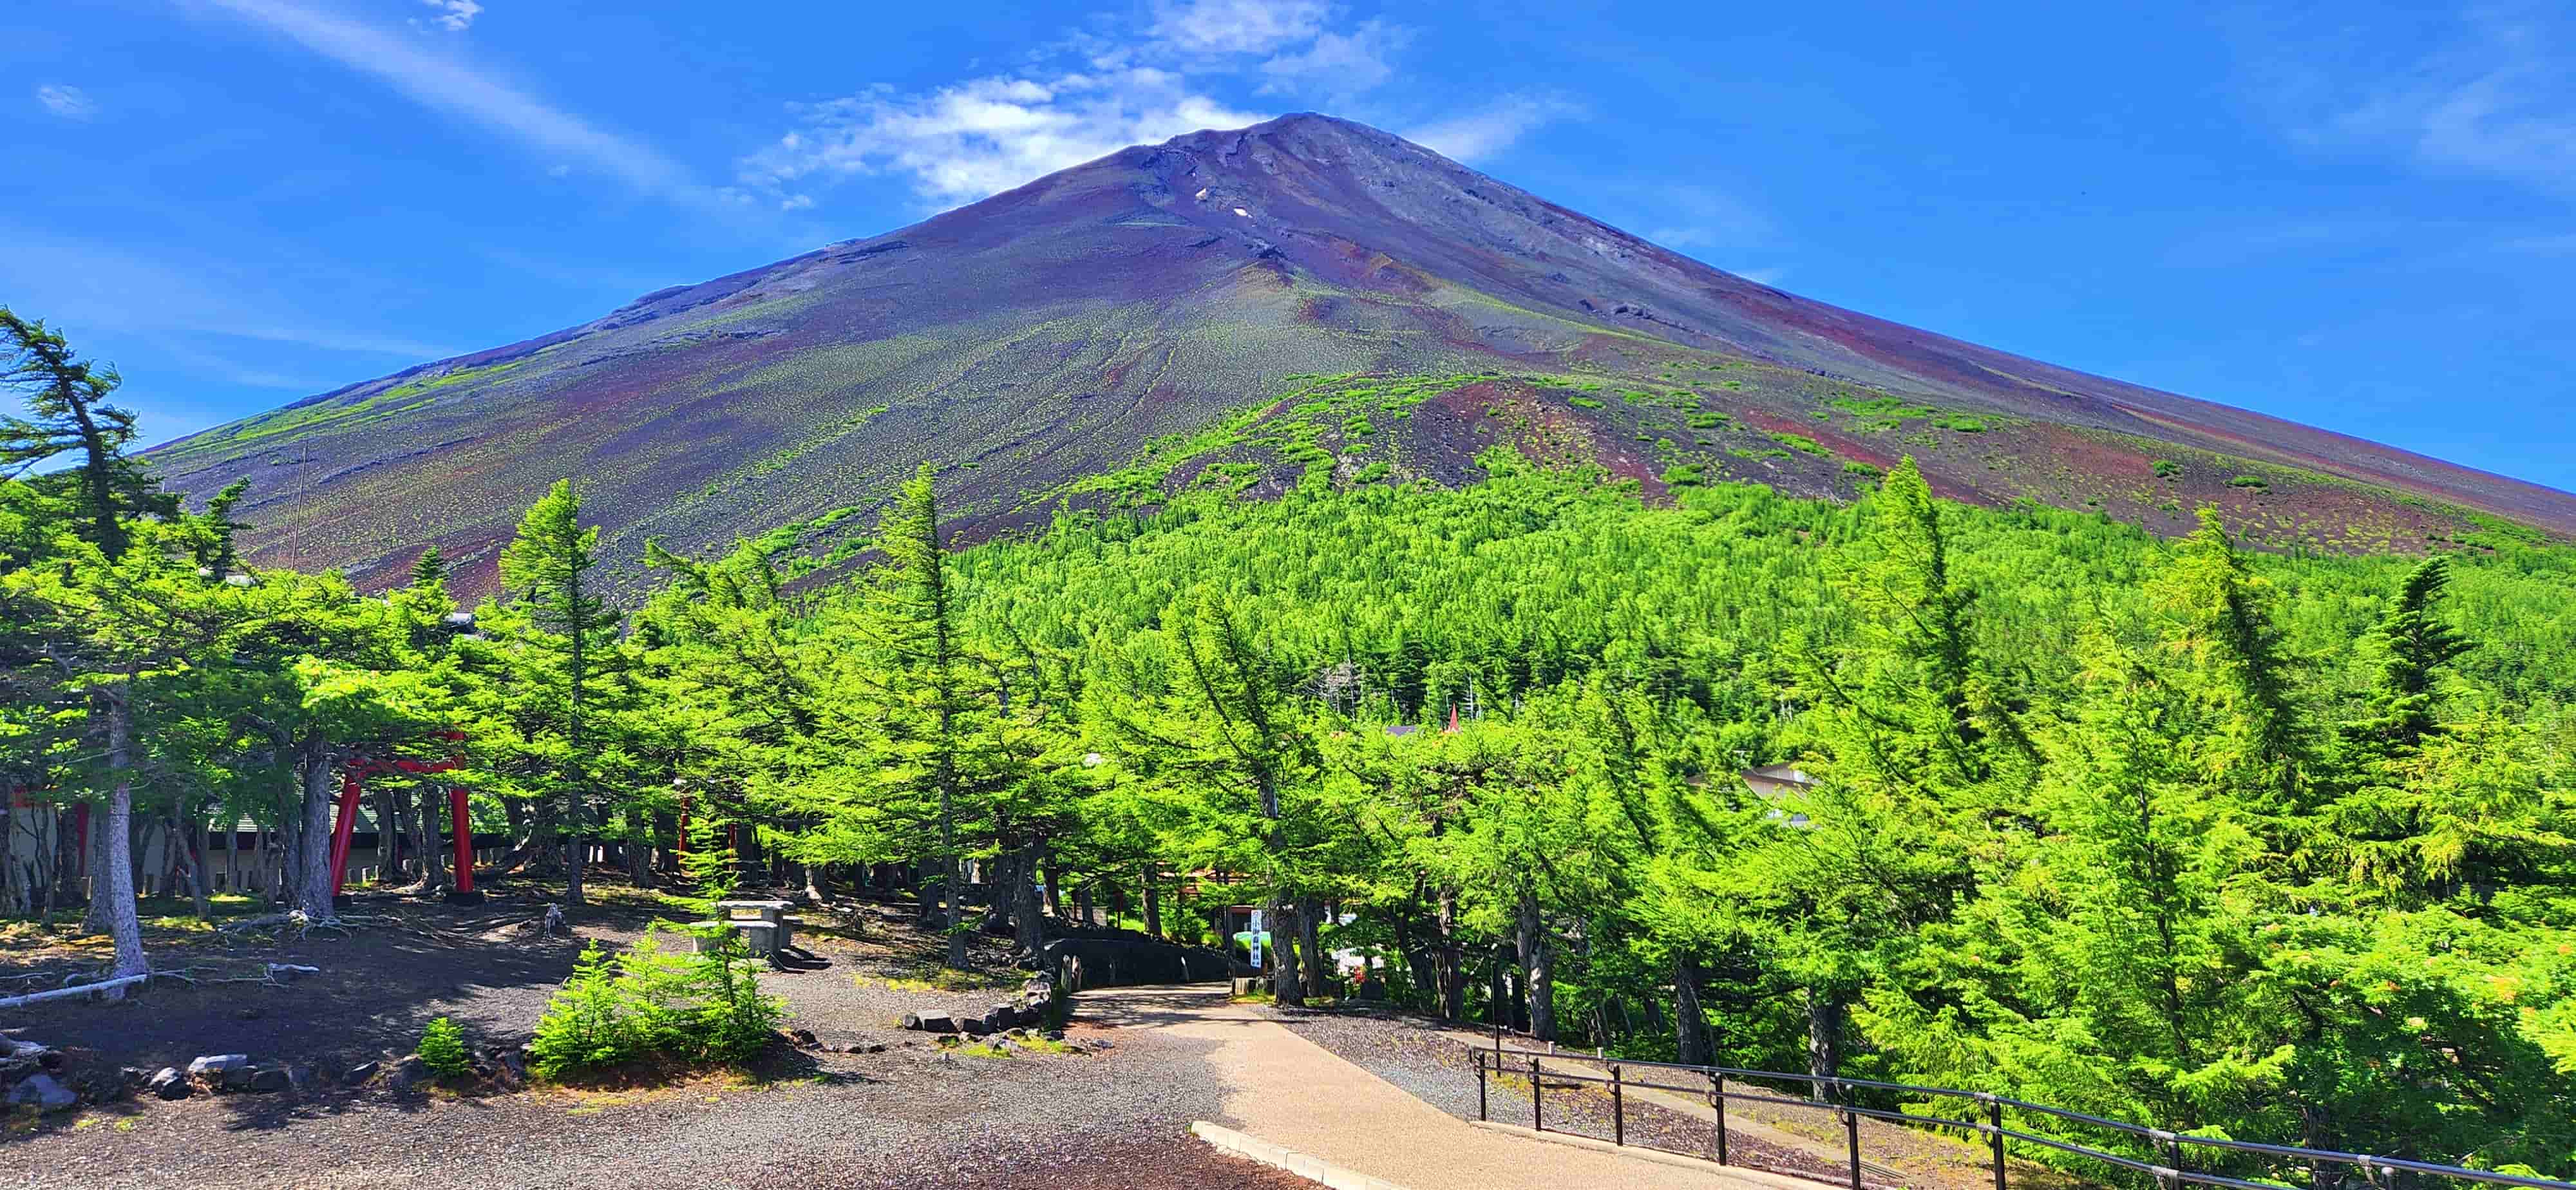
We also used this time to make some last-minute purchases including the wooden hiking stick for stamps and had a light breakfast. We then headed towards the trail entrance, completed the entry process and had our gear checked. By around 10:30am, we were ready to begin our climb. For us, the time spent at the 5th Station was useful. It gave everyone a chance to adjust to the altitude, organise their gear and make those final preparations before heading higher up Mt Fuji.
Mt Fuji Walking Pole Stamps
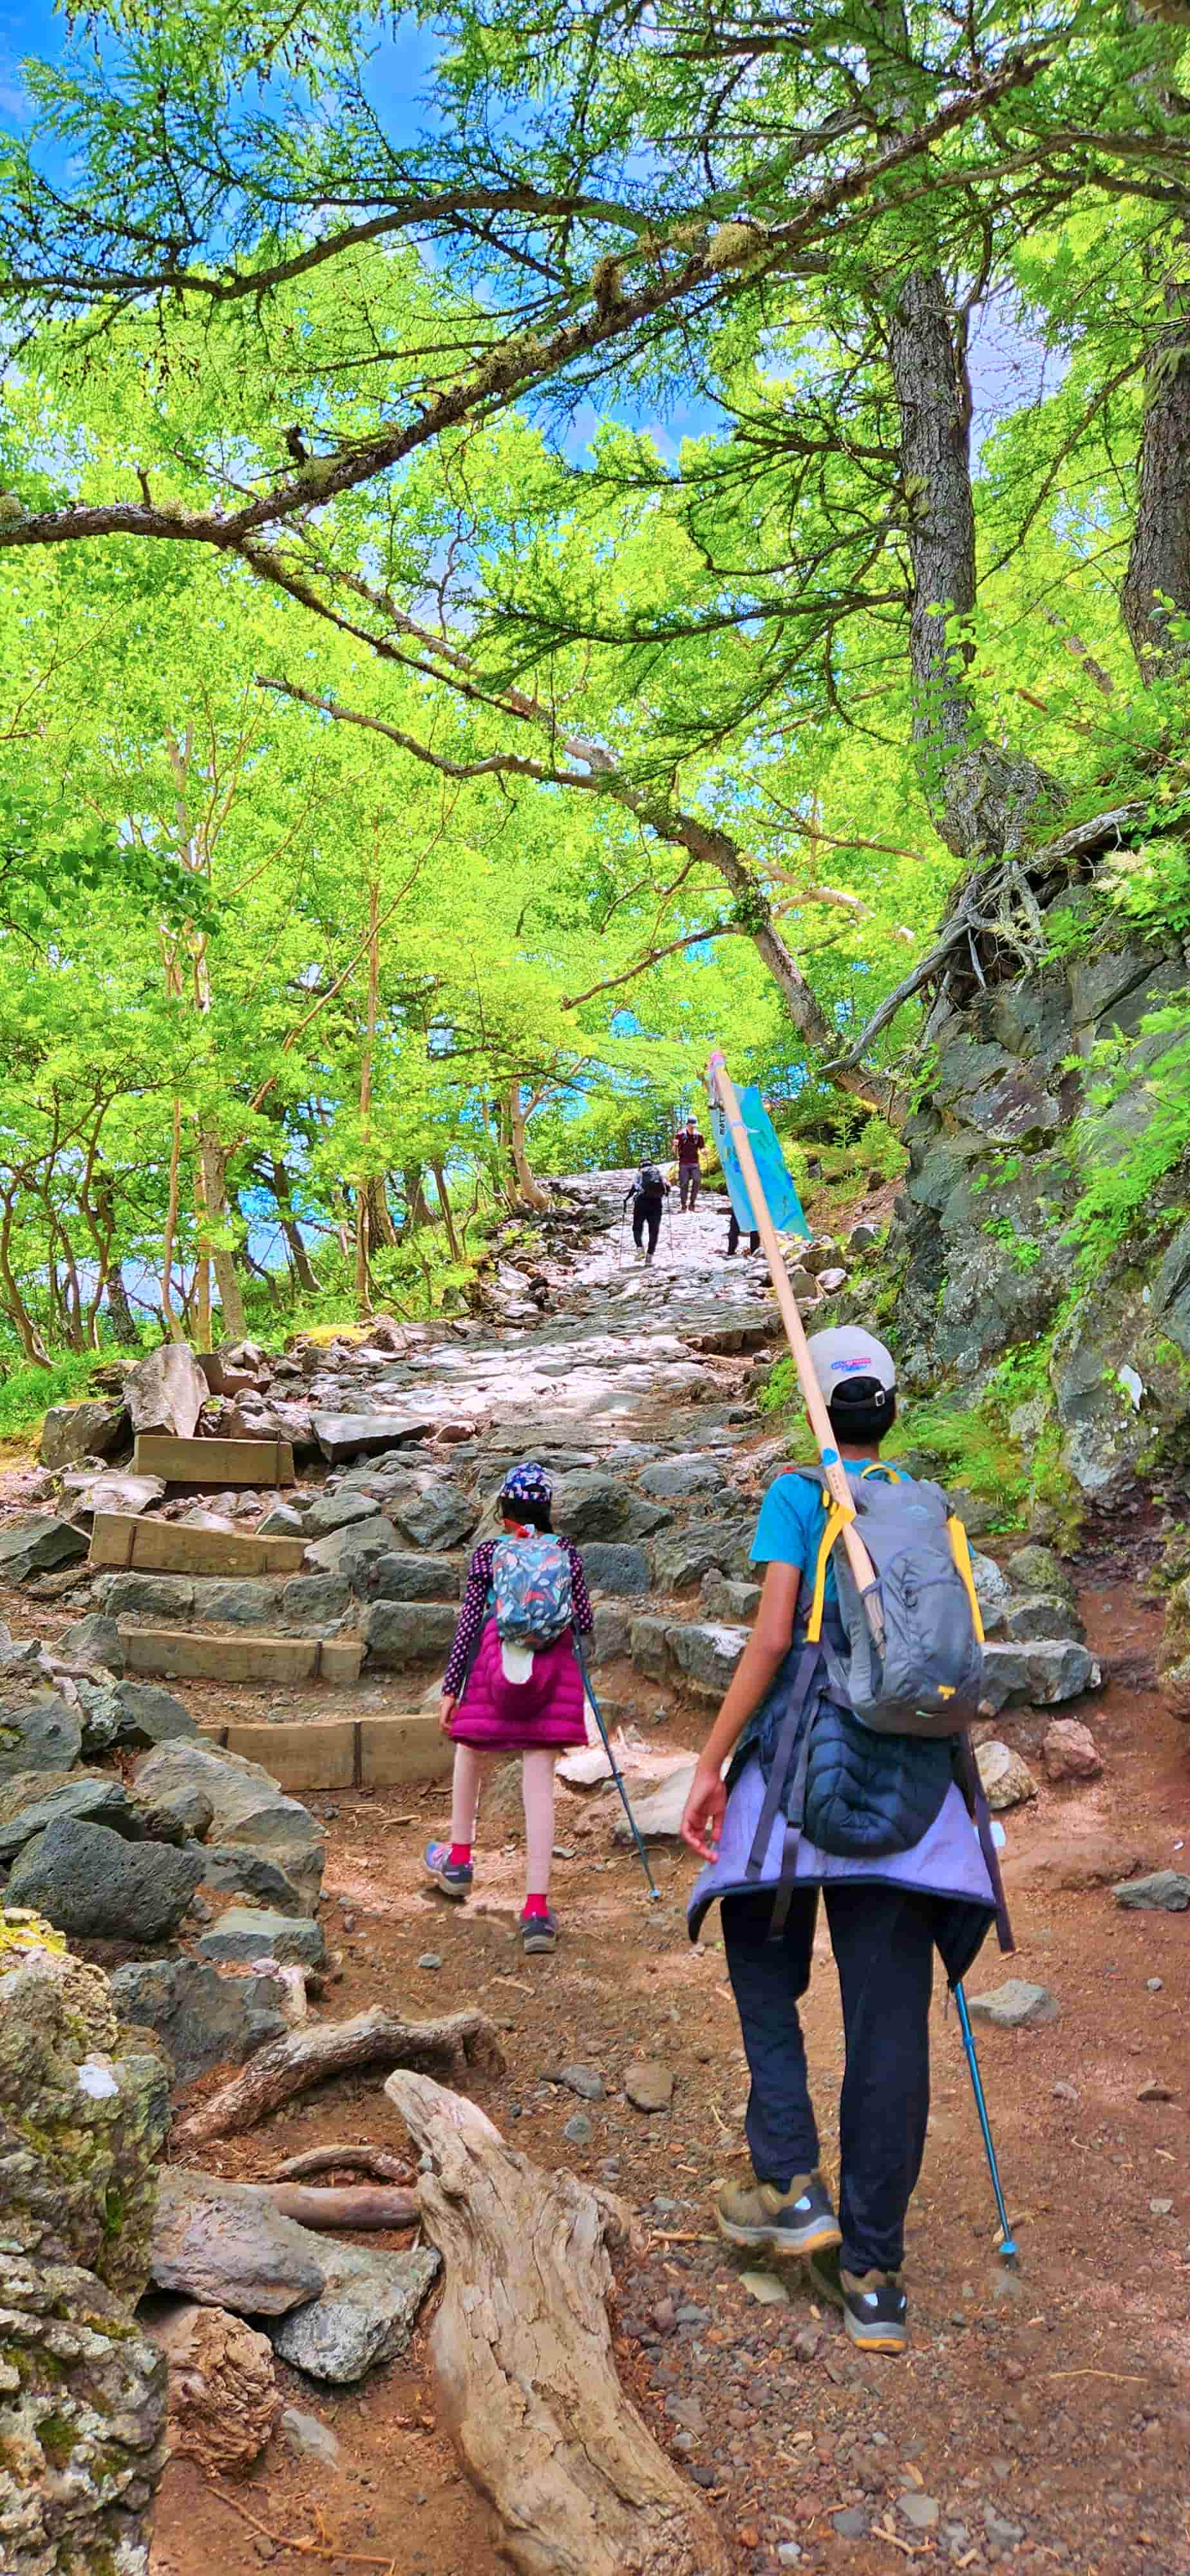
One of the fun traditions of climbing Mt Fuji is collecting stamps on a wooden walking pole as you make your way up the mountain. Many mountain huts offer stamps to mark your progress, turning the walking pole into a unique souvenir of your climb. We bought a 150cm wooden hiking pole at the Fuji-Subaru Line 5th Station before starting our climb, and it soon became a special souvenir of our Mt Fuji experience. As we climbed higher, we collected stamps at the mountain huts along the Yoshida Trail, marking our progress all the way up the mountain. By the time we reached the summit, the pole was covered with stamps and had become a unique reminder of the journey we had taken together!

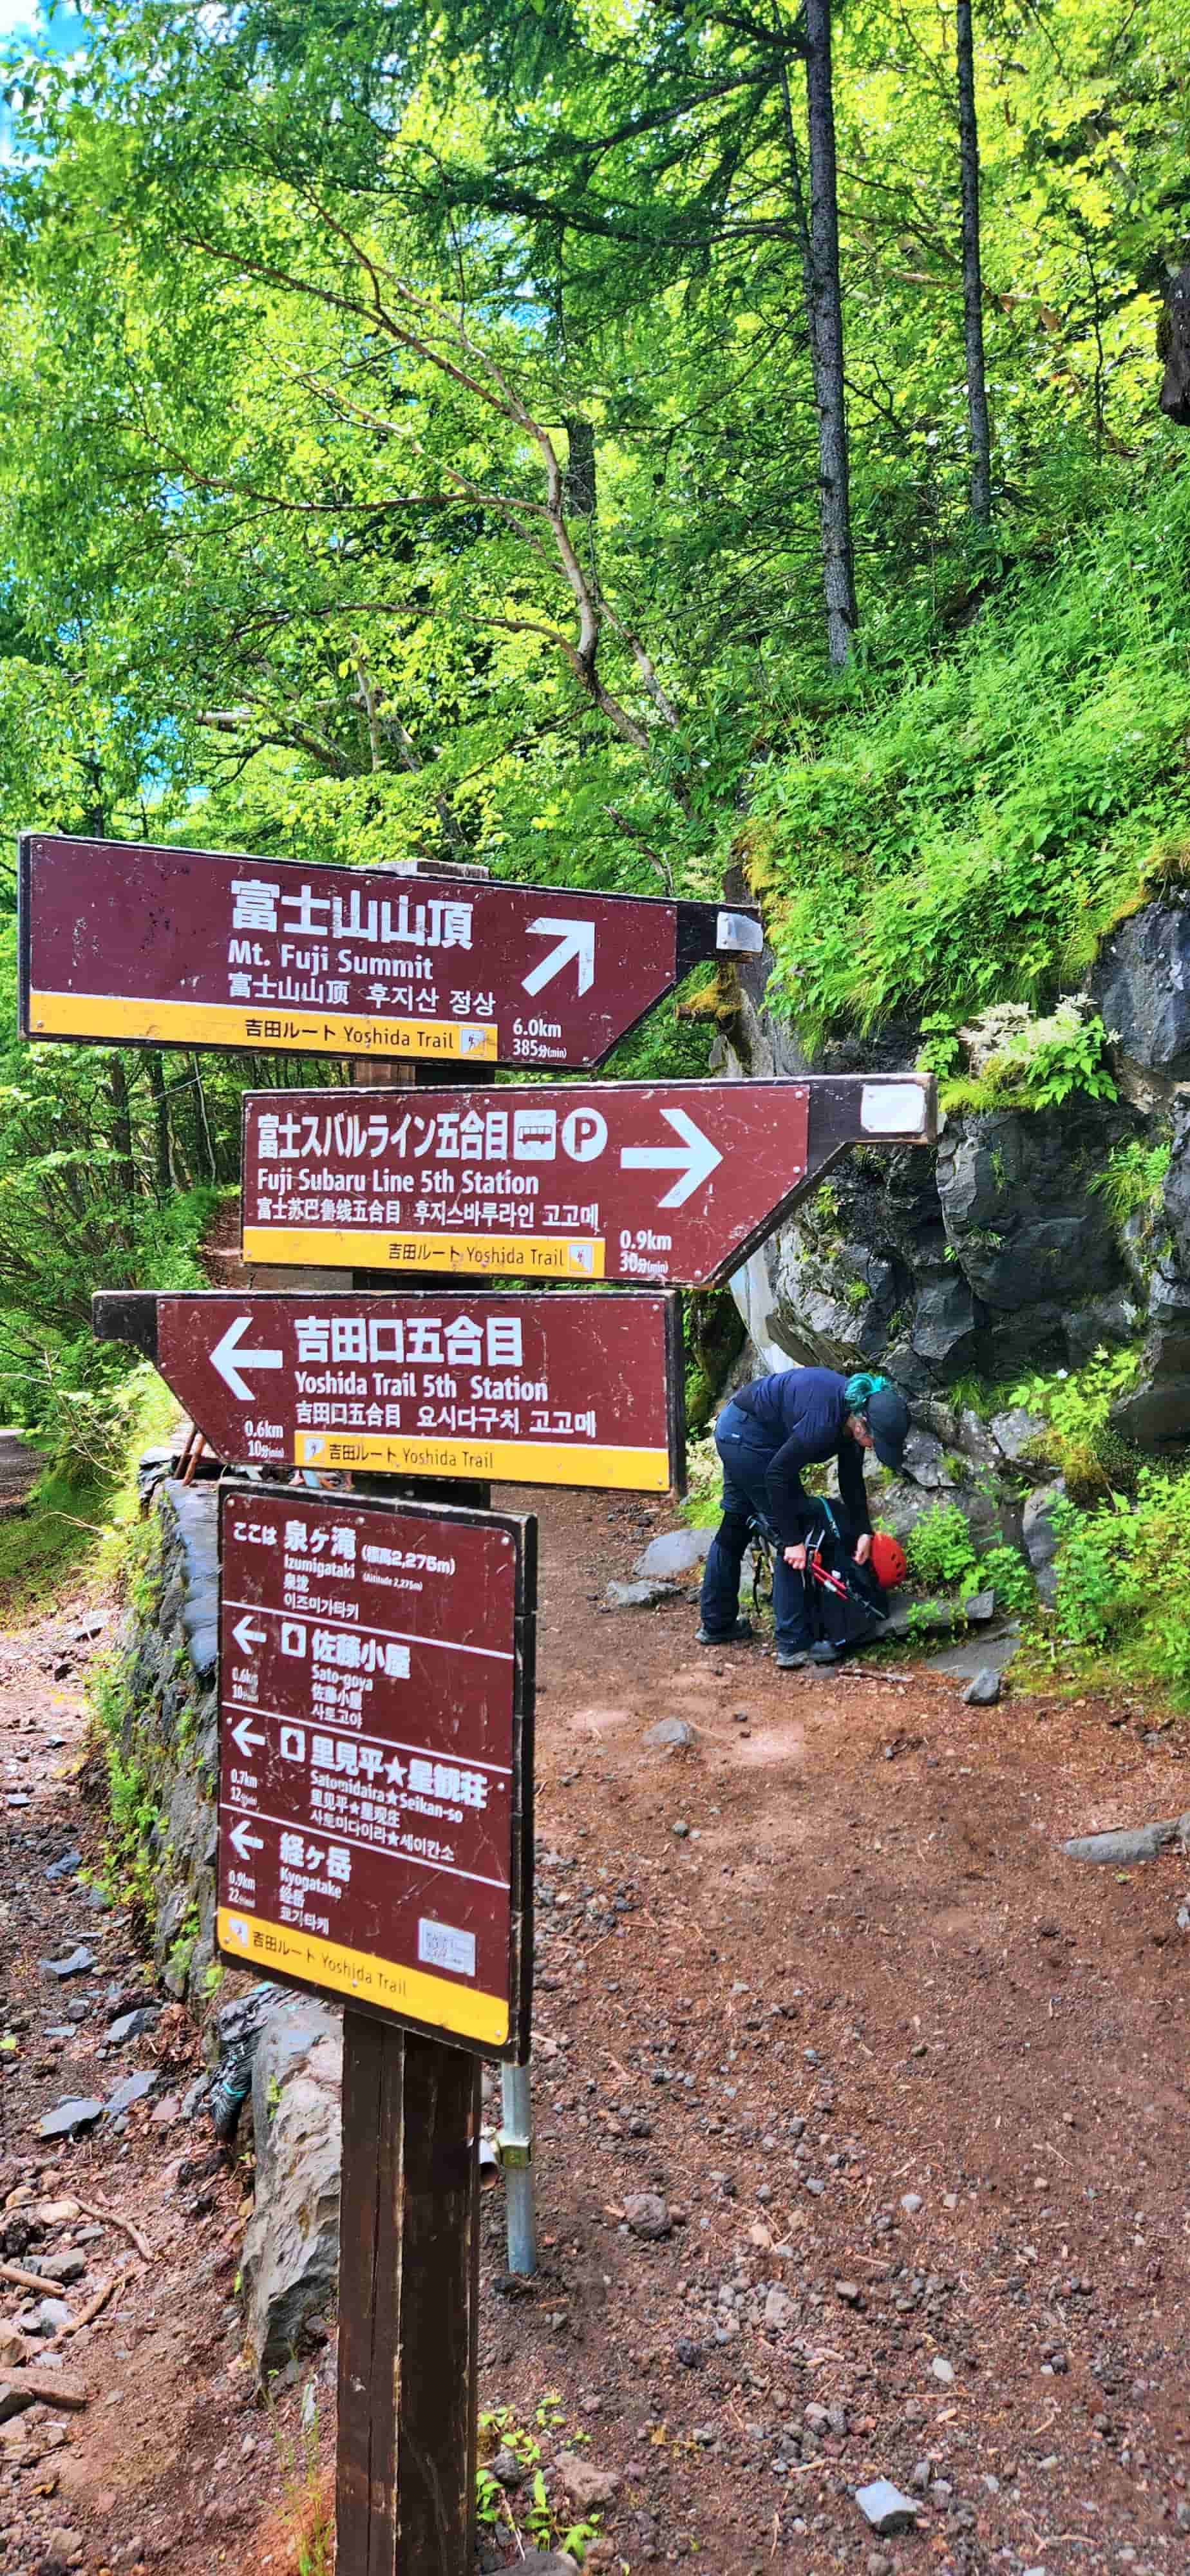
The beginning of the Yoshida Trail is relatively gentle, with forested sections providing a noticeably different environment from the exposed volcanic landscape higher up the mountain. At this stage, the climb still felt more like a conventional mountain hike. We settled into our pace and concentrated on keeping the whole family comfortable rather than trying to cover the distance quickly.
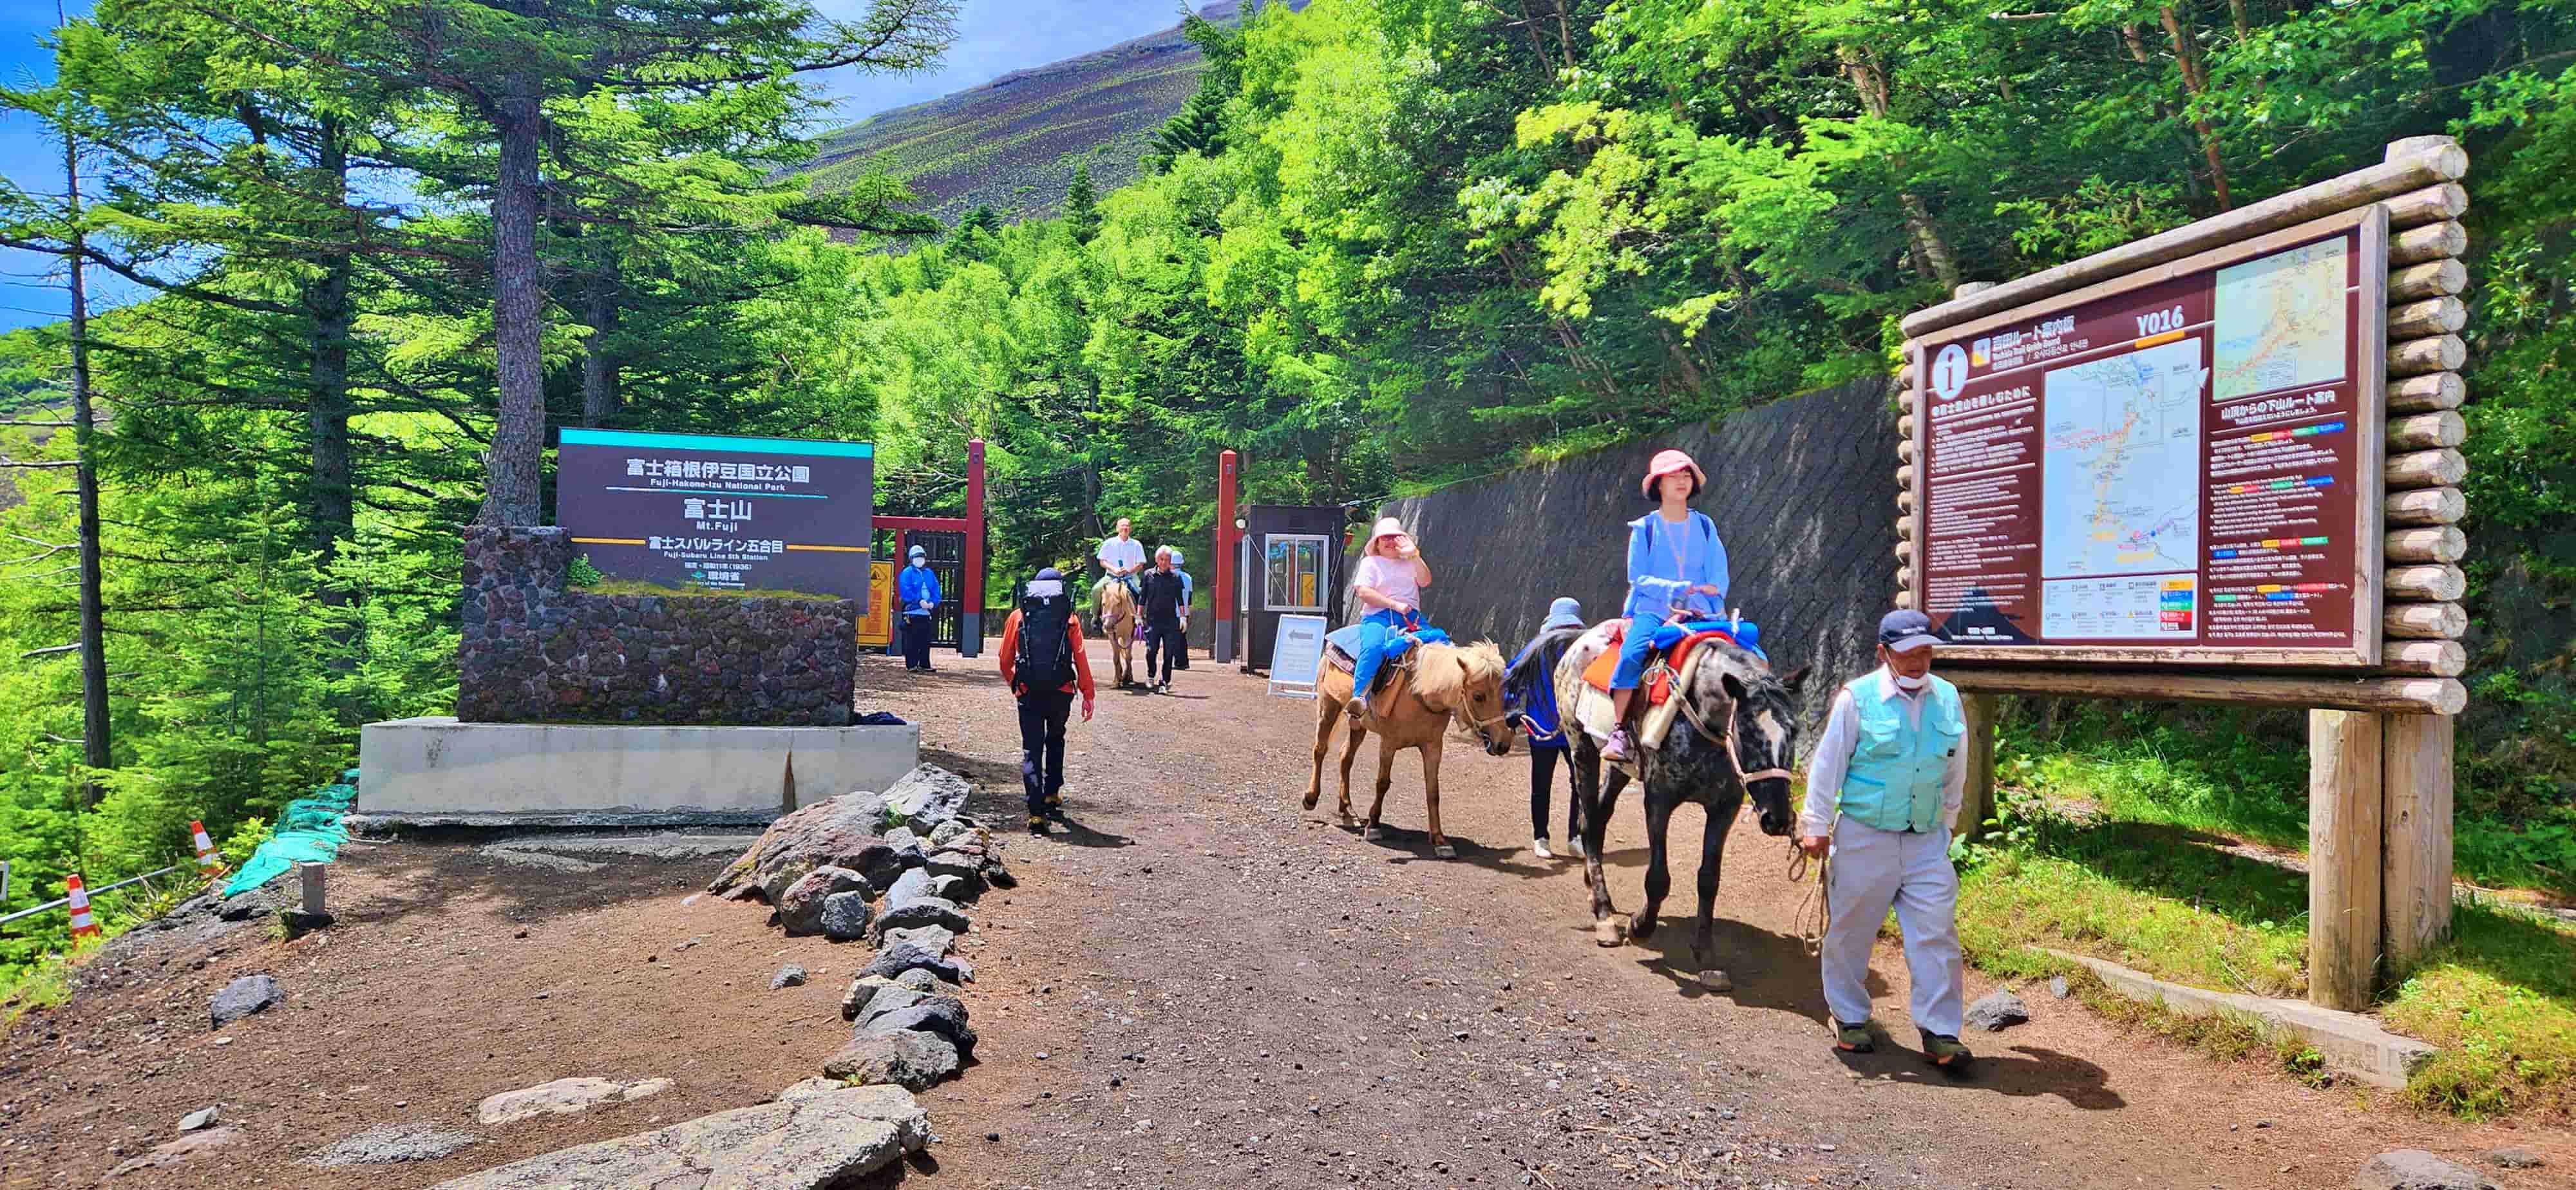
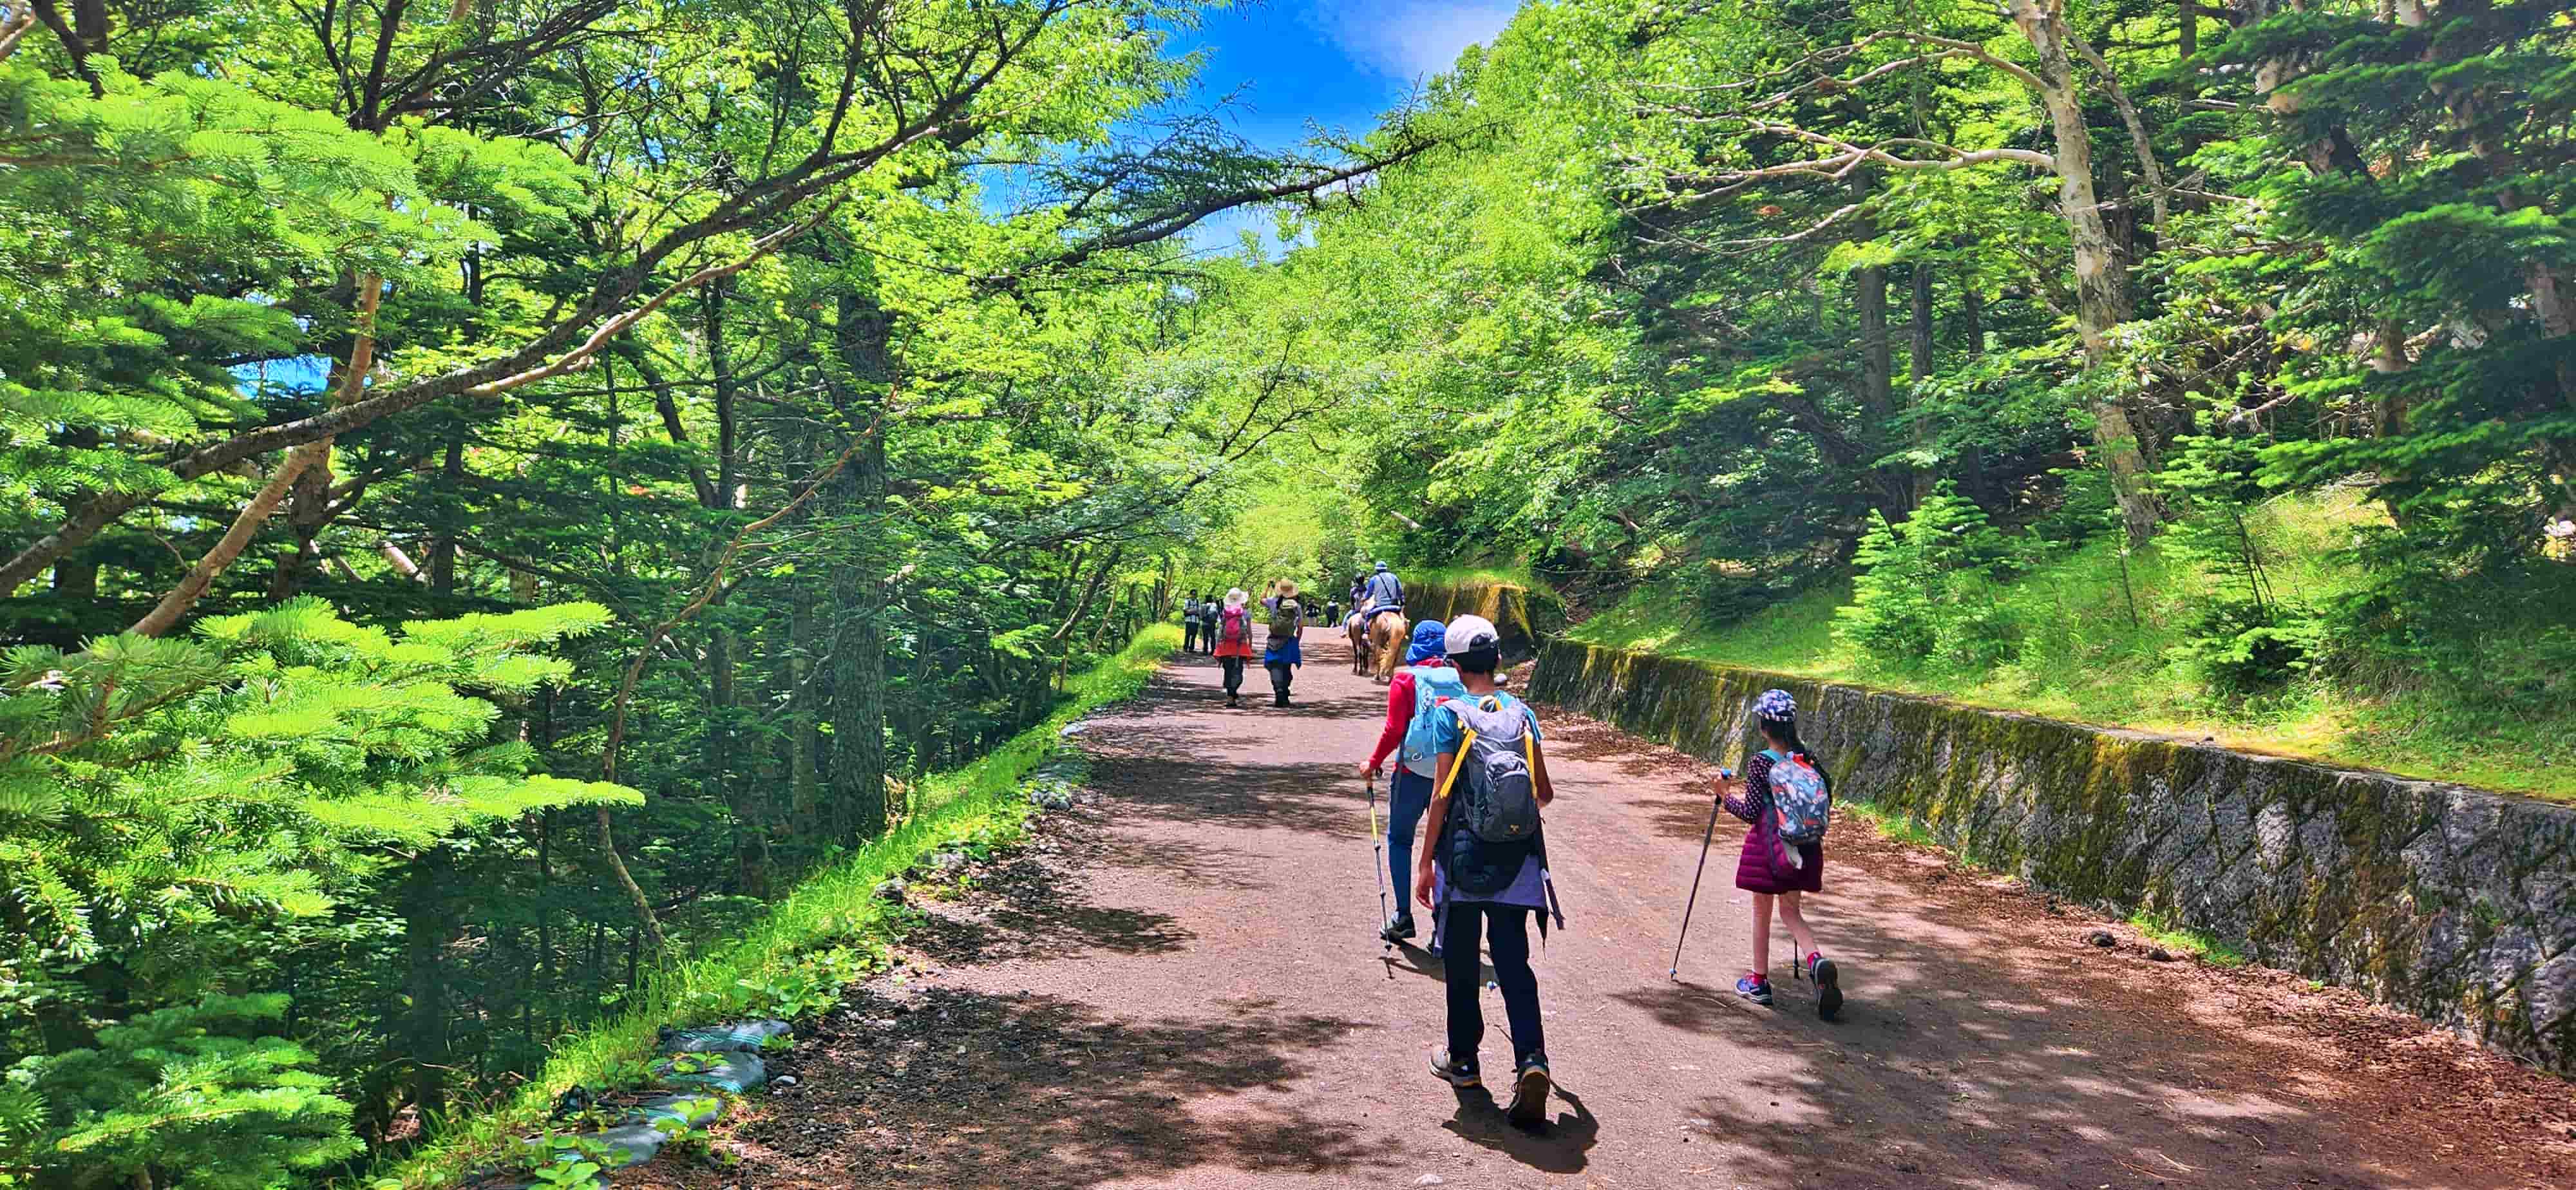
6th Station – Into the Volcanic Terrain
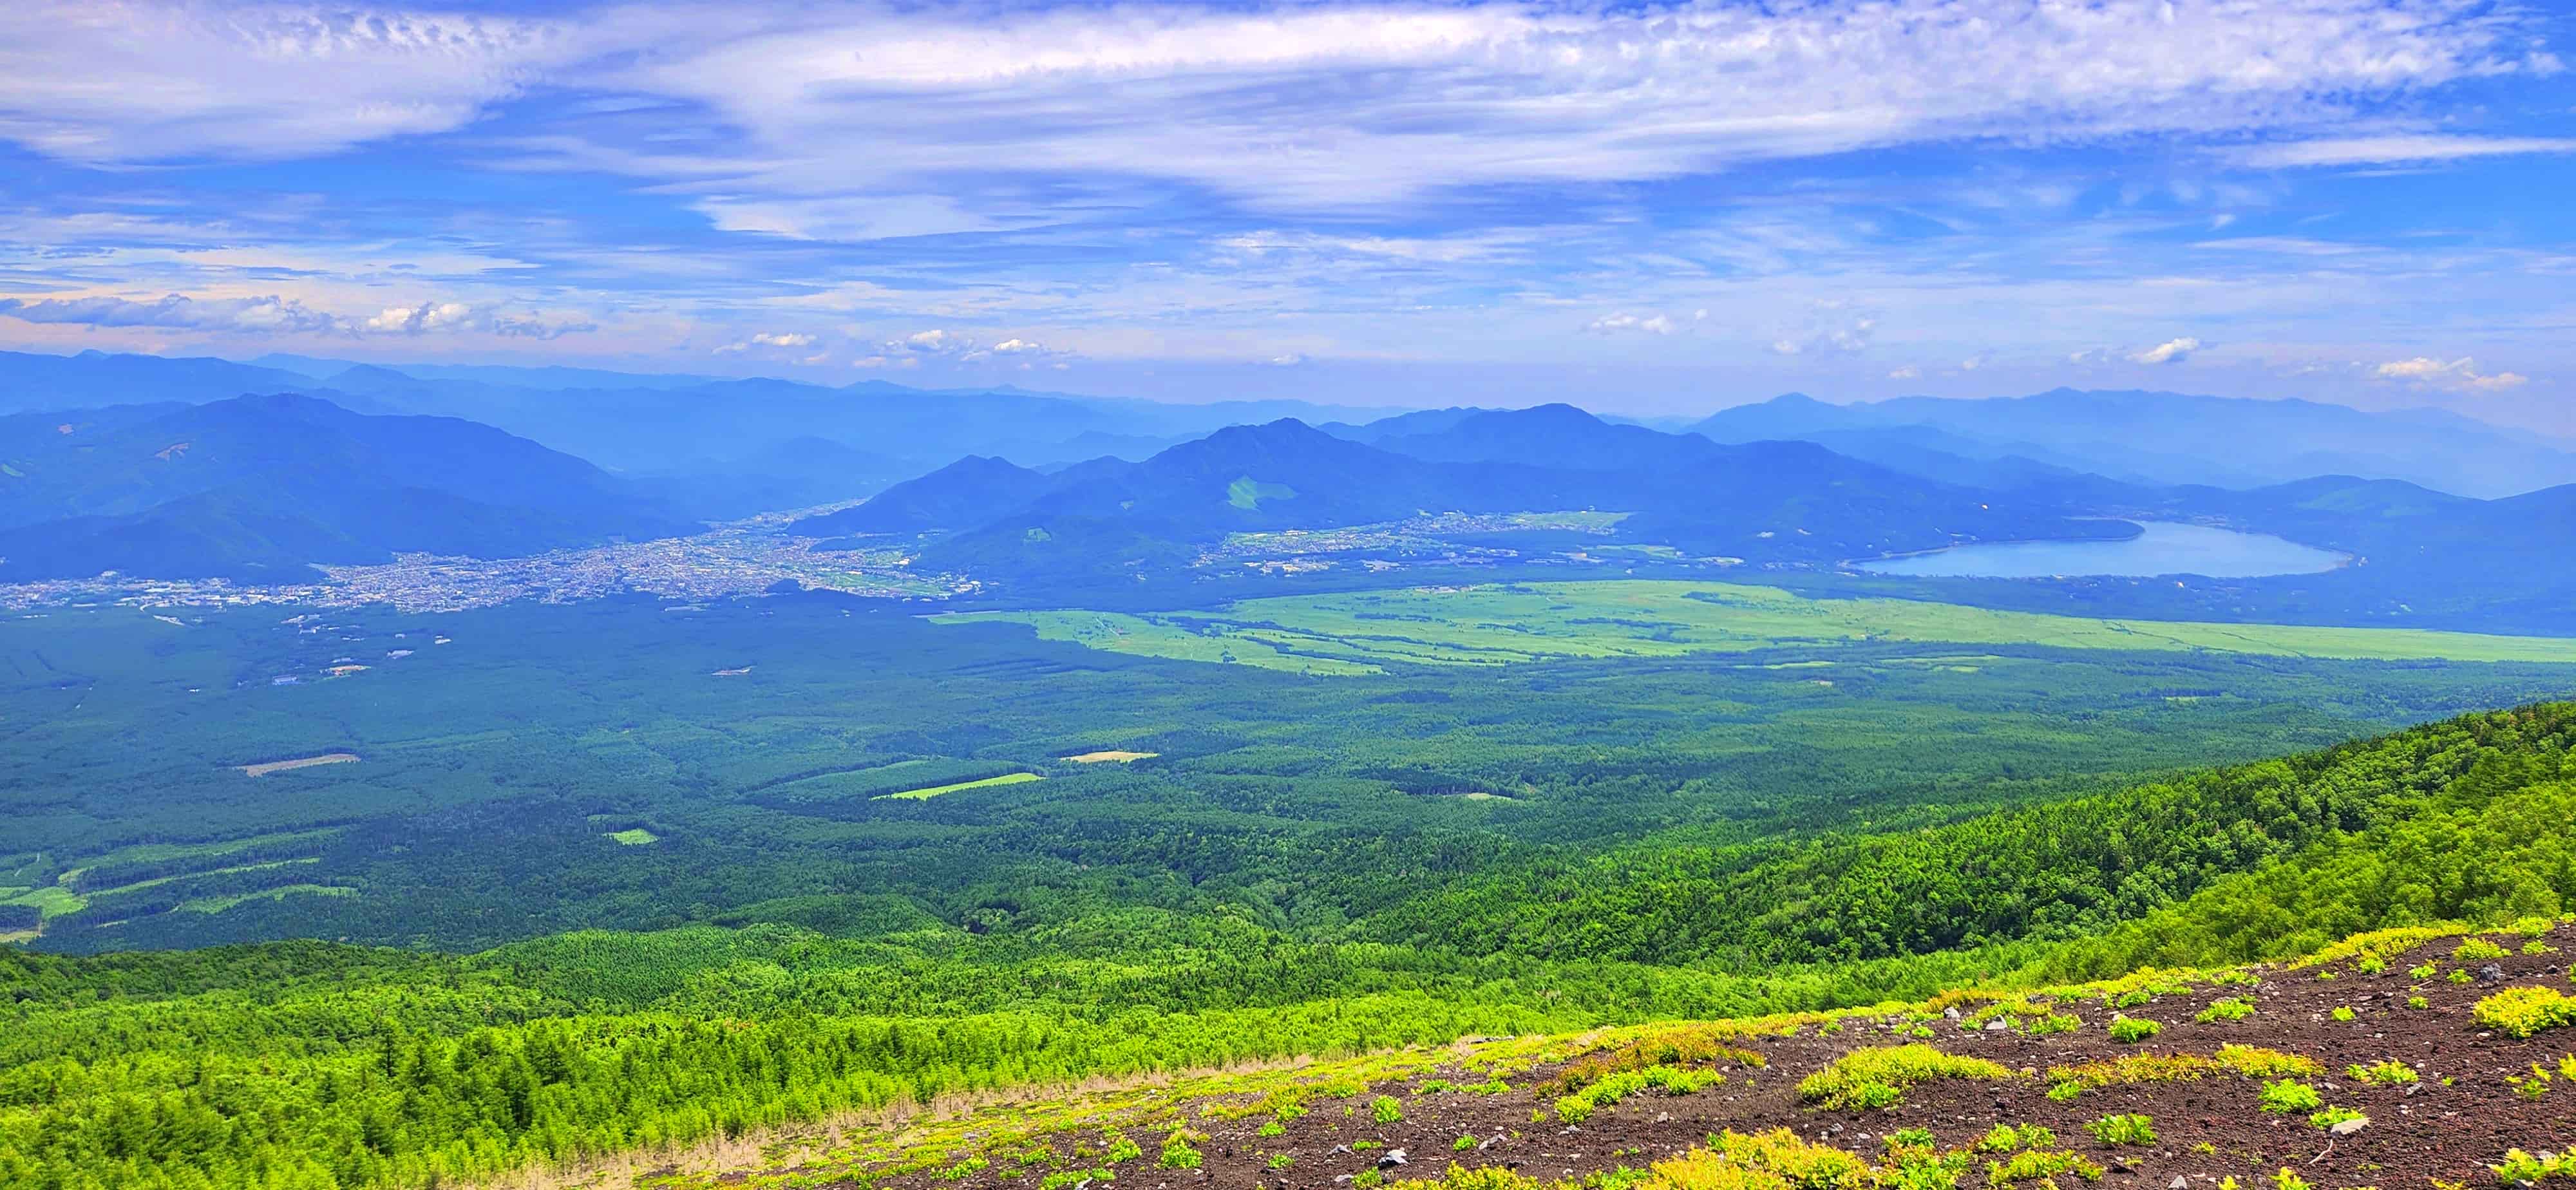
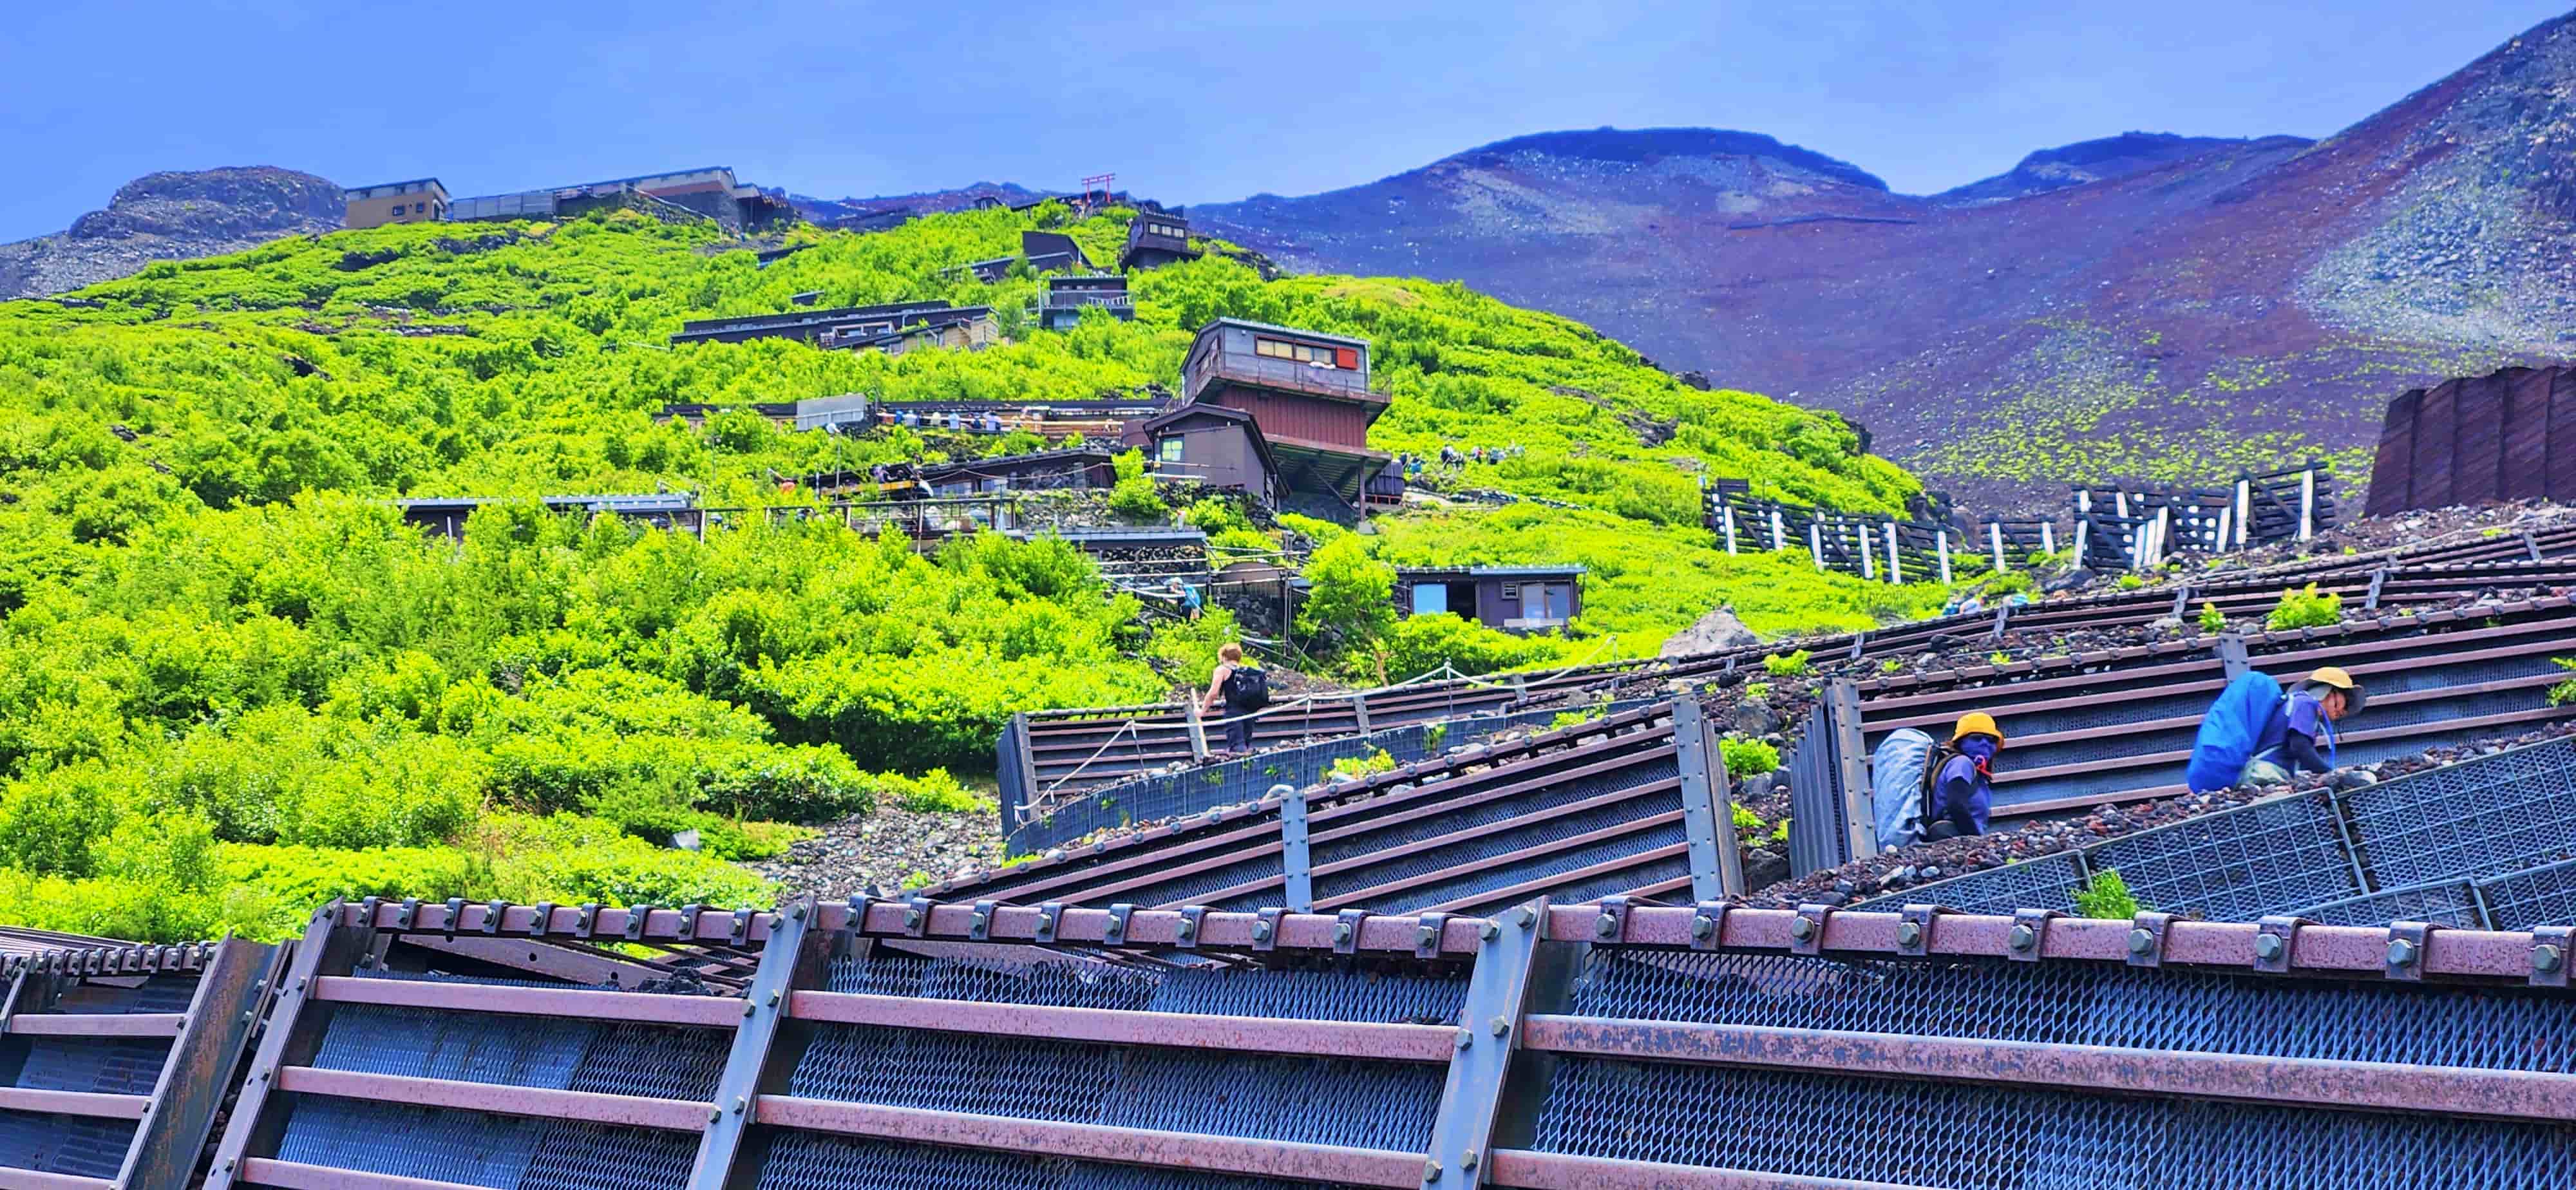
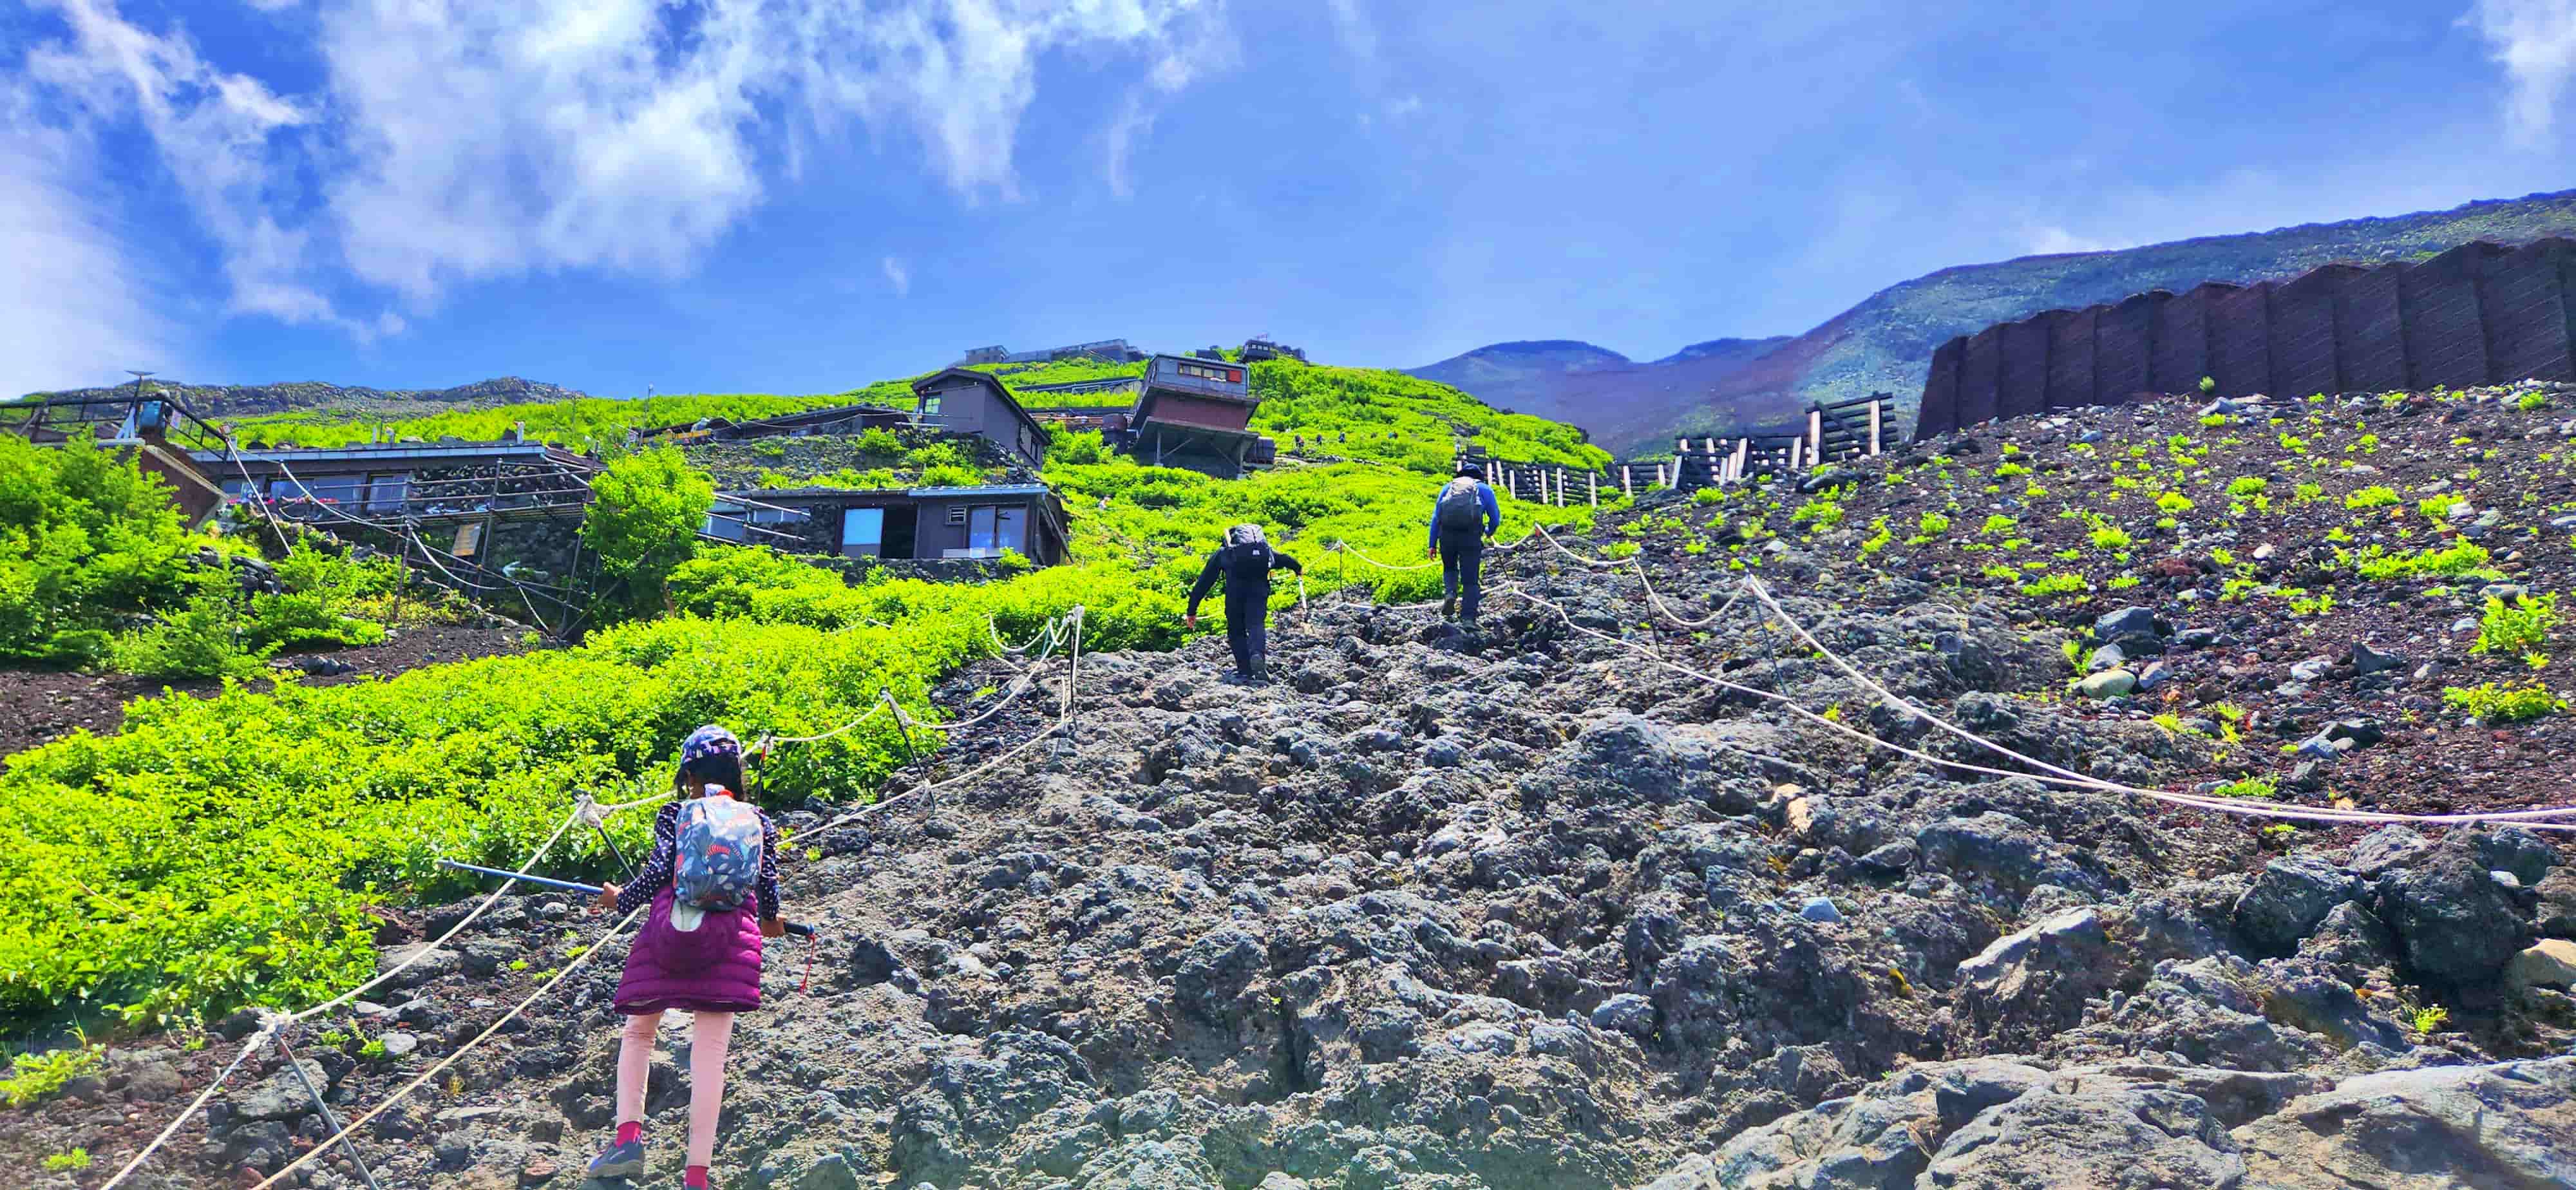
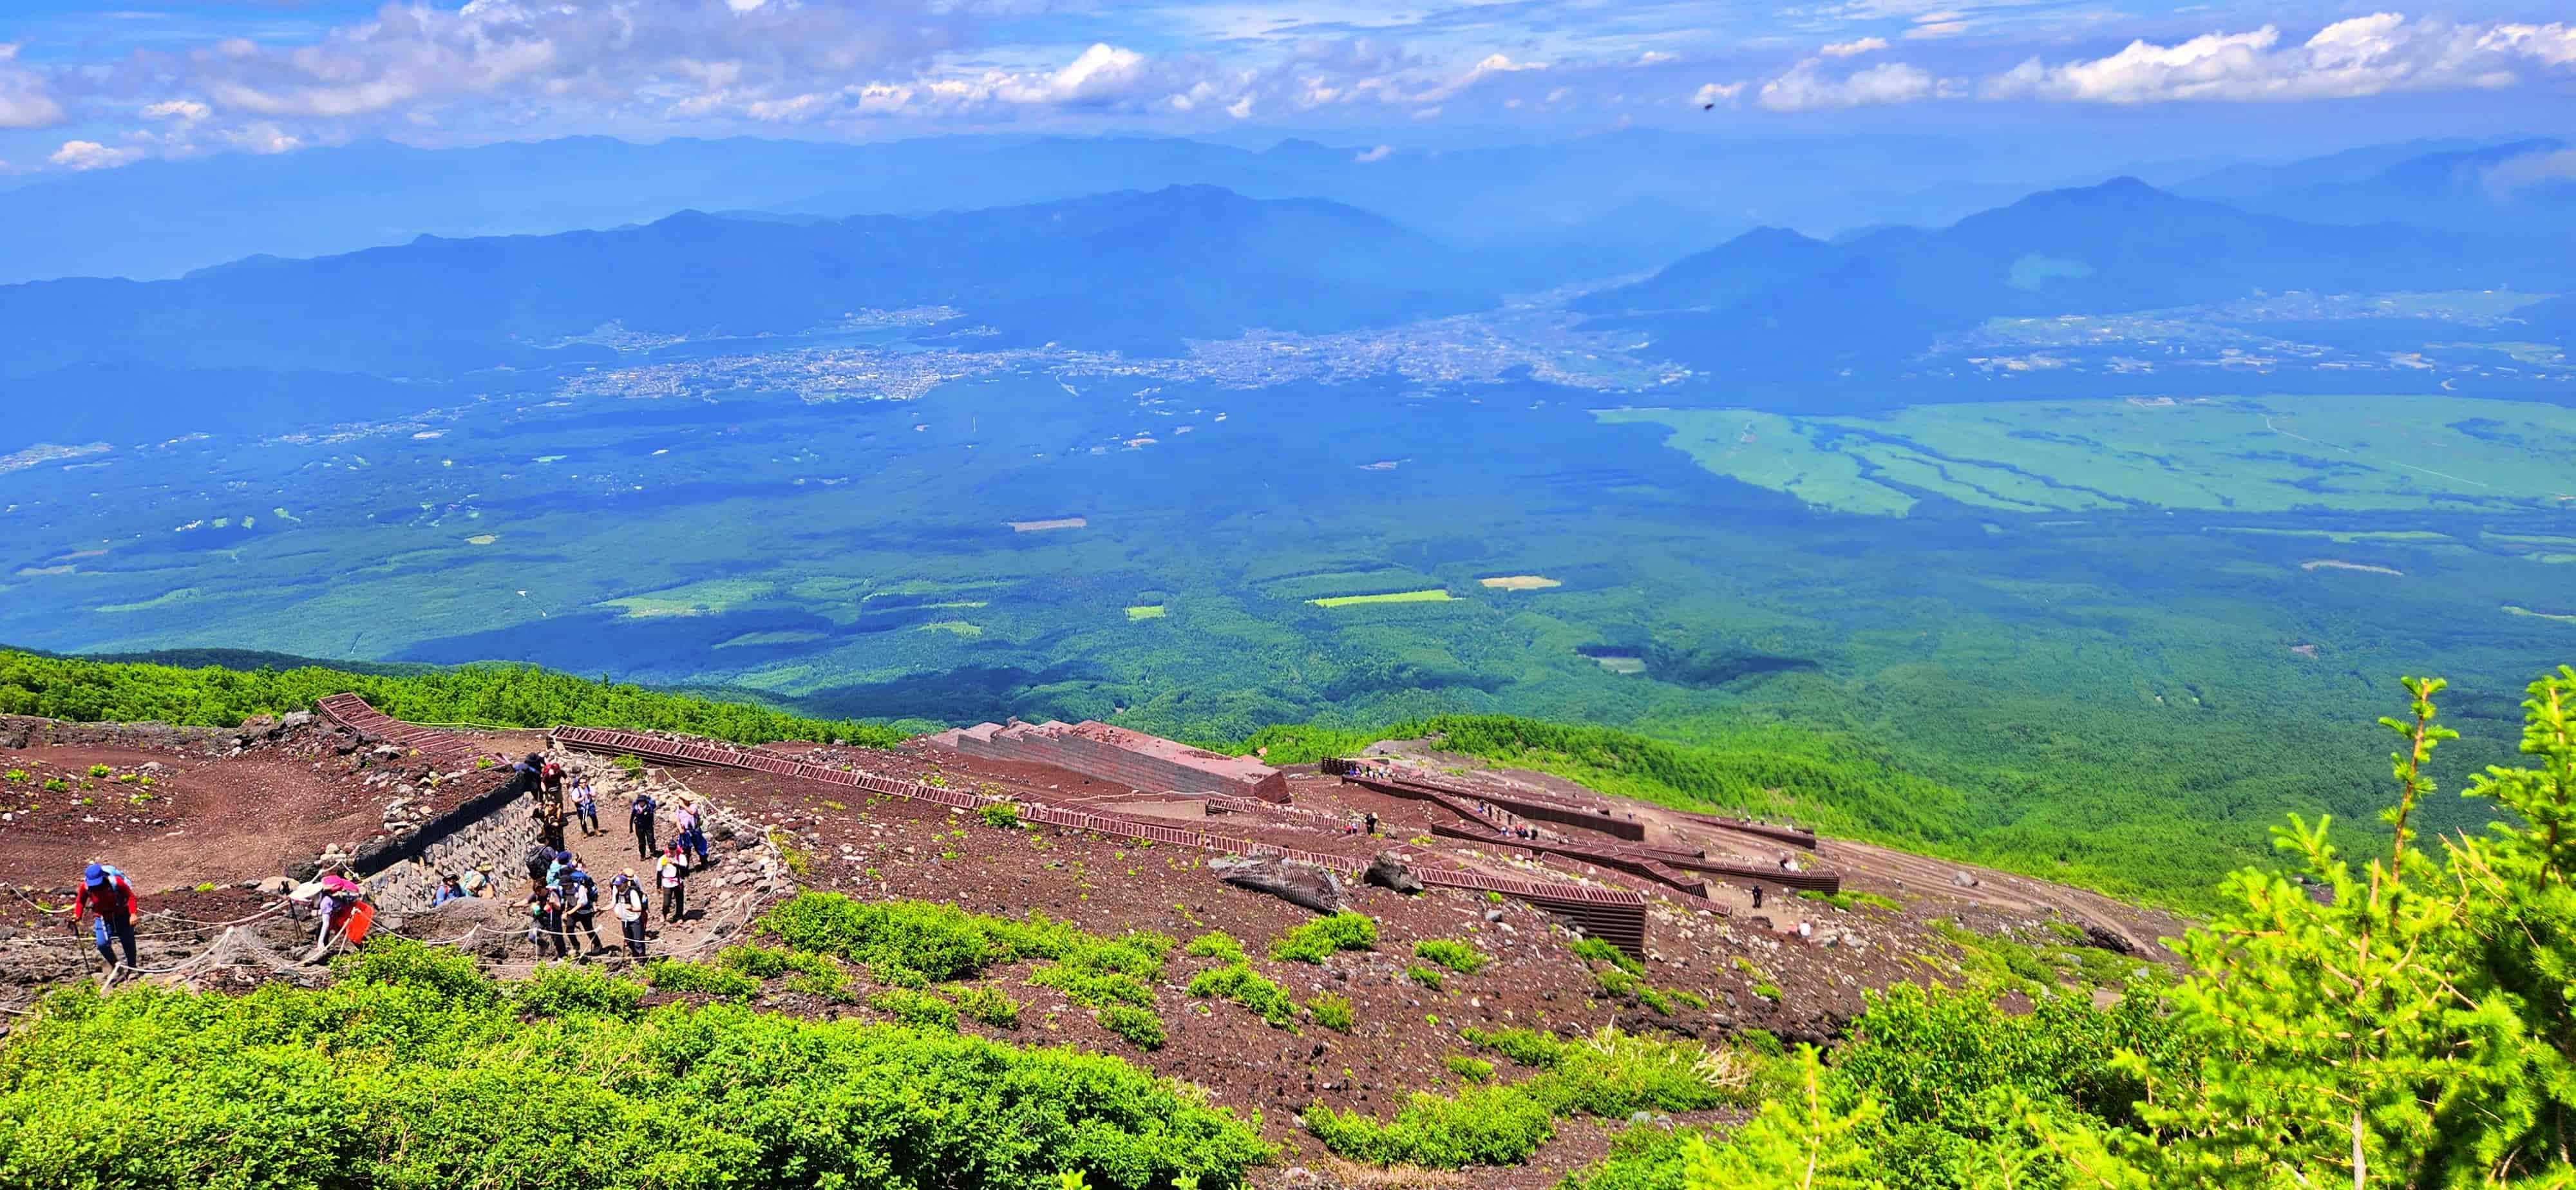
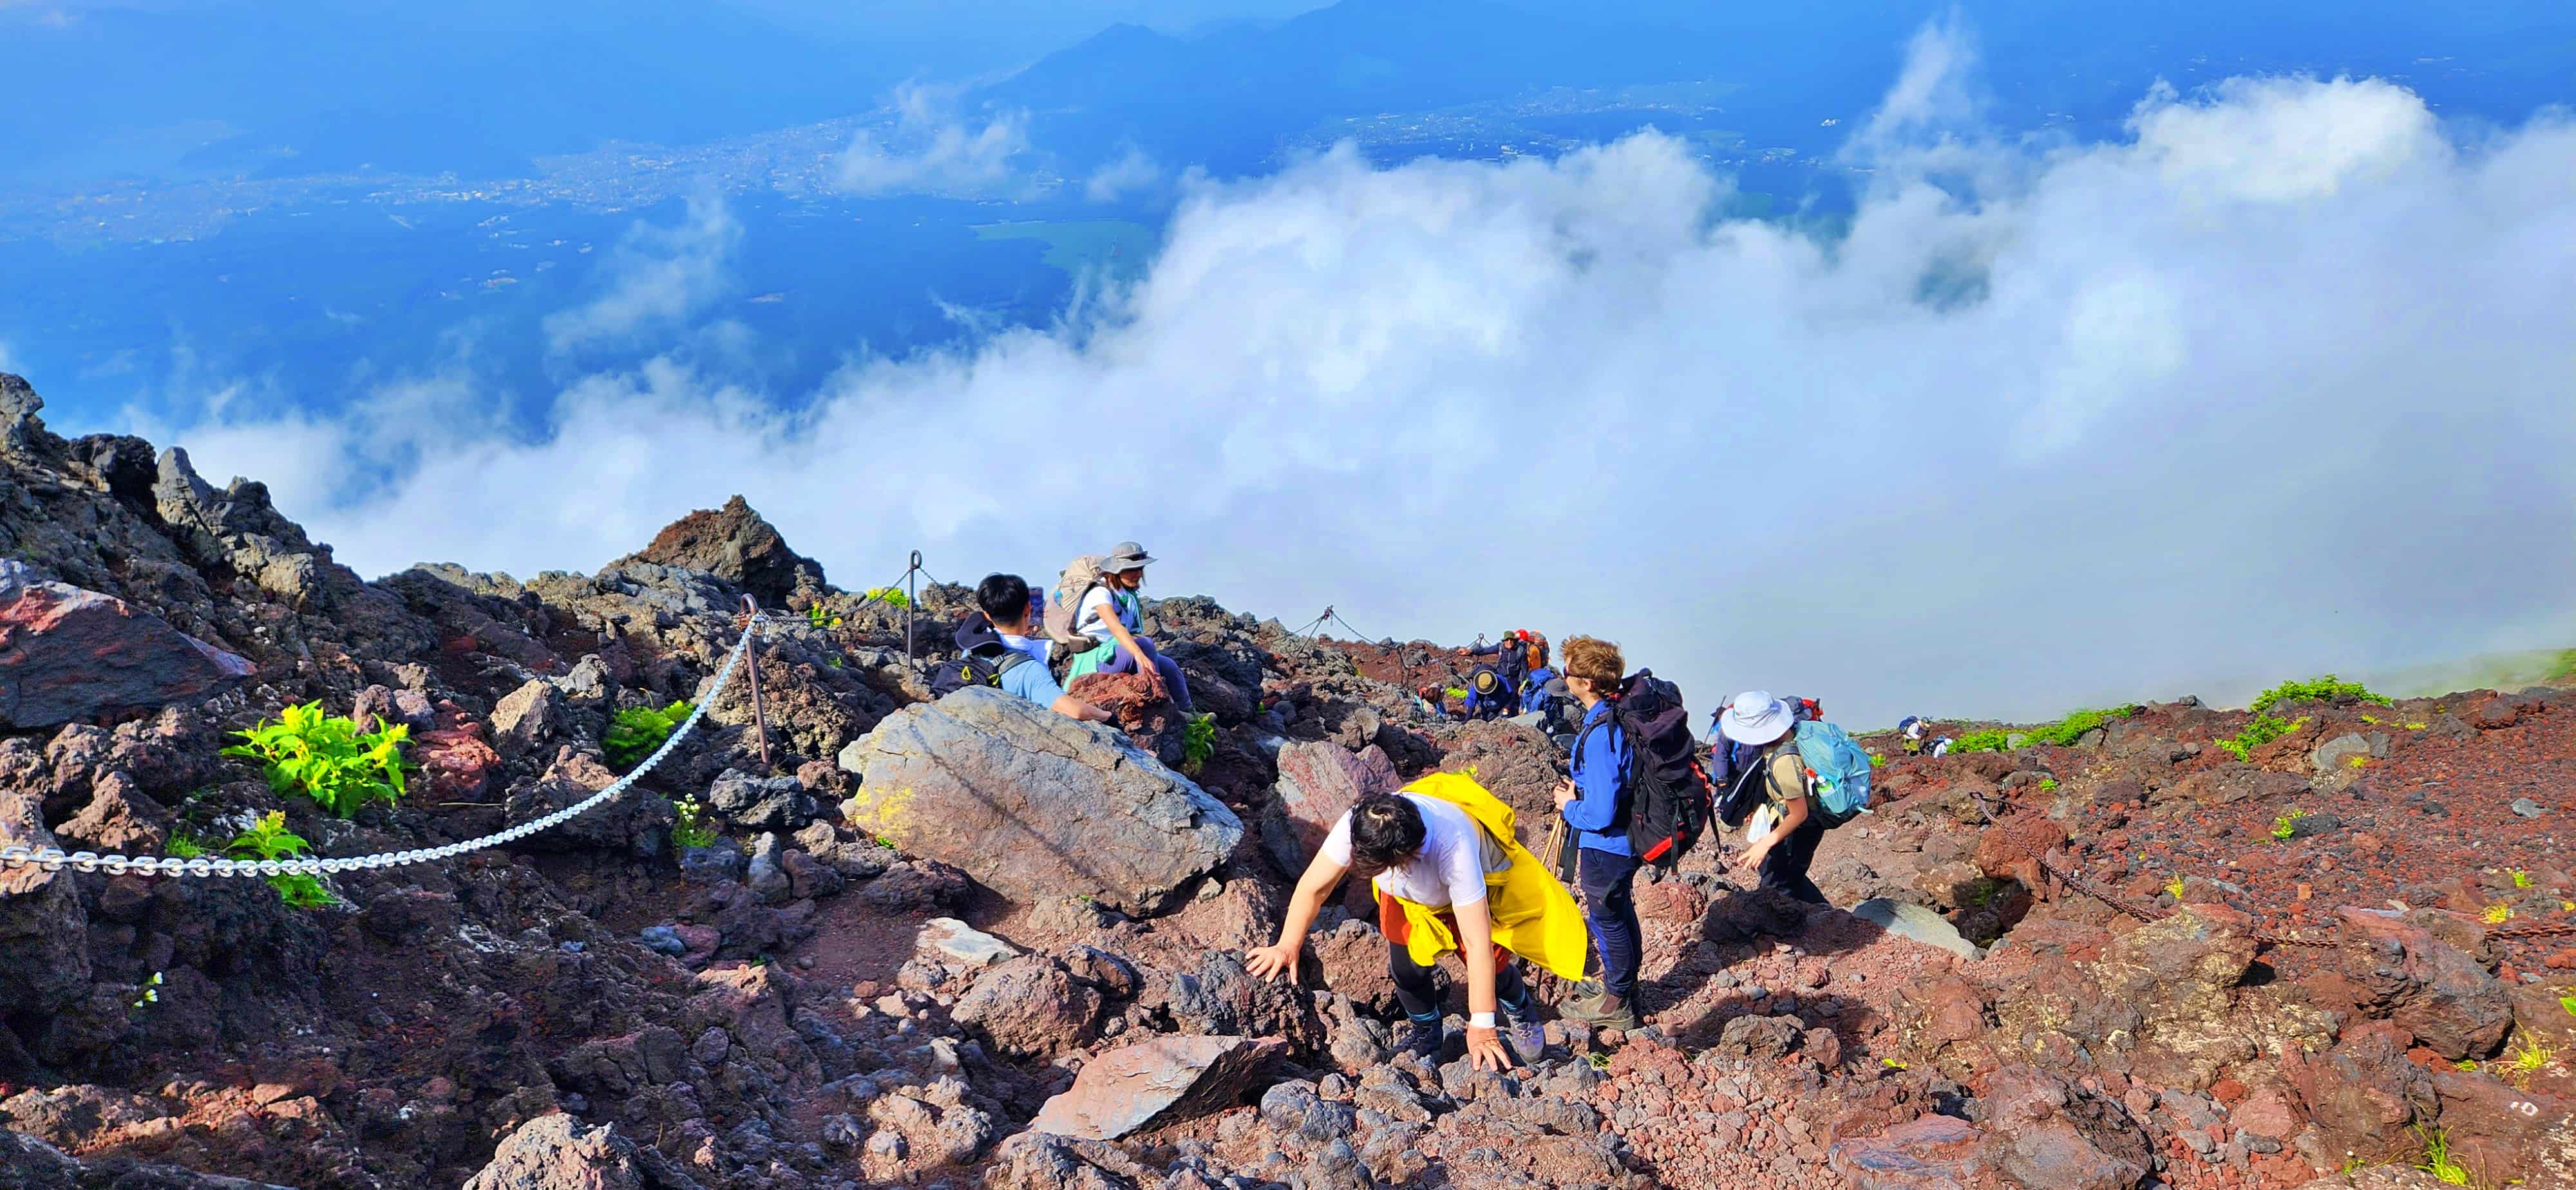
The 6th Station marks an important change in the character of the climb. Beyond the 6th Station, the trail changes into zigzagging paths across volcanic sand and gravel, with the terrain becoming progressively steeper as you climb higher. For us, this was where the climb began to feel much more like what we had imagined Mt Fuji would be. The forest gradually gives way to a more open volcanic landscape, and the trail begins its long series of switchbacks. From here onwards, we knew we had many more hours of climbing ahead of us.
7th Station – The Rocky Climb Begins
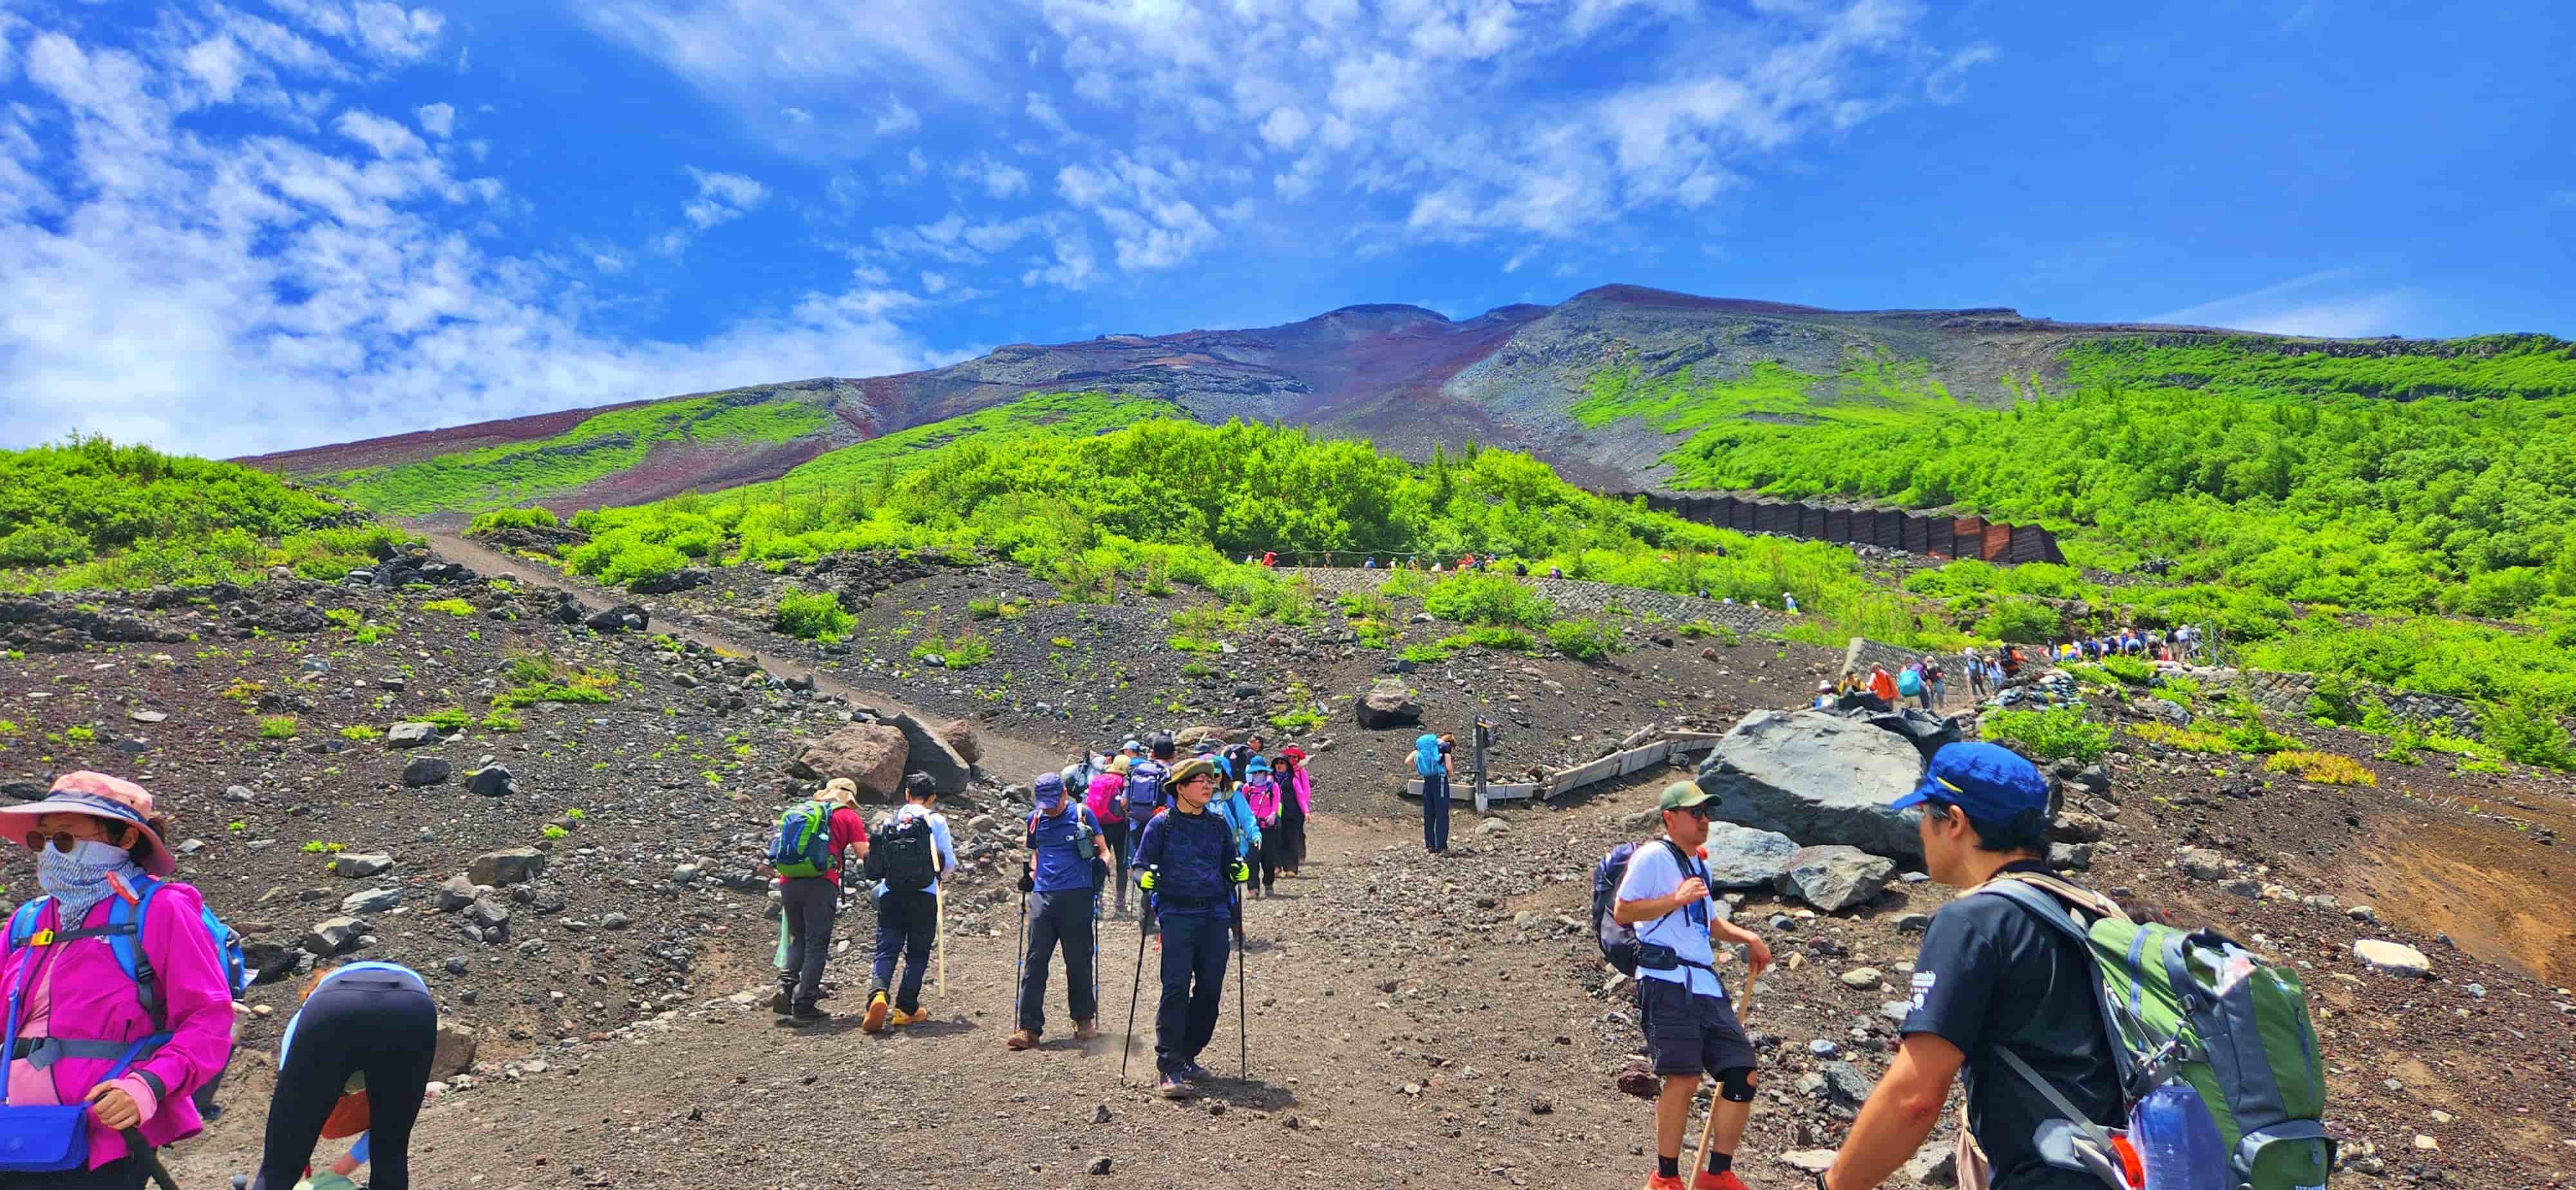
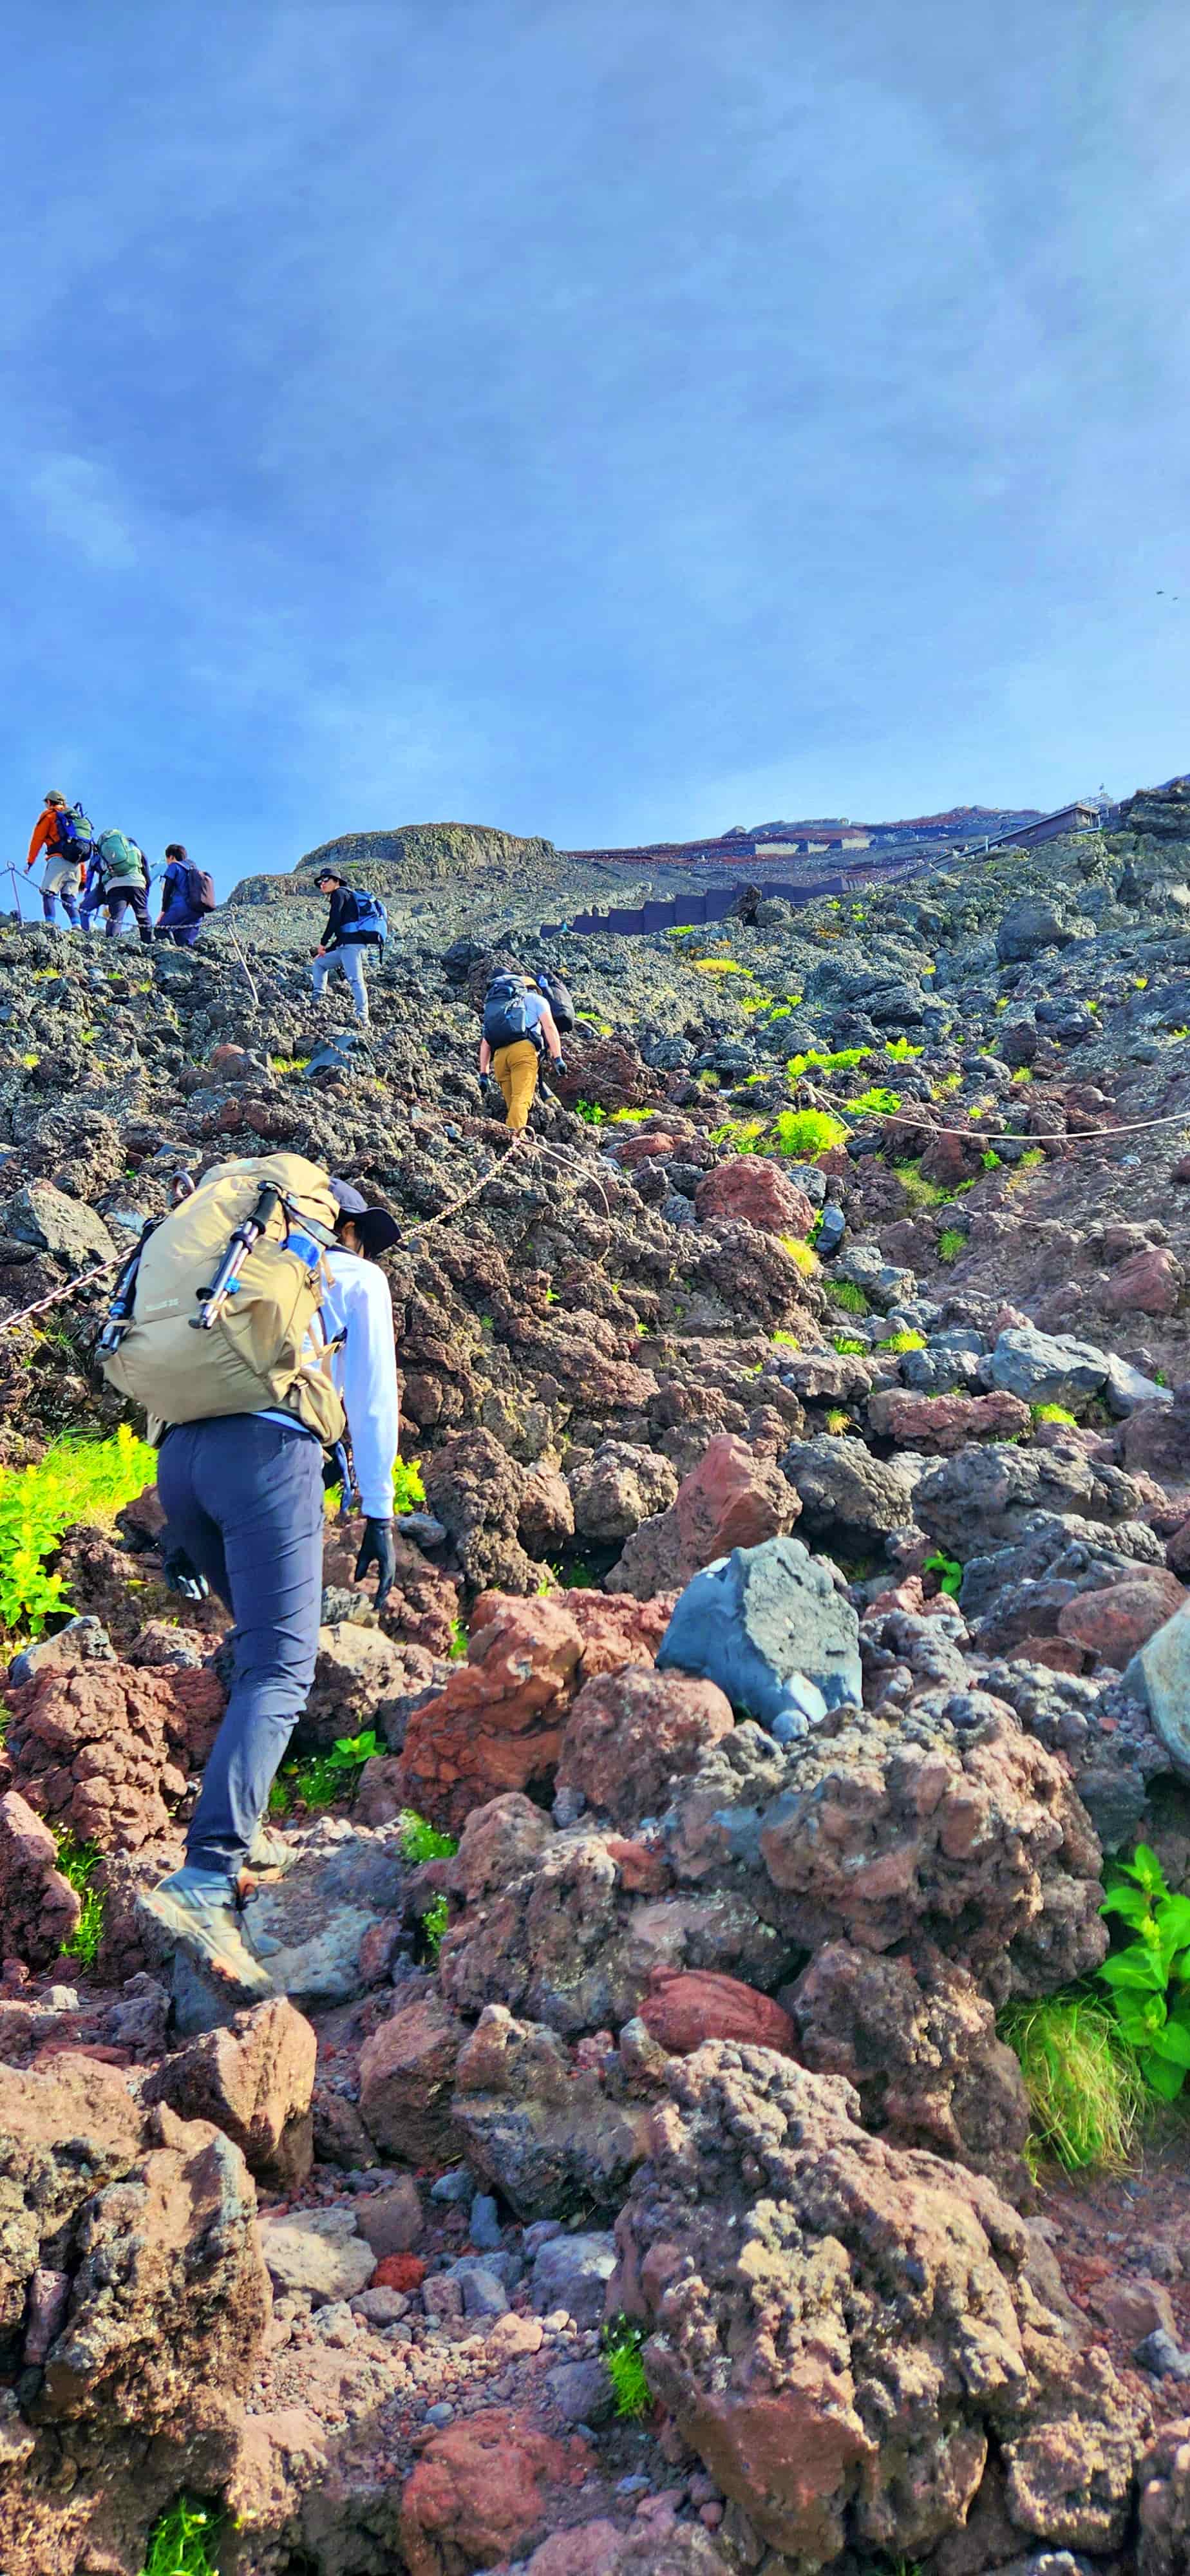
The 7th Station is where the character of the Yoshida Trail changes again. There are several mountain huts around the 7th Station, making this one of the busier areas of the route and an important milestone for climbers. From around the 7th Station, the terrain becomes increasingly steep and rocky. The volcanic gravel sections are joined by more substantial rocky climbs, requiring more careful foot placement and a slower pace.
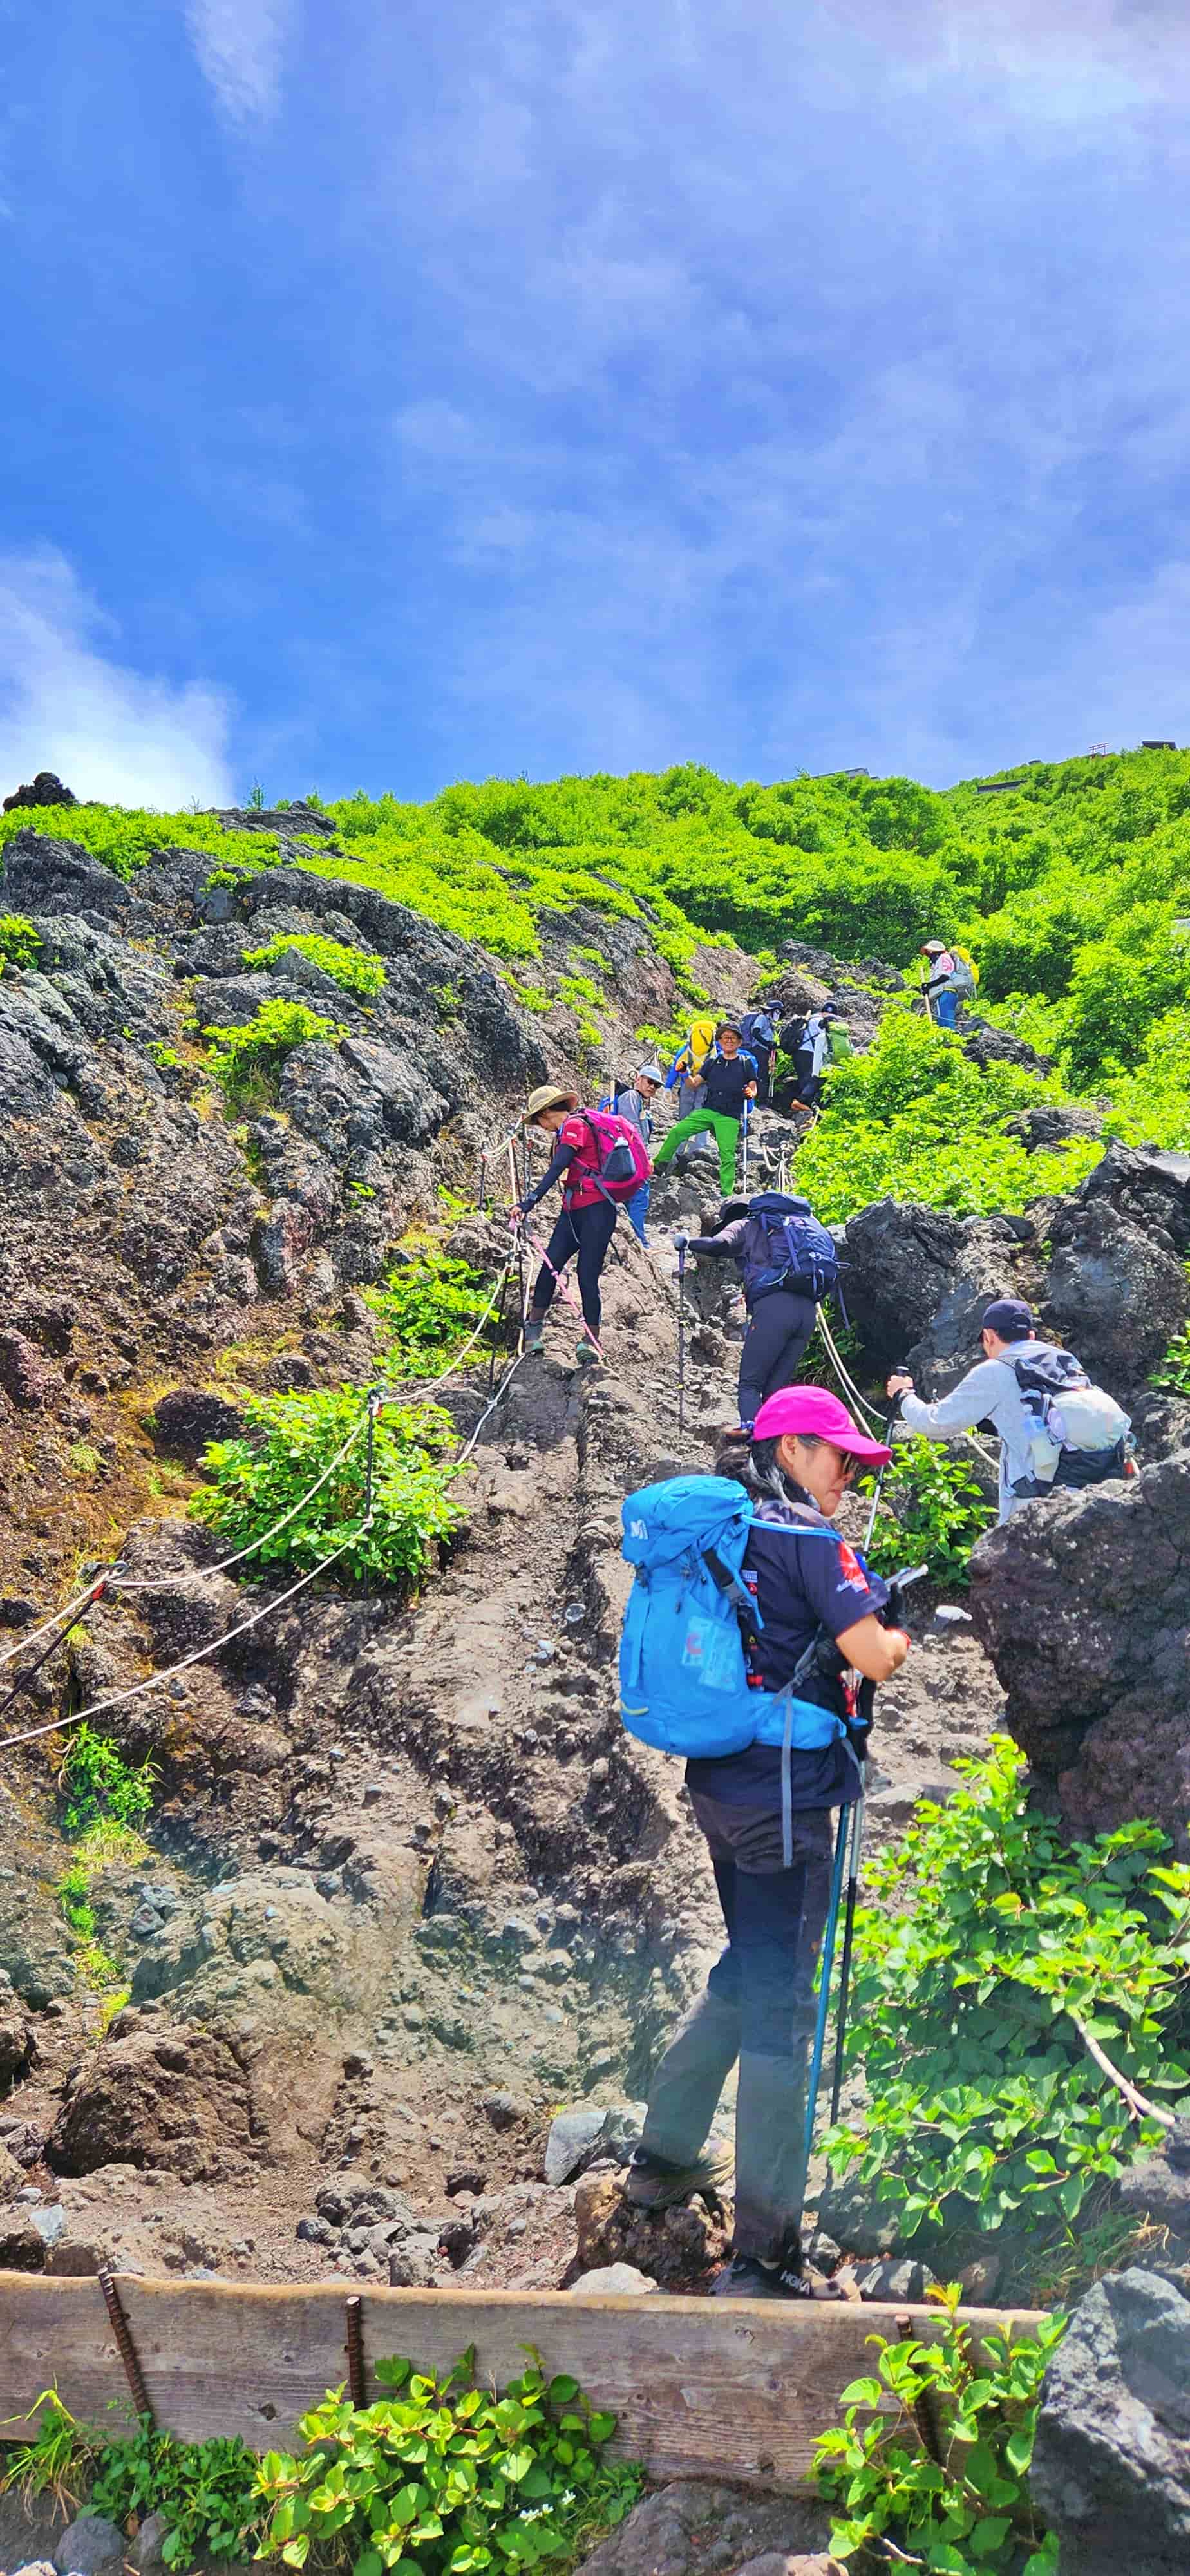
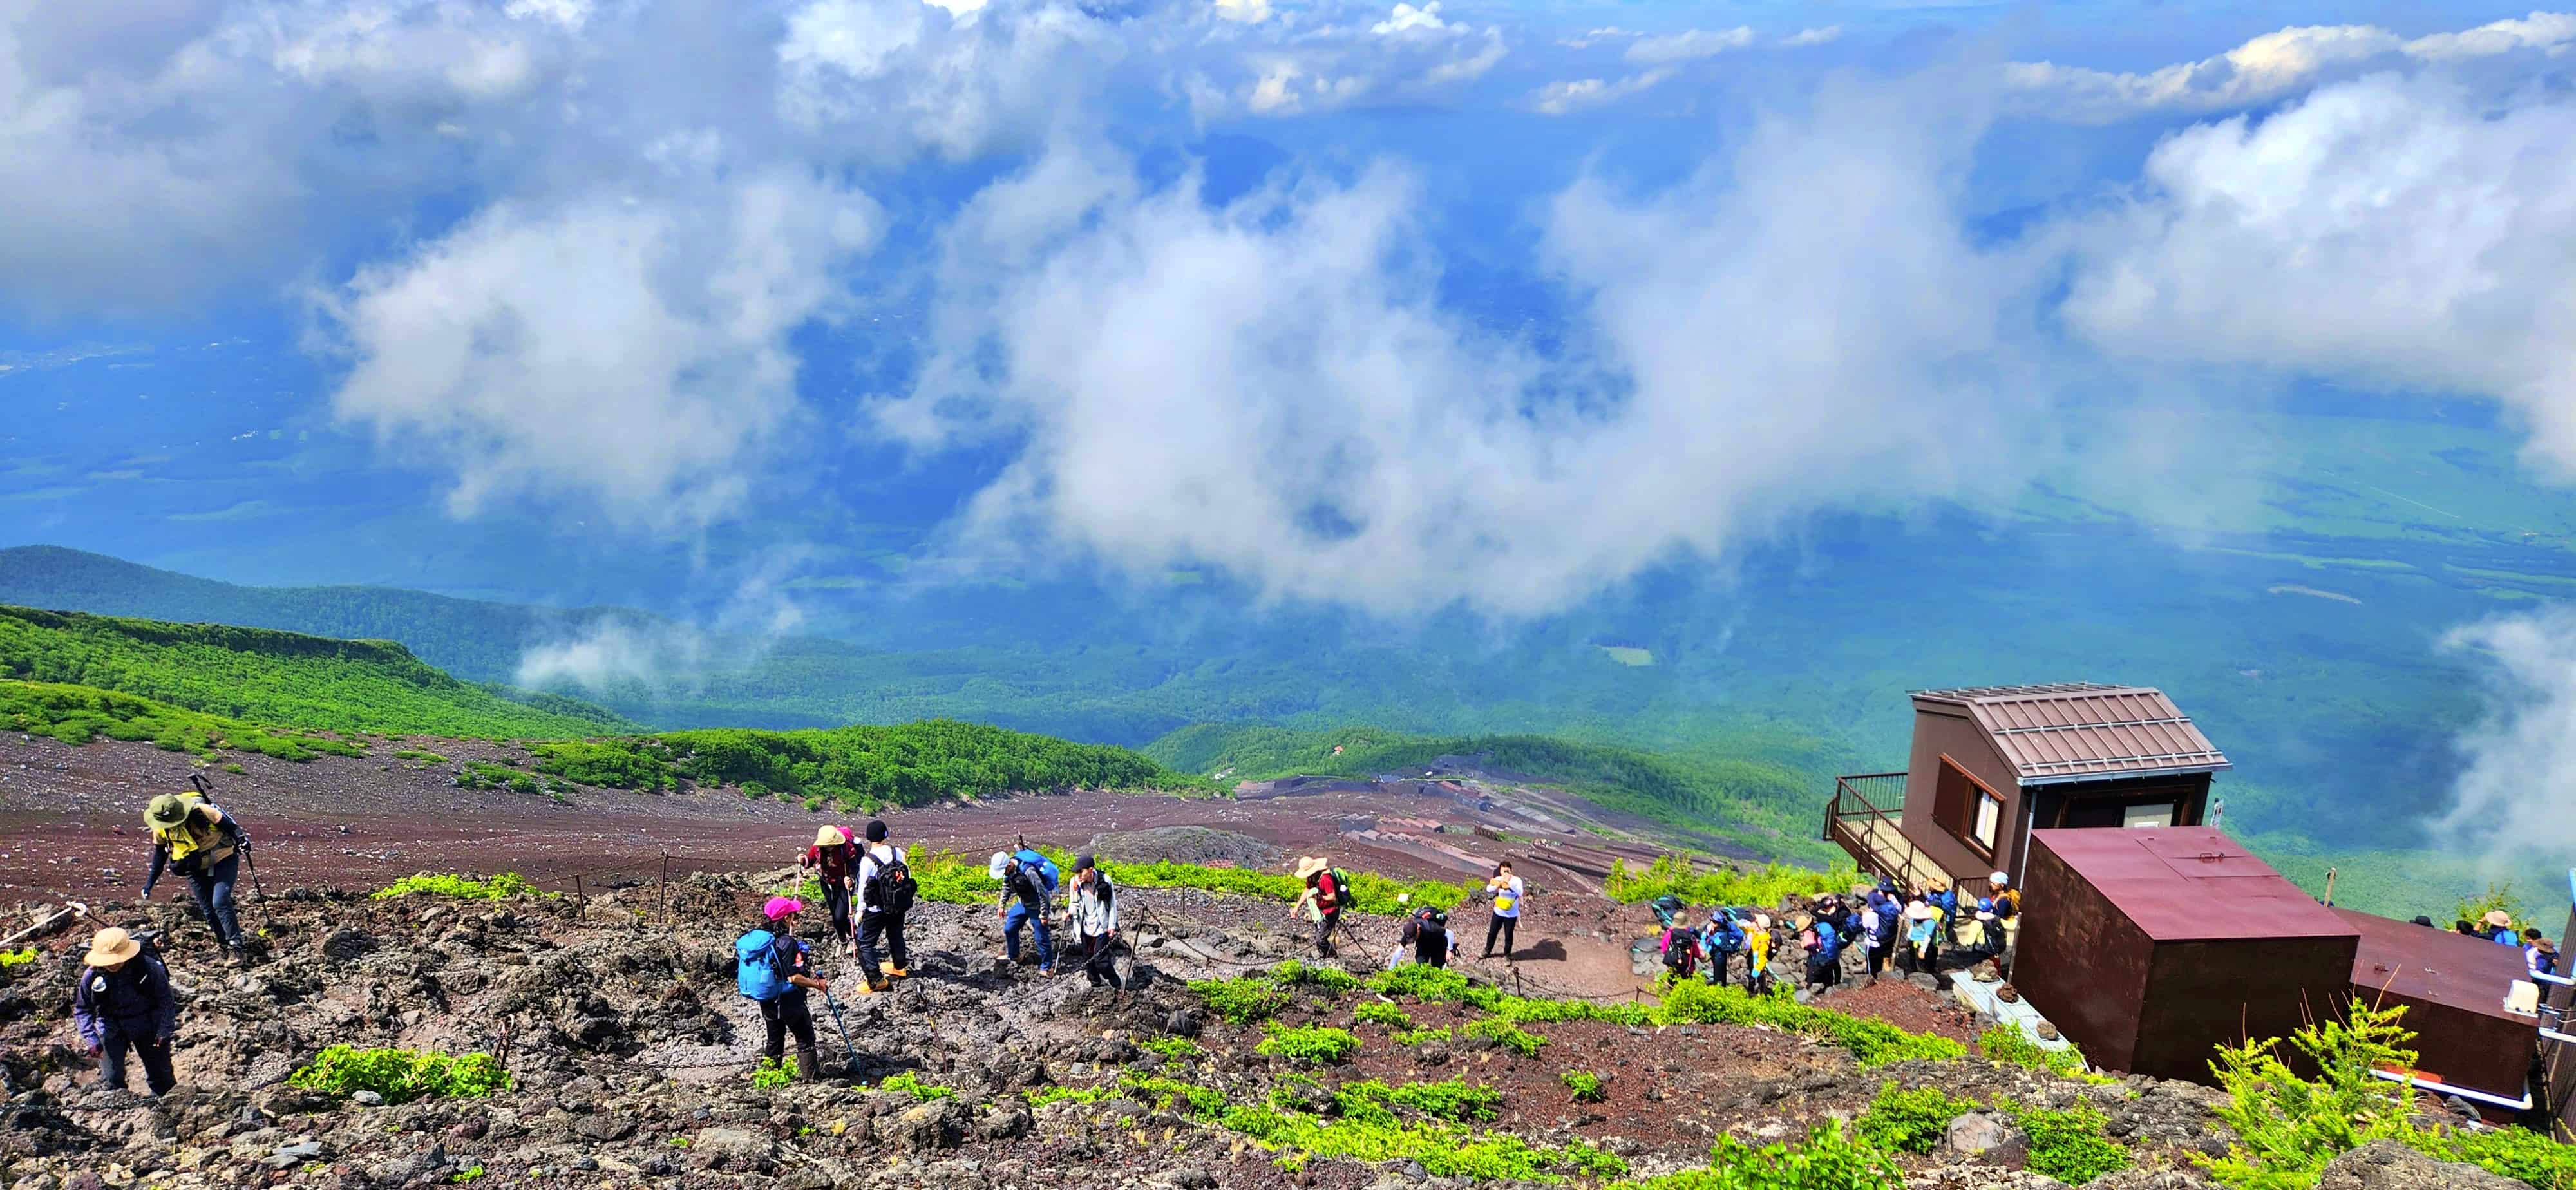
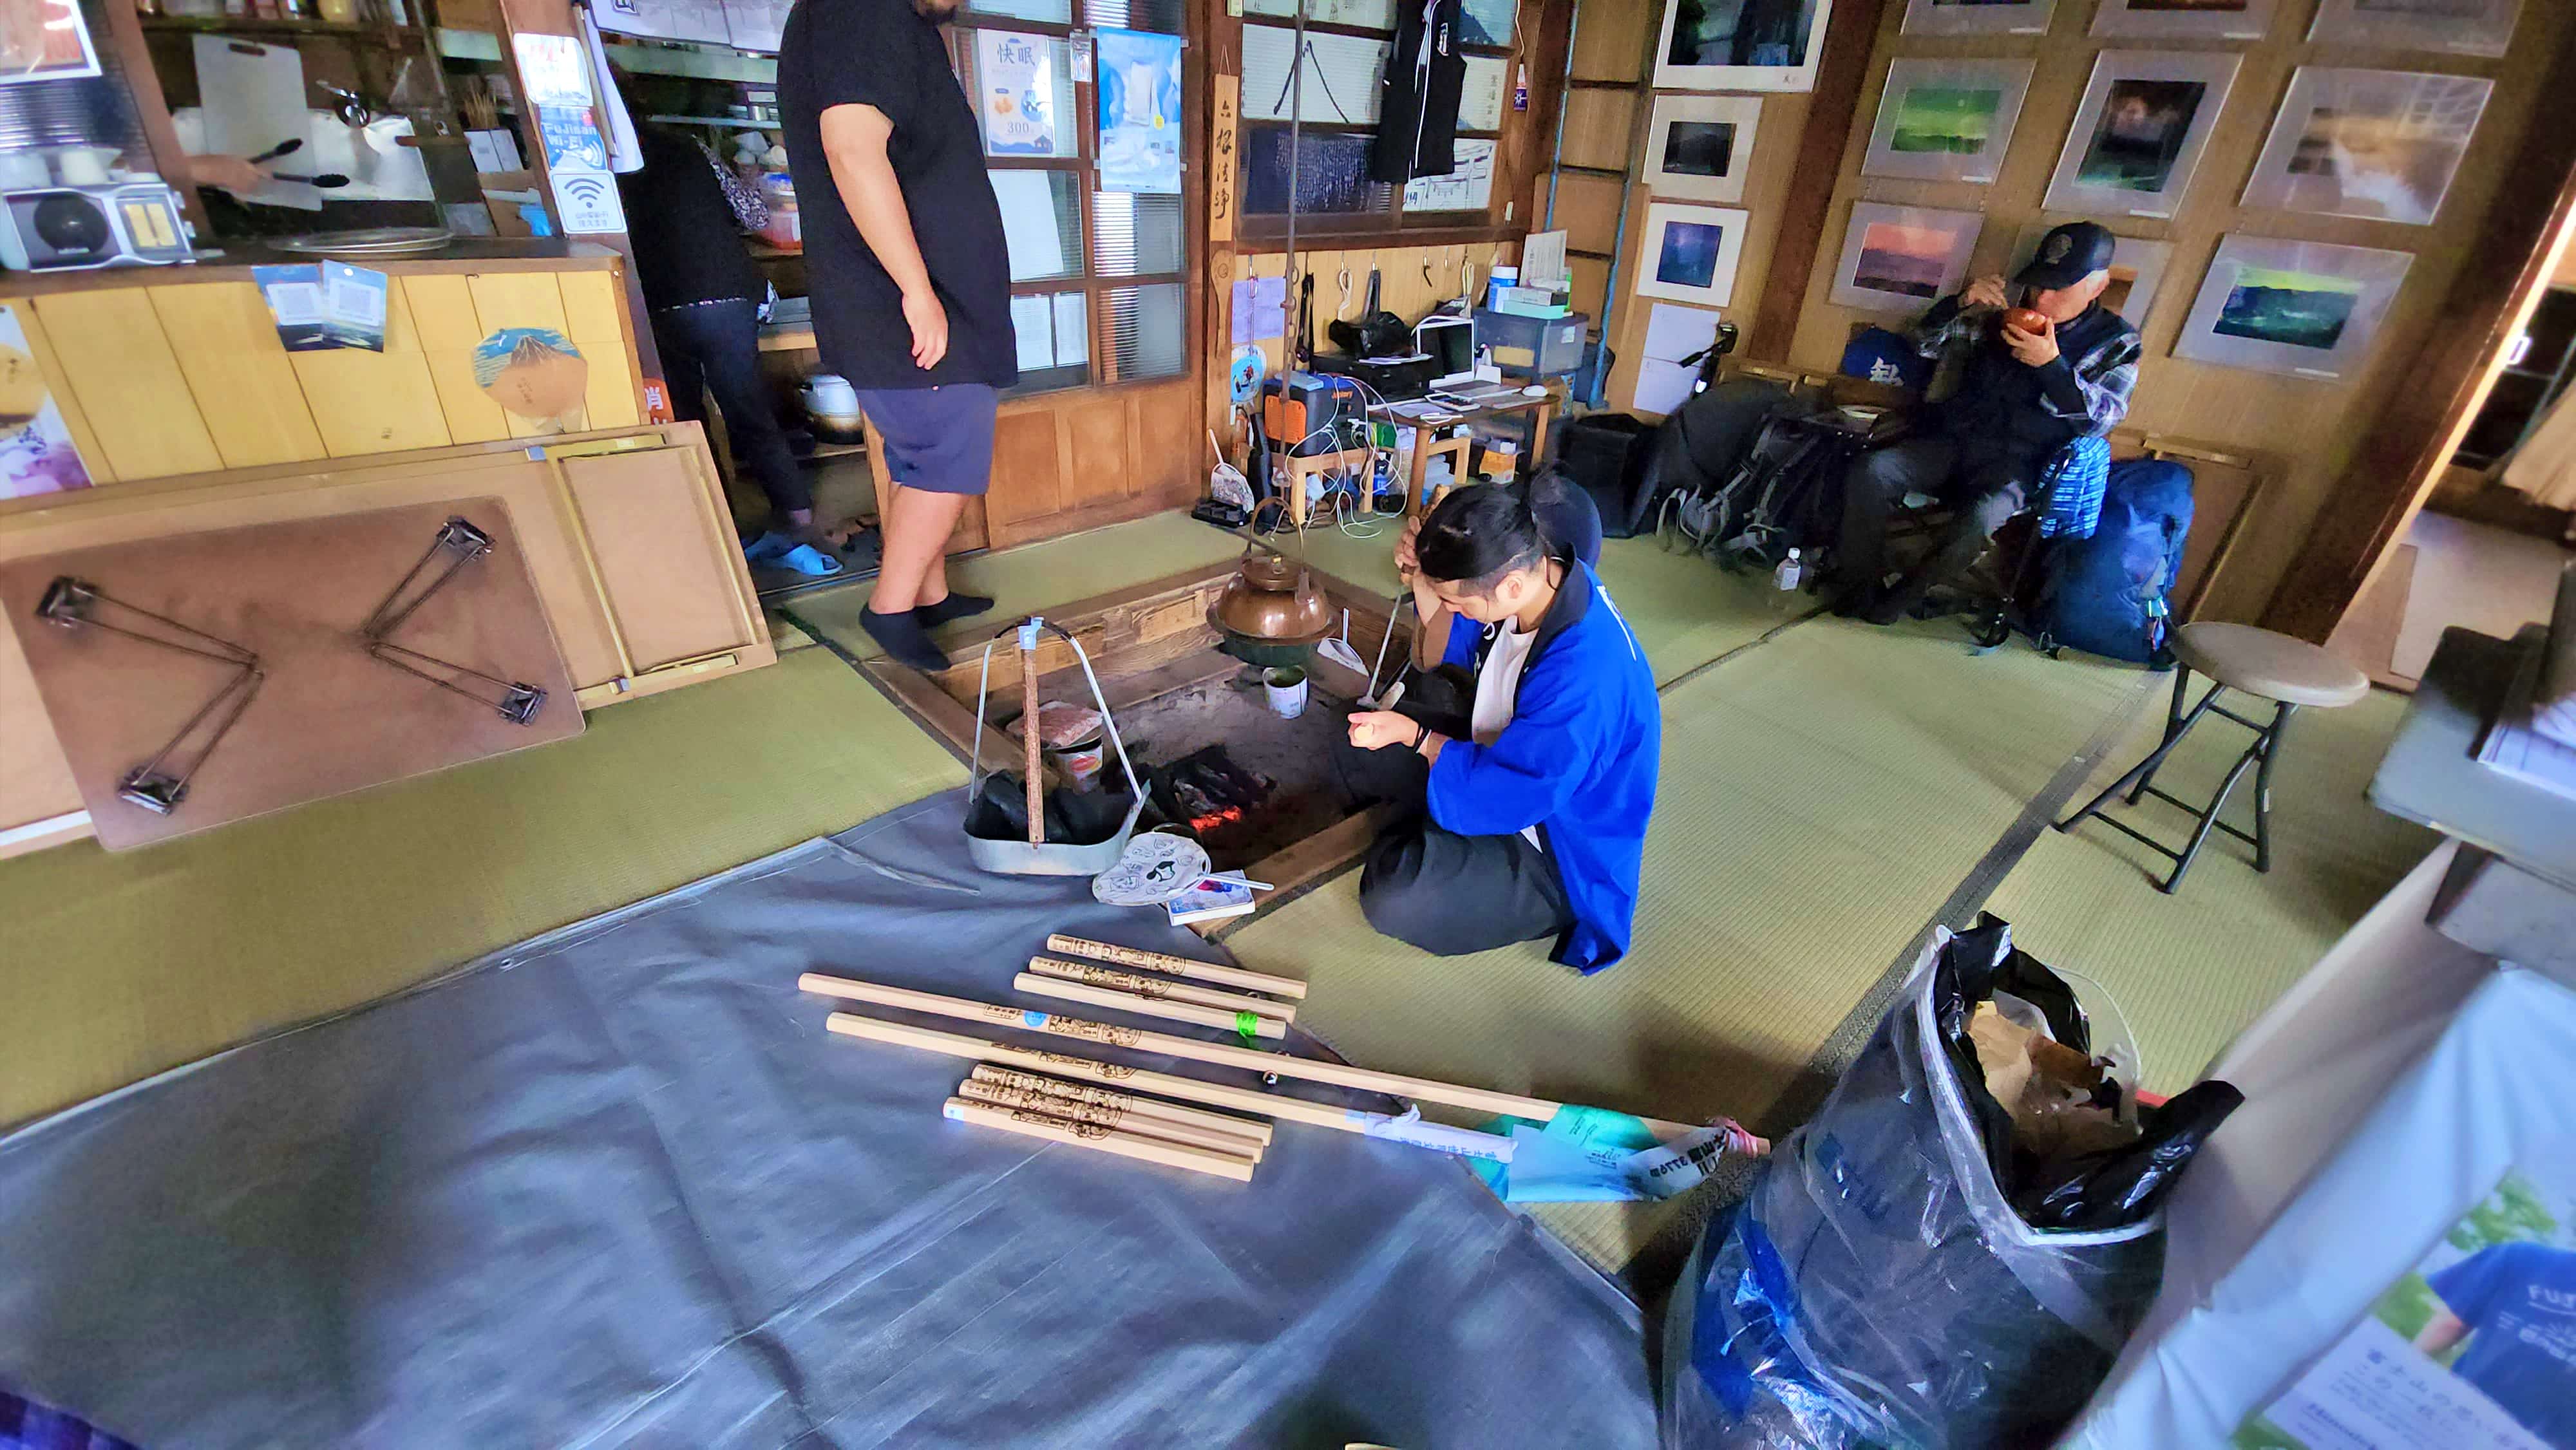
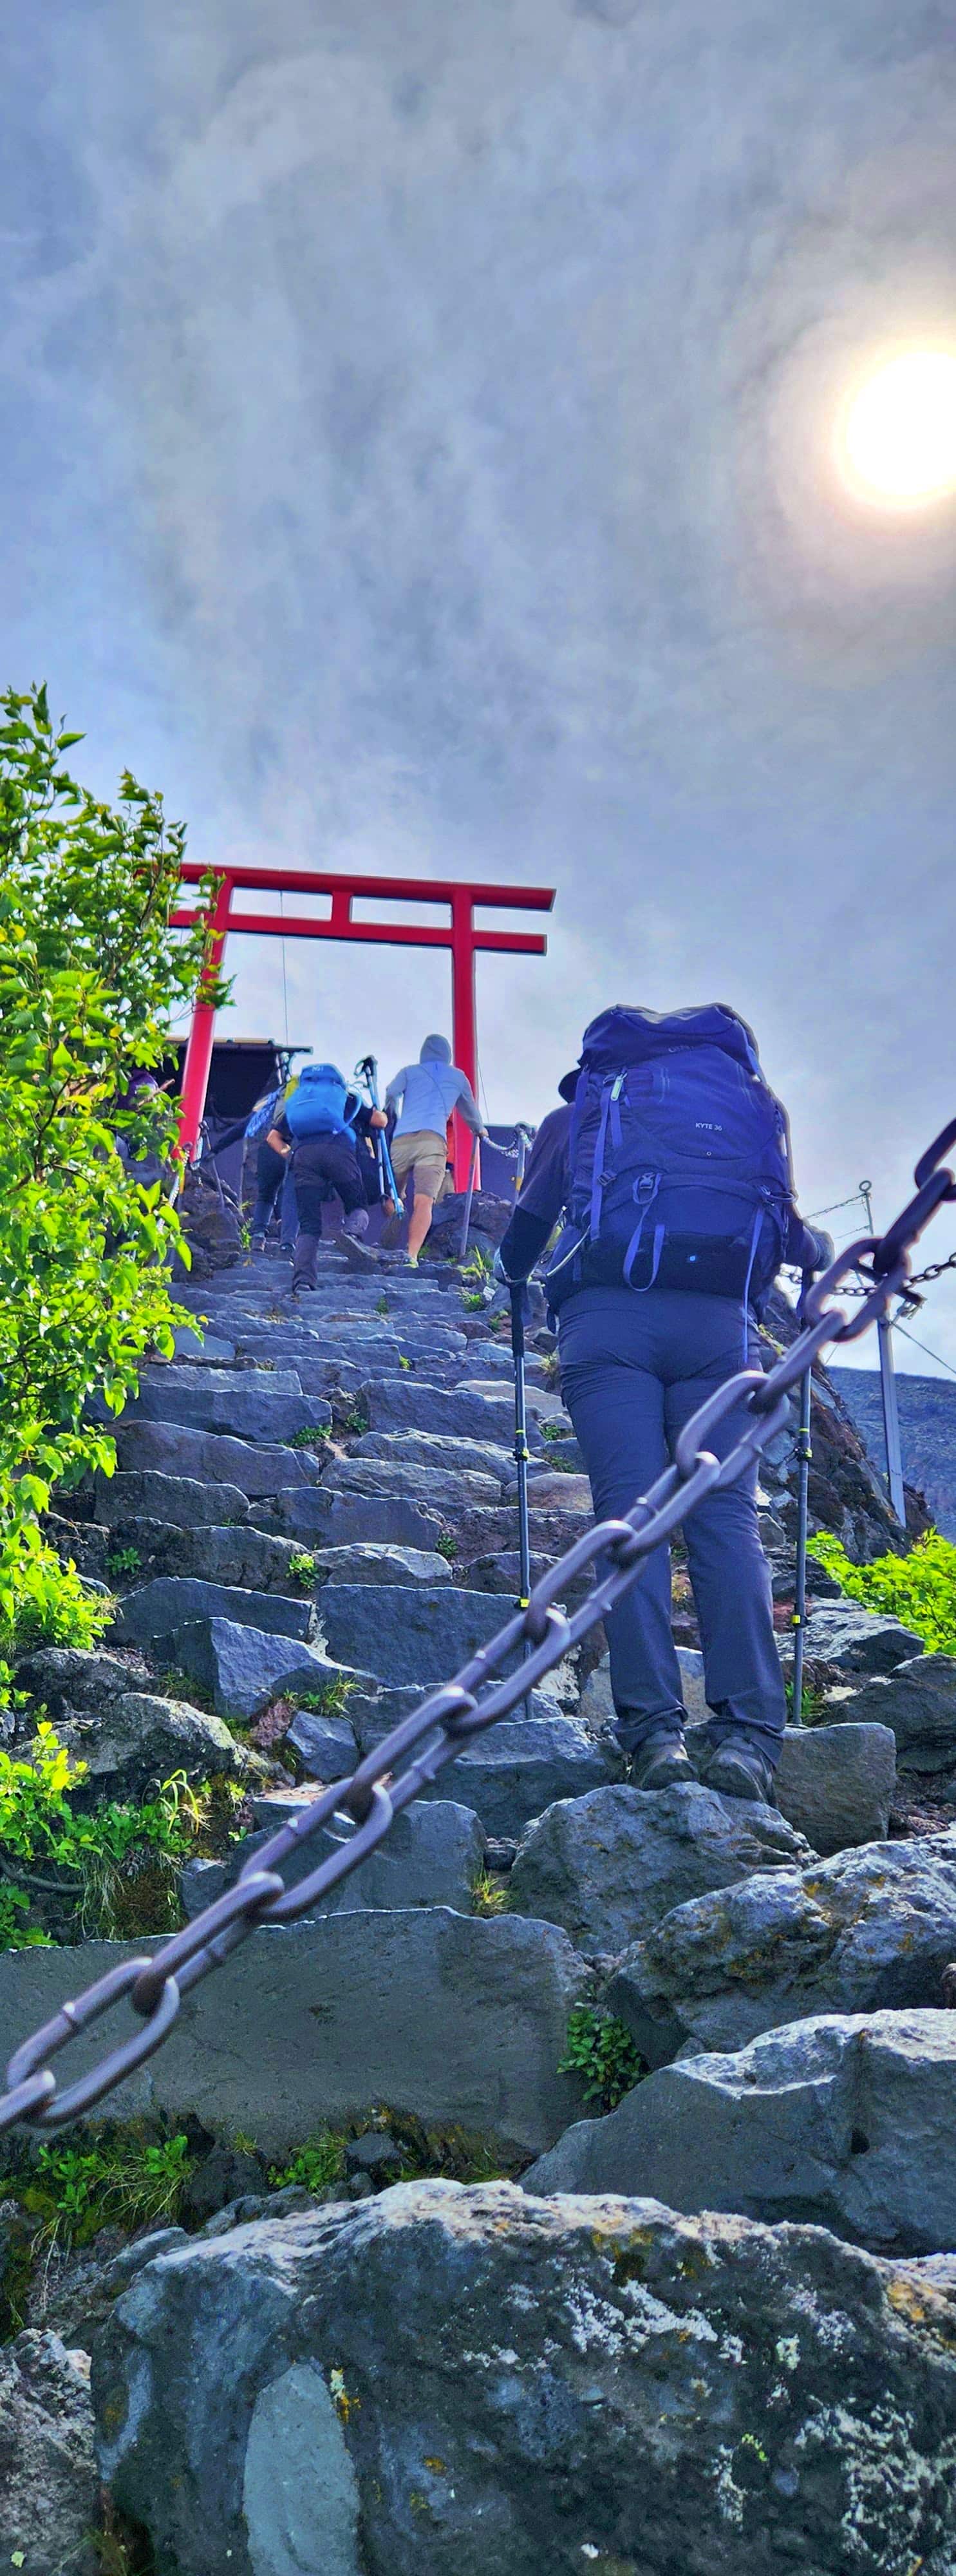
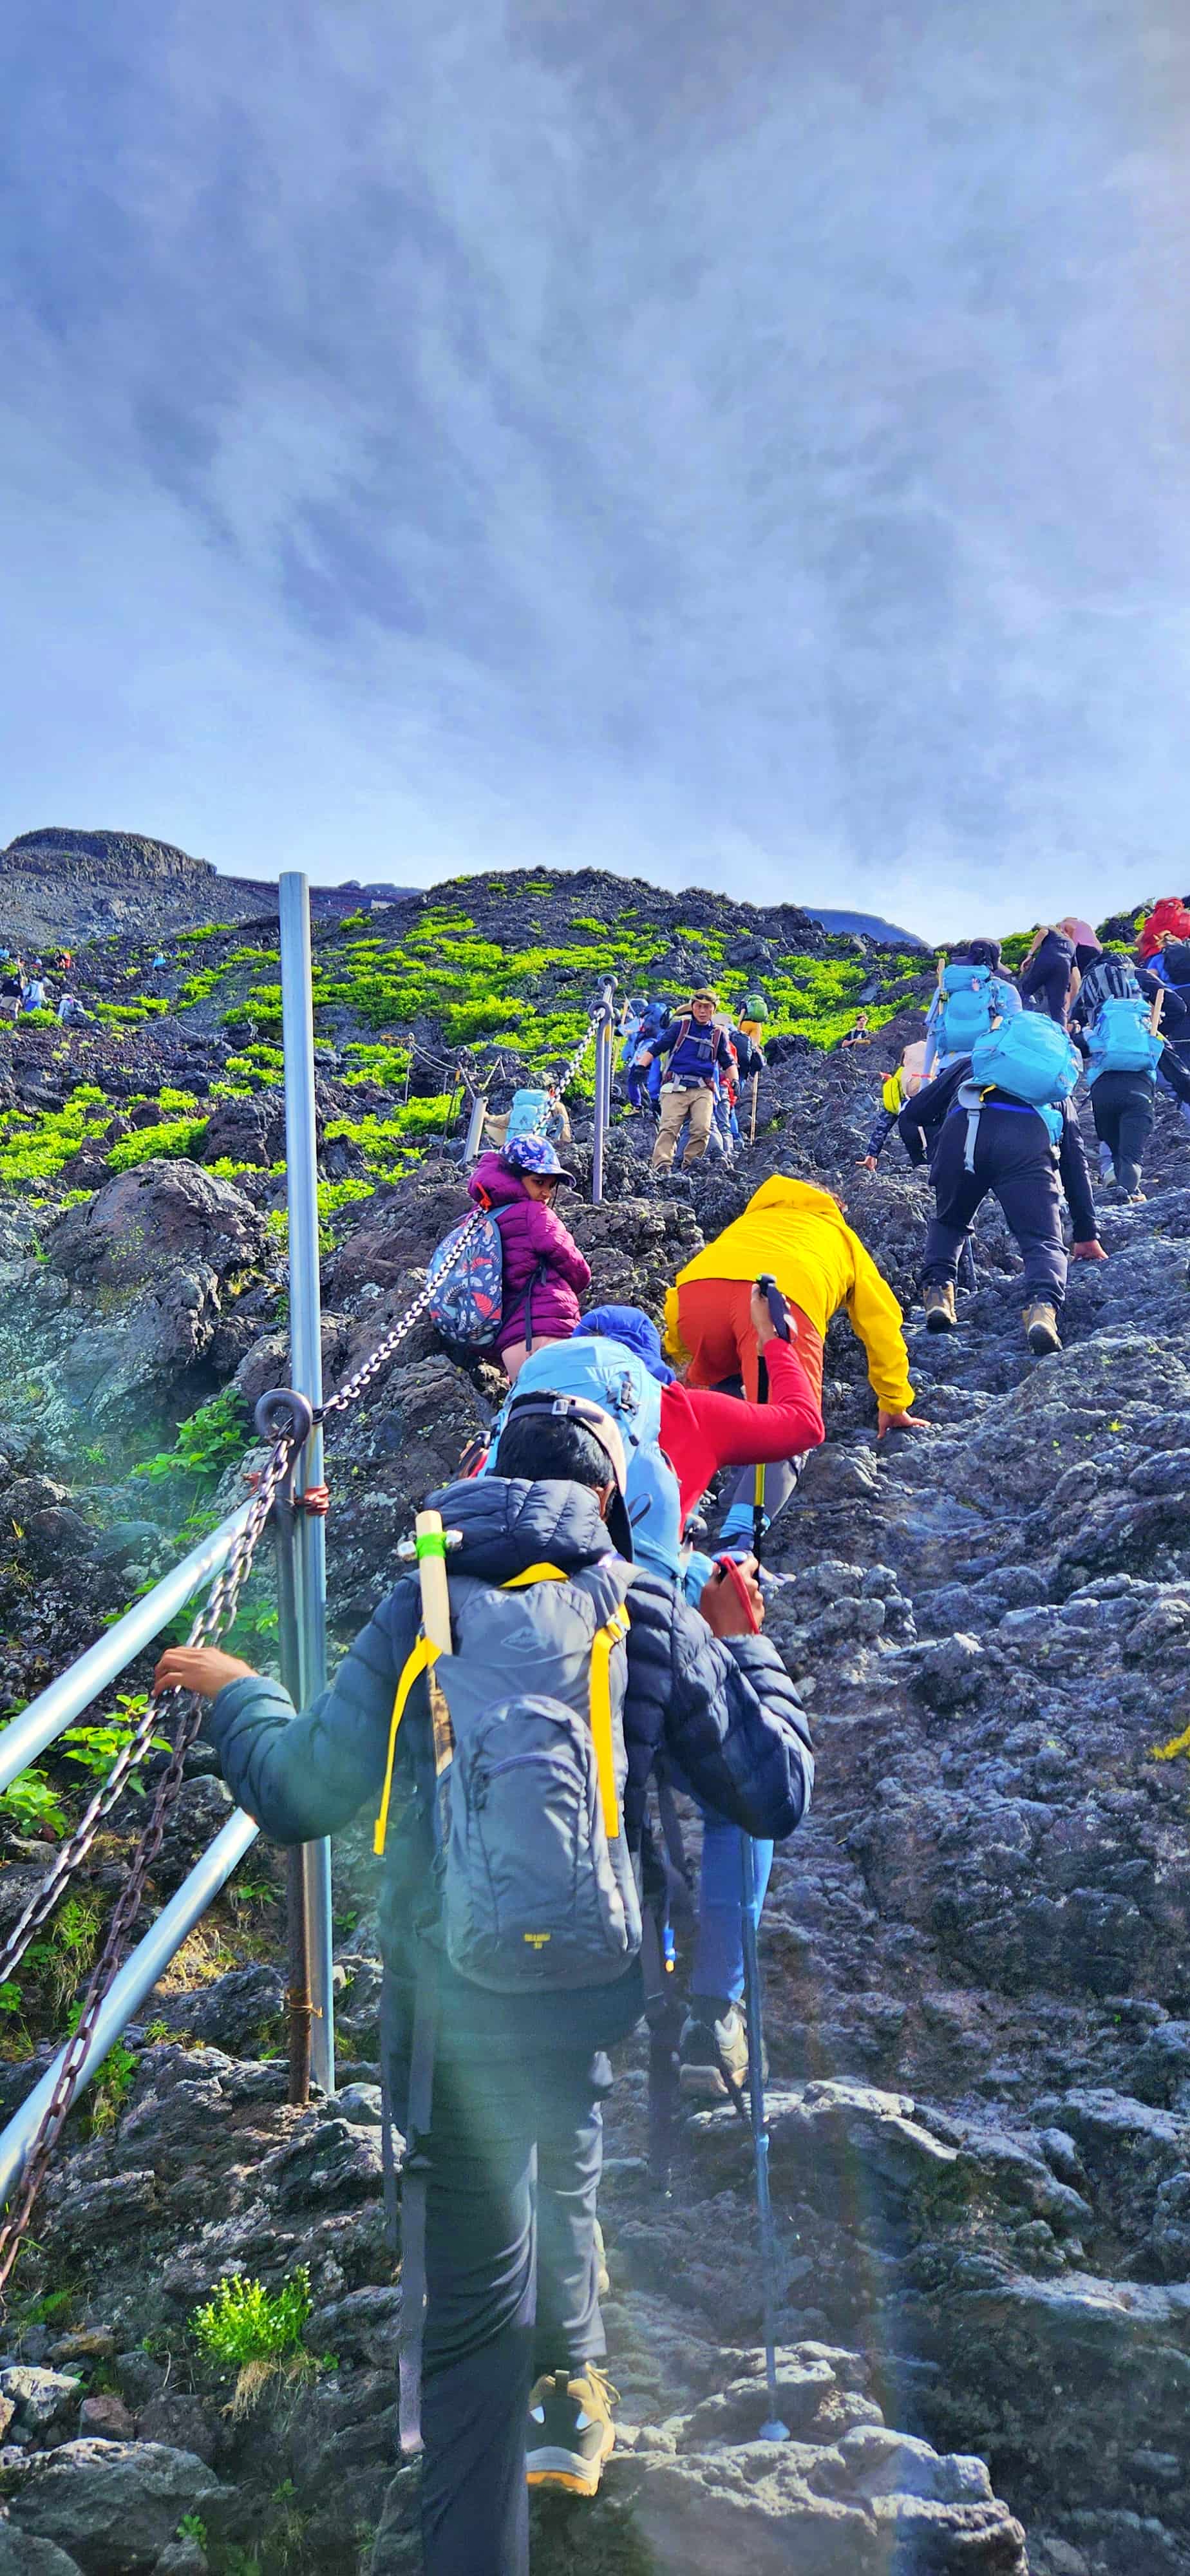
This was also around the 3,000-metre mark where we began noticing altitude-related symptoms in one adult and both children. We experienced persistent headaches, nausea and a lack of appetite, and these symptoms remained a factor for the rest of our ascent. We continued monitoring everyone closely as we made our way higher.
8th Station – Steeper and More Rugged
Beyond the 7th Station, the climb became progressively more demanding. The 8th Station area contains several mountain huts, and the terrain becomes increasingly rugged. By this point, the effects of the altitude and the length of the climb were becoming much more noticeable for us. We continued at a steady pace, taking breaks when needed rather than trying to maintain a particular timetable.
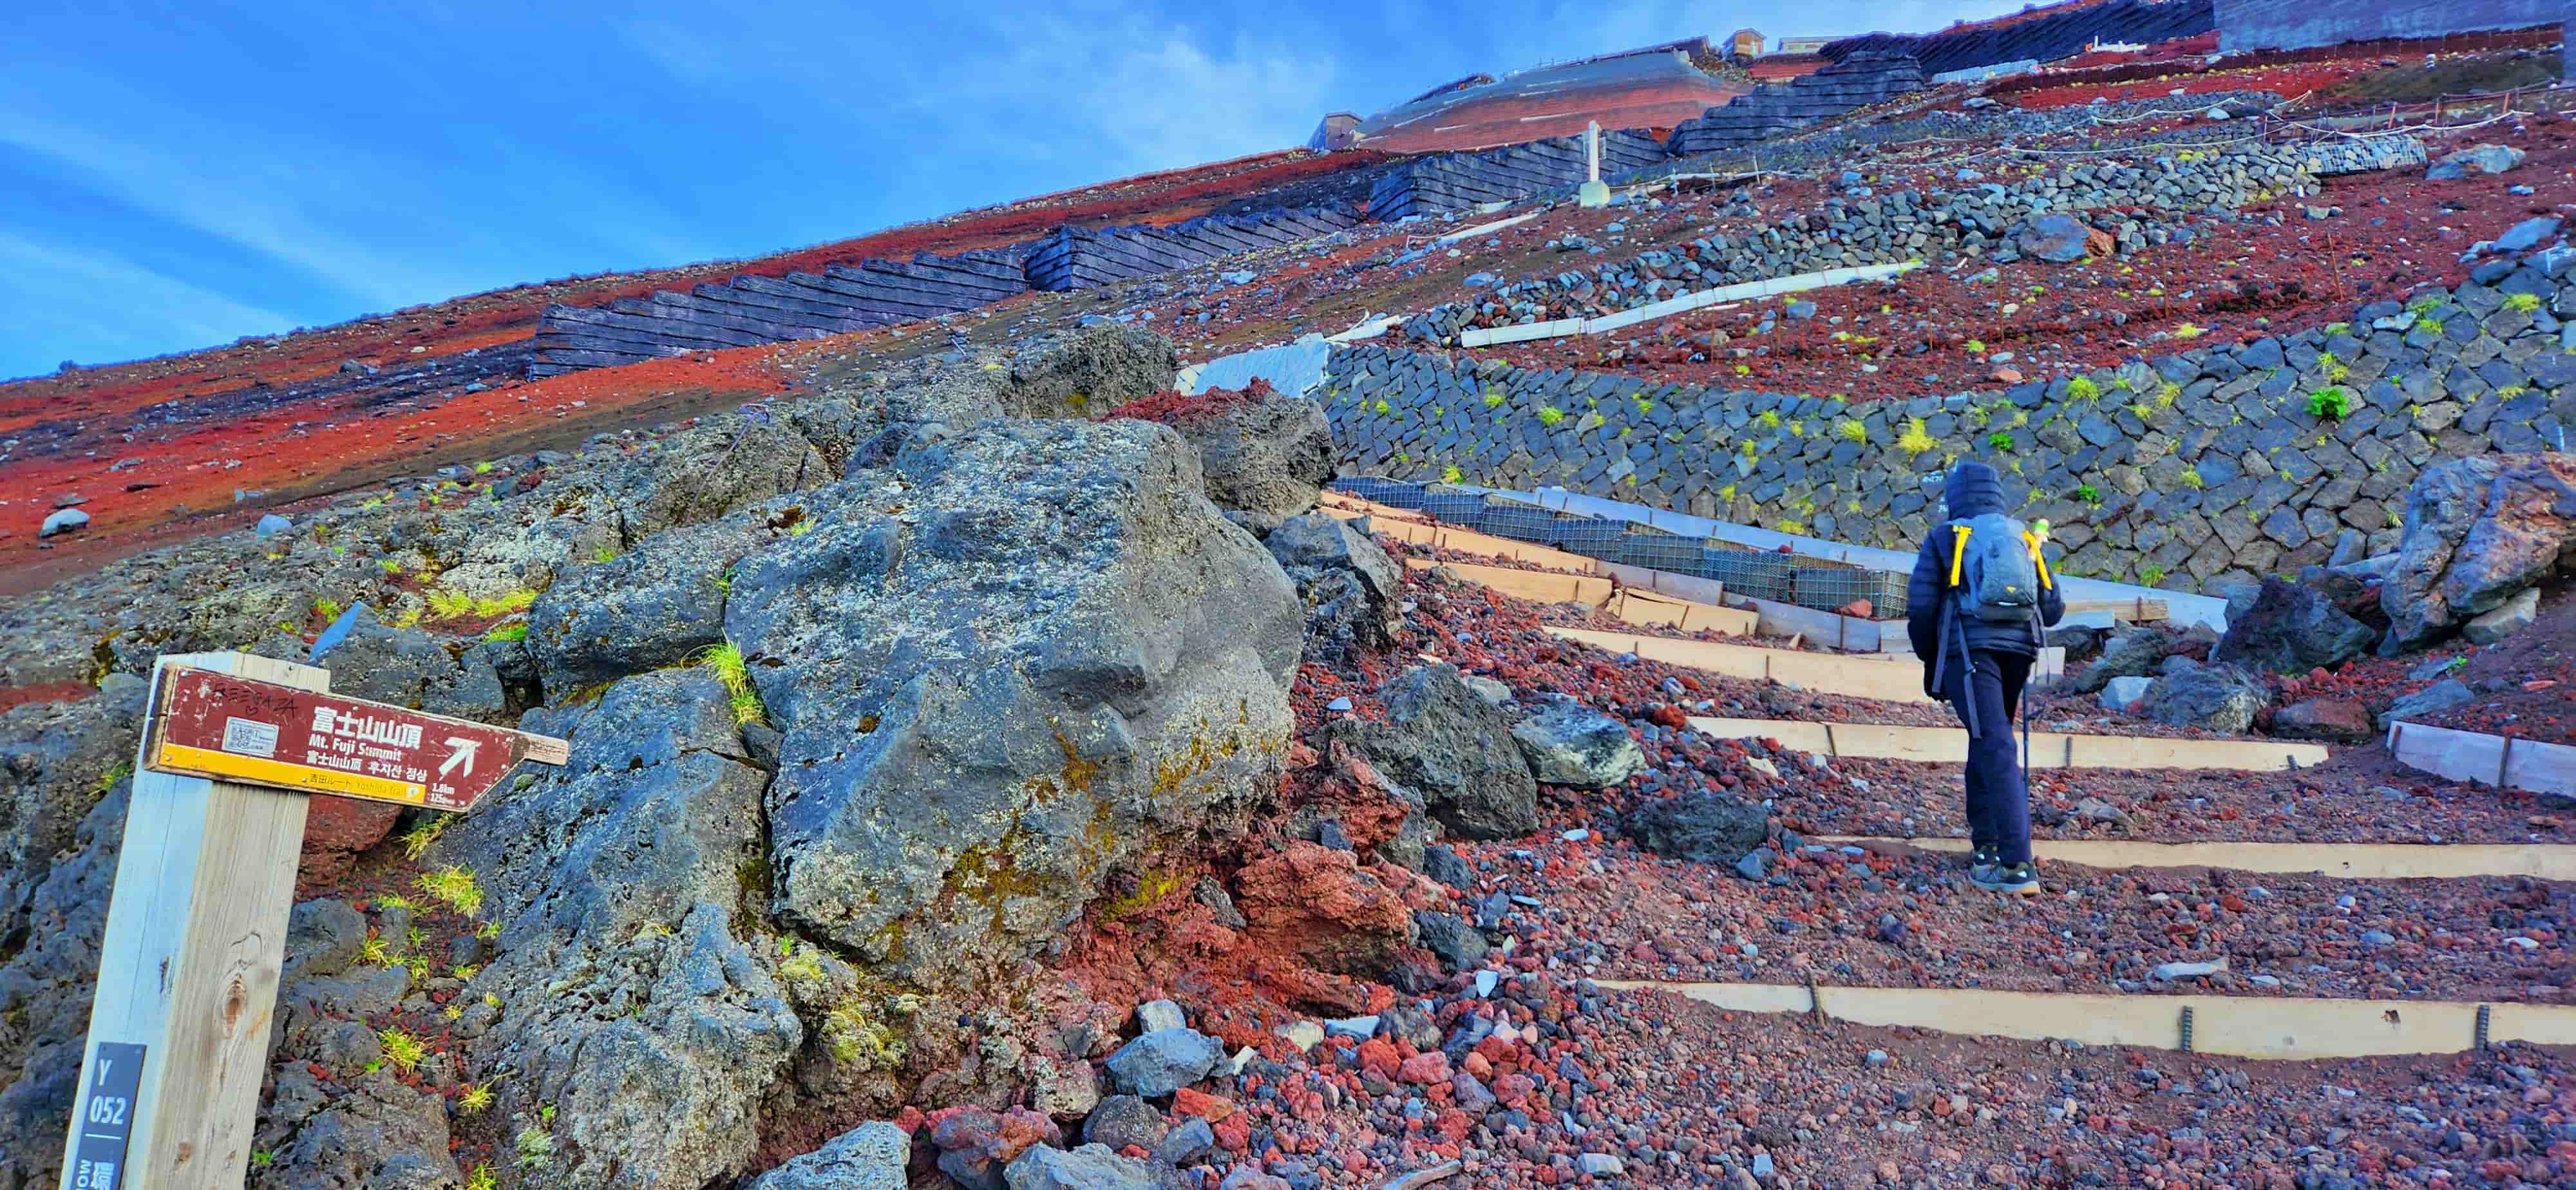
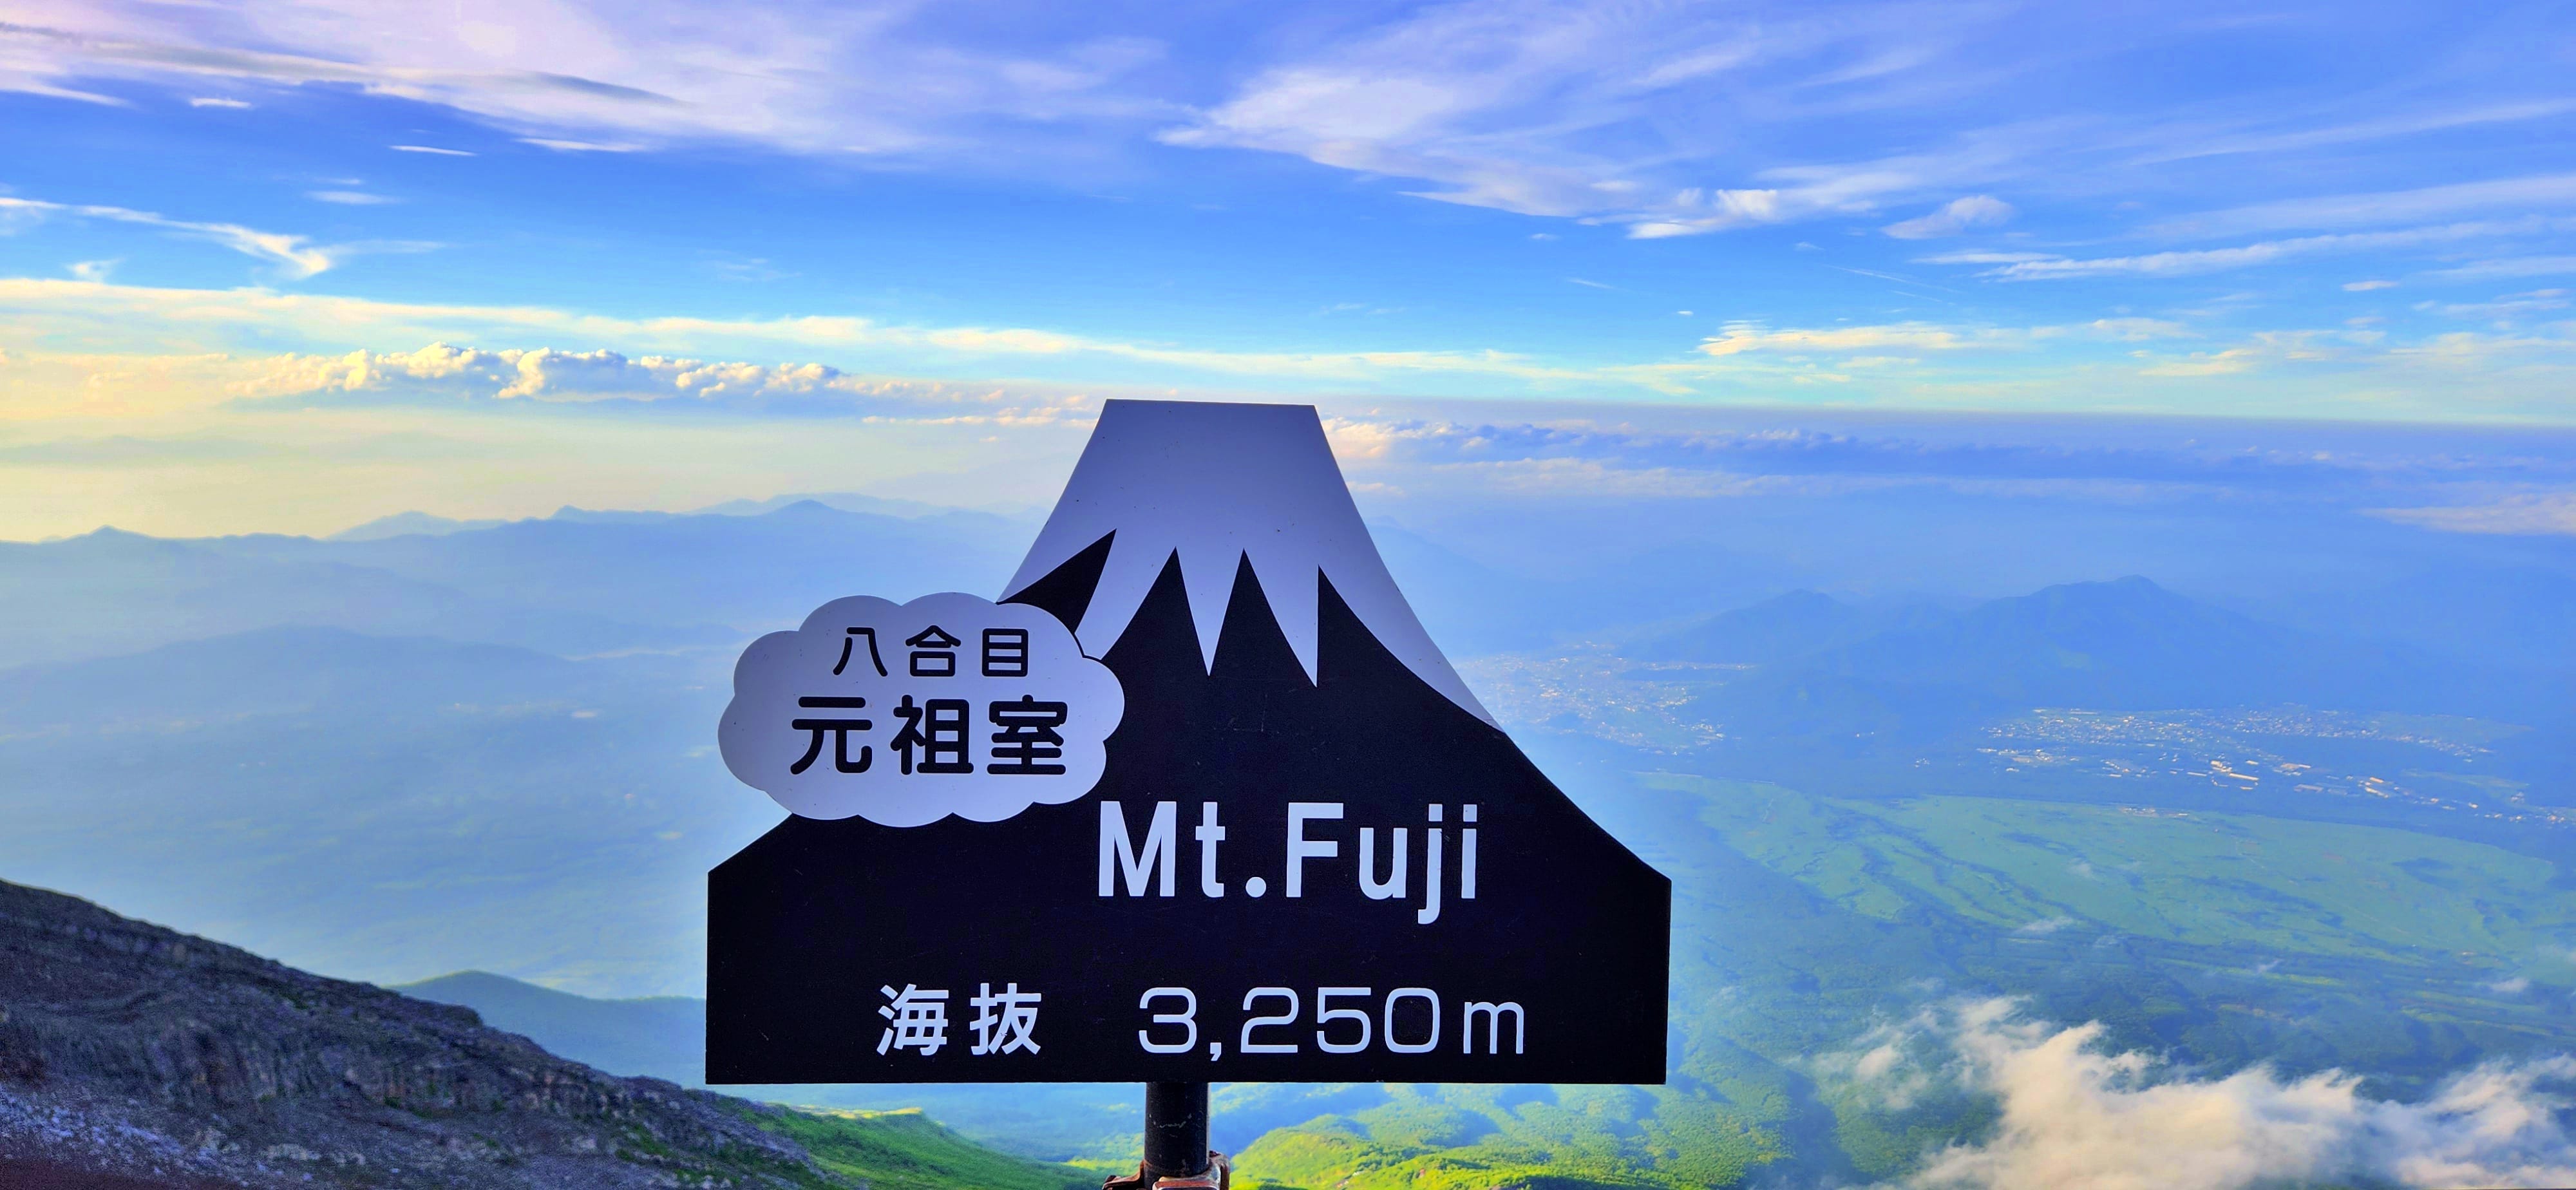
Original (Hon) 8th Station – Our Mountain Hut
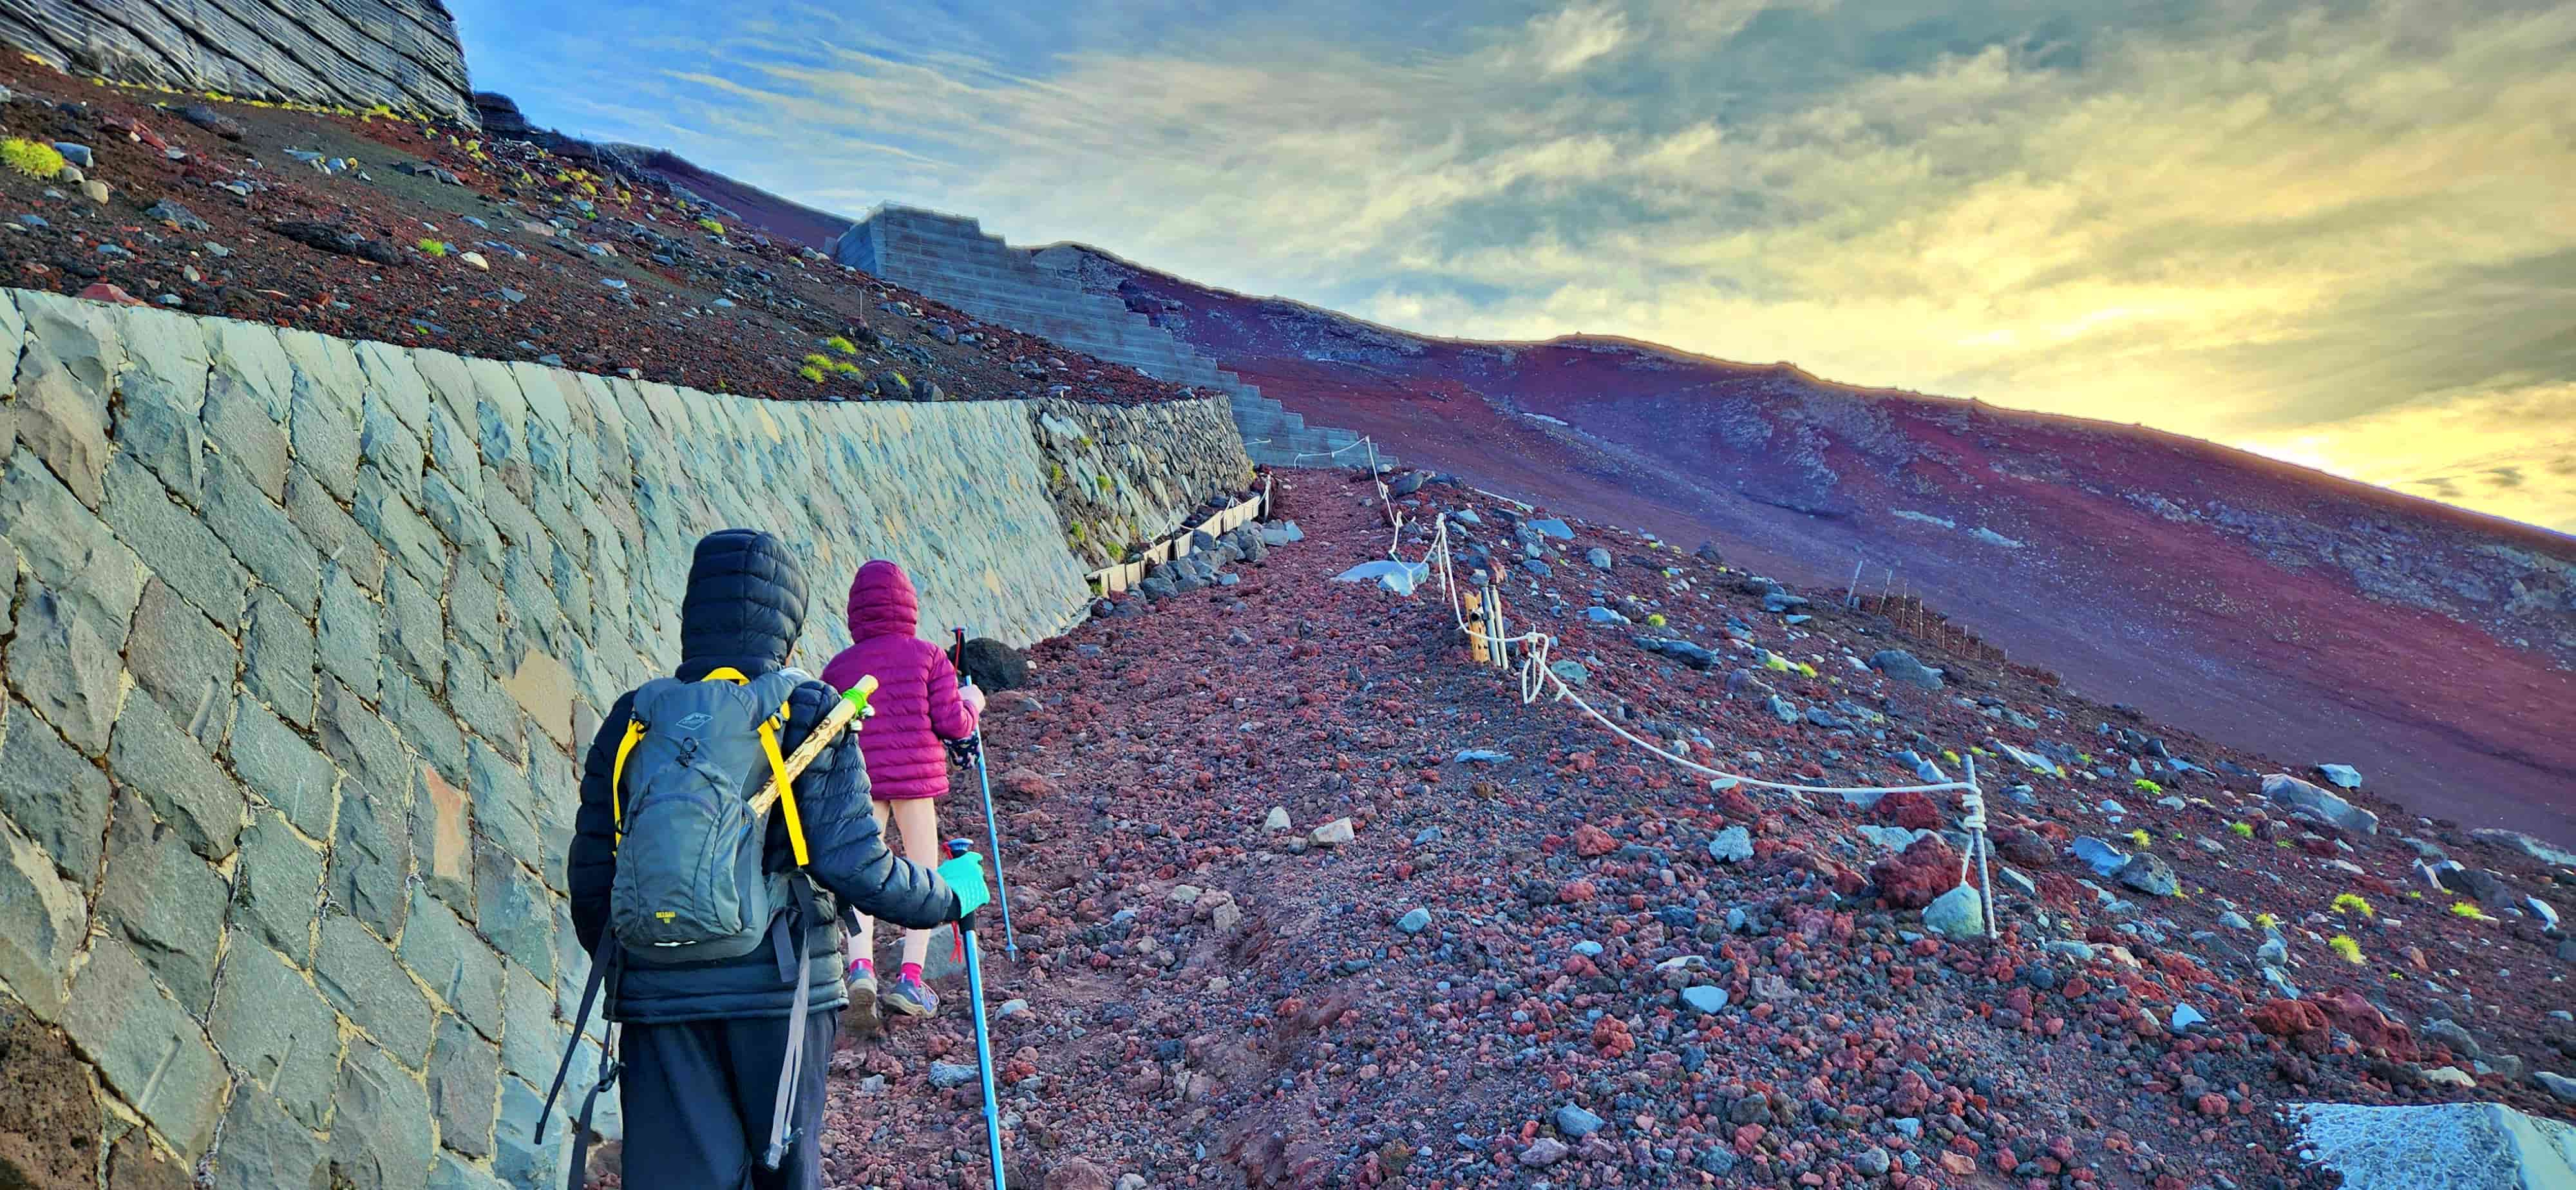
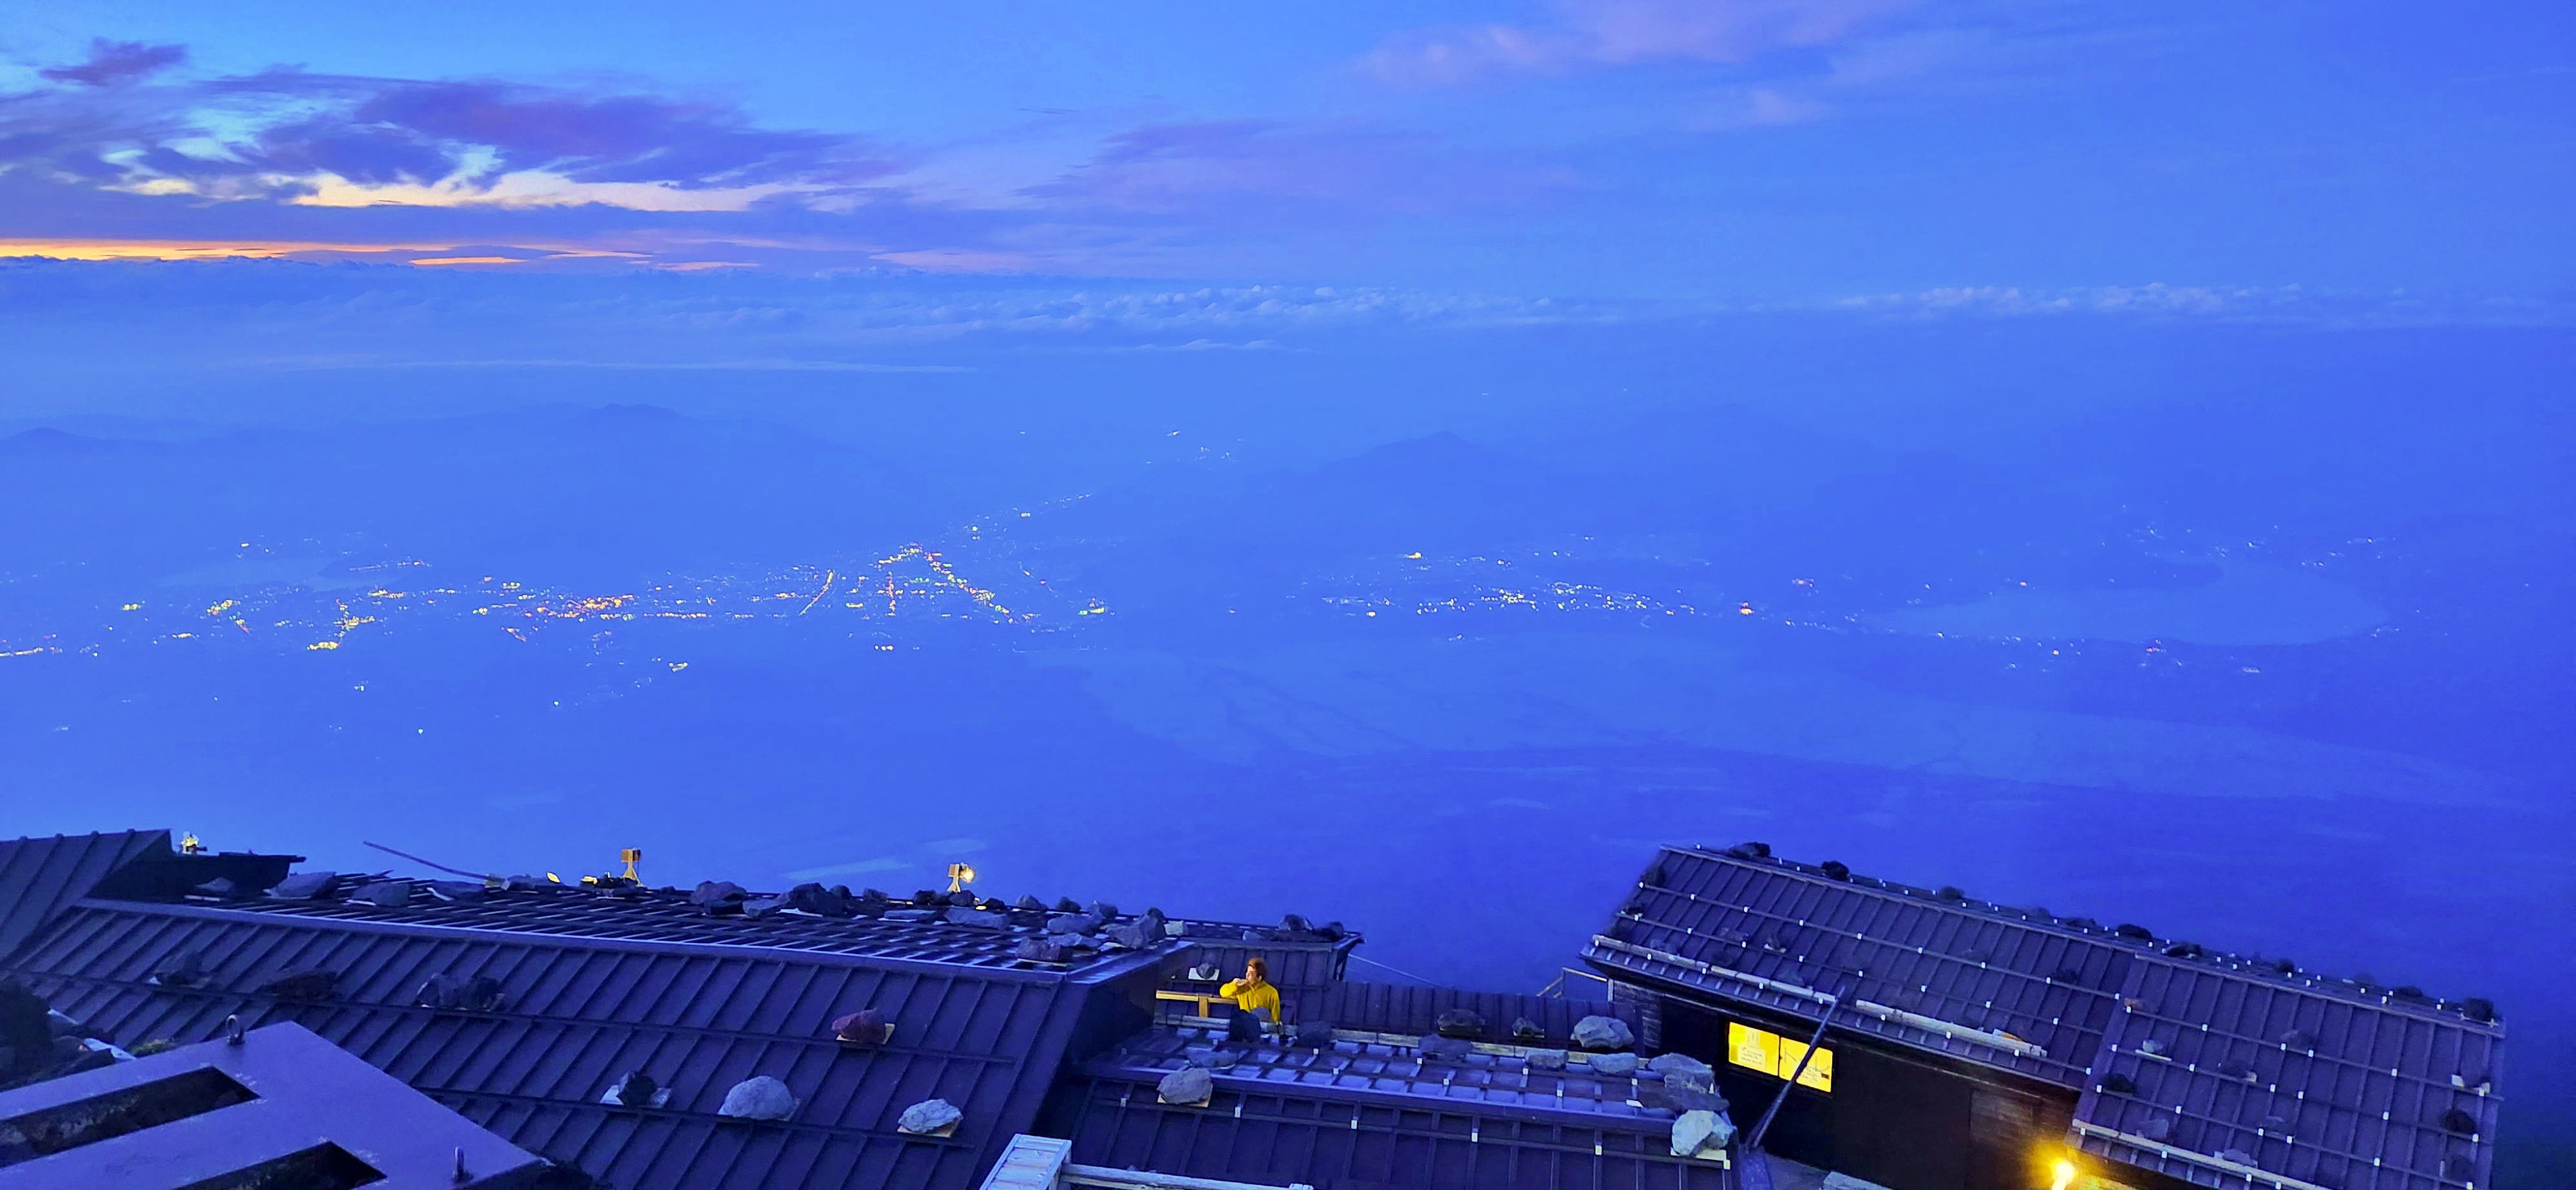
The Original (Hon) 8th Station sits at approximately 3,370 metres and is an important point on the Yoshida Trail, as this is where the Yoshida and Subashiri routes merge. This also means the area can become particularly crowded. This was our destination for the first day. We reached our mountain hut at around 6:50pm, approximately 8.5 hours after leaving the Fuji-Subaru Line 5th Station. After such a long day of climbing, reaching the hut felt like a significant achievement.
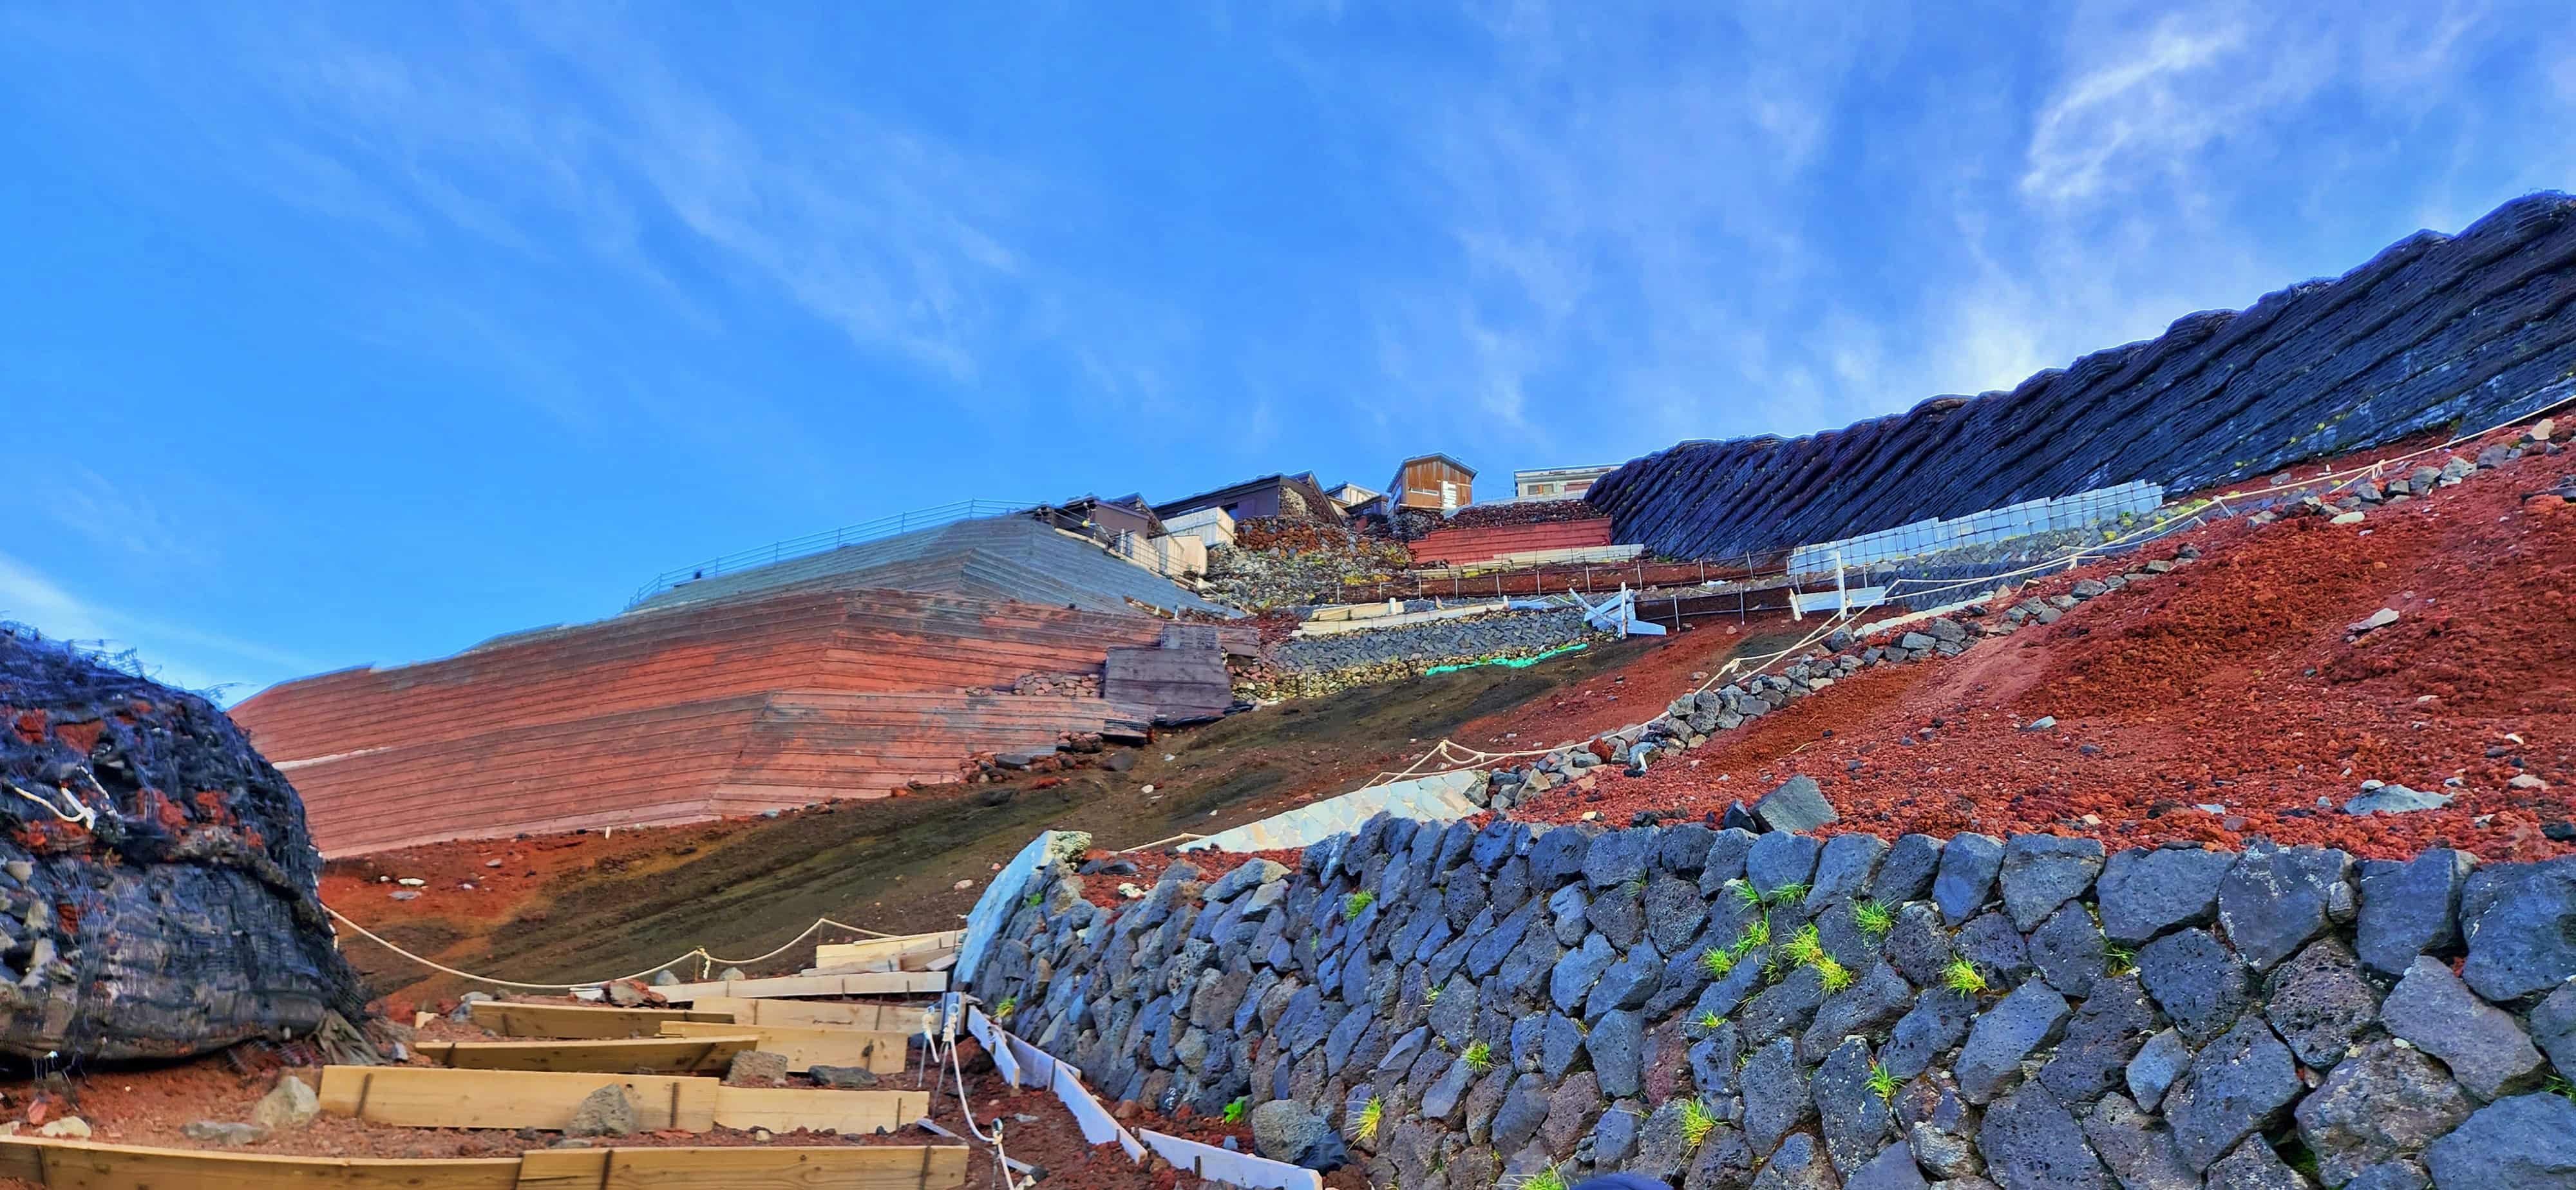
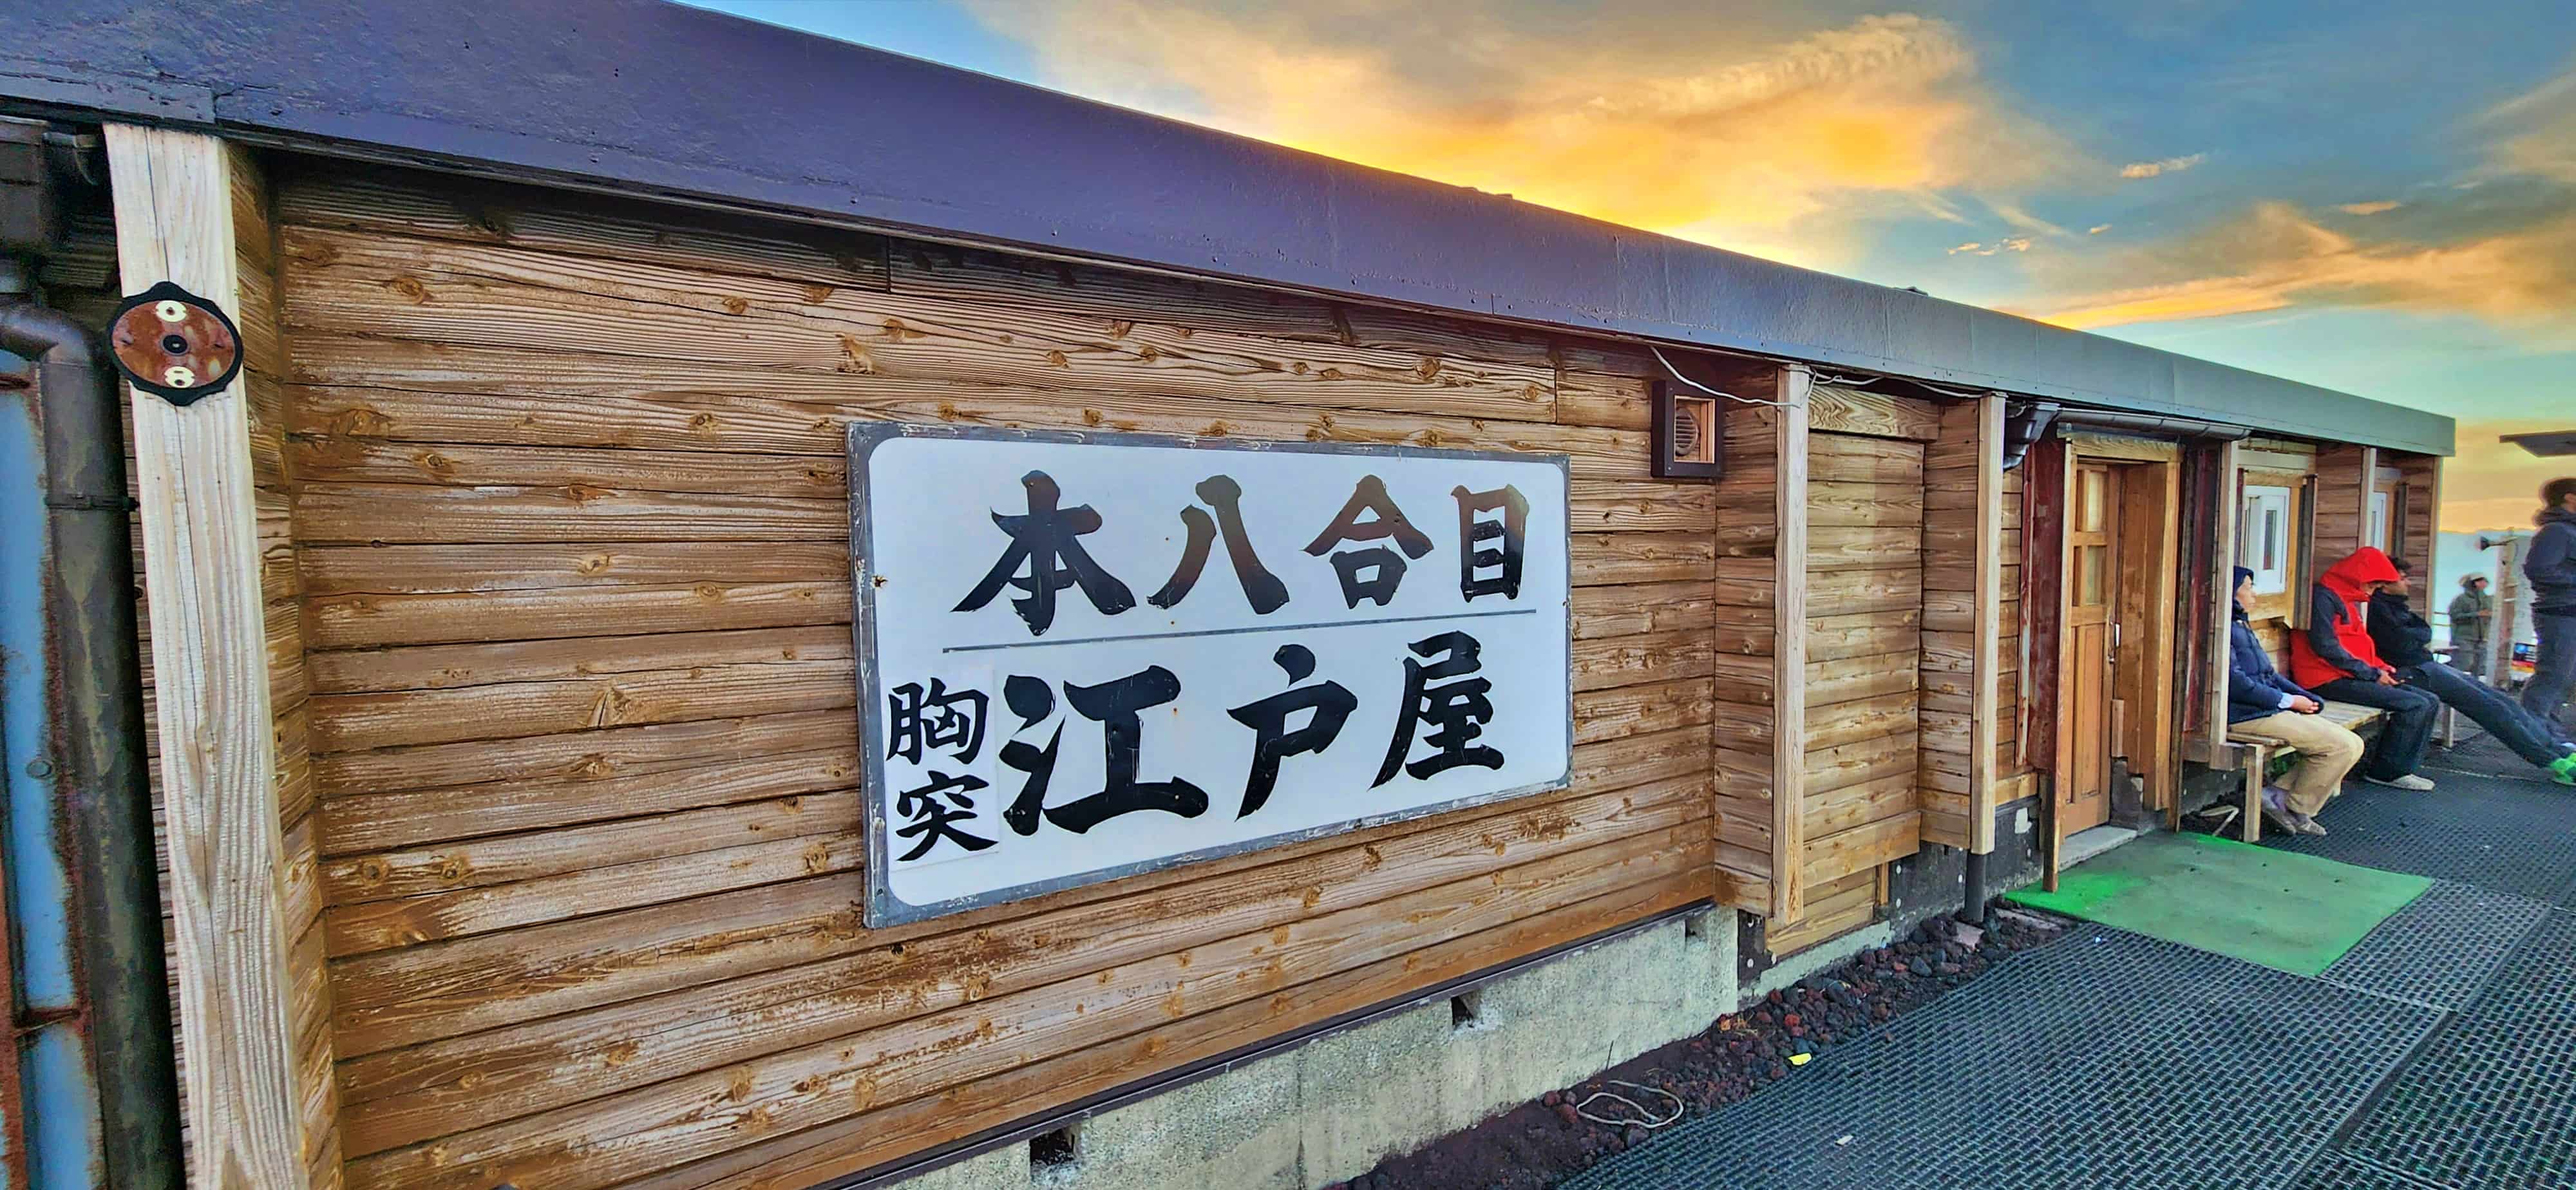
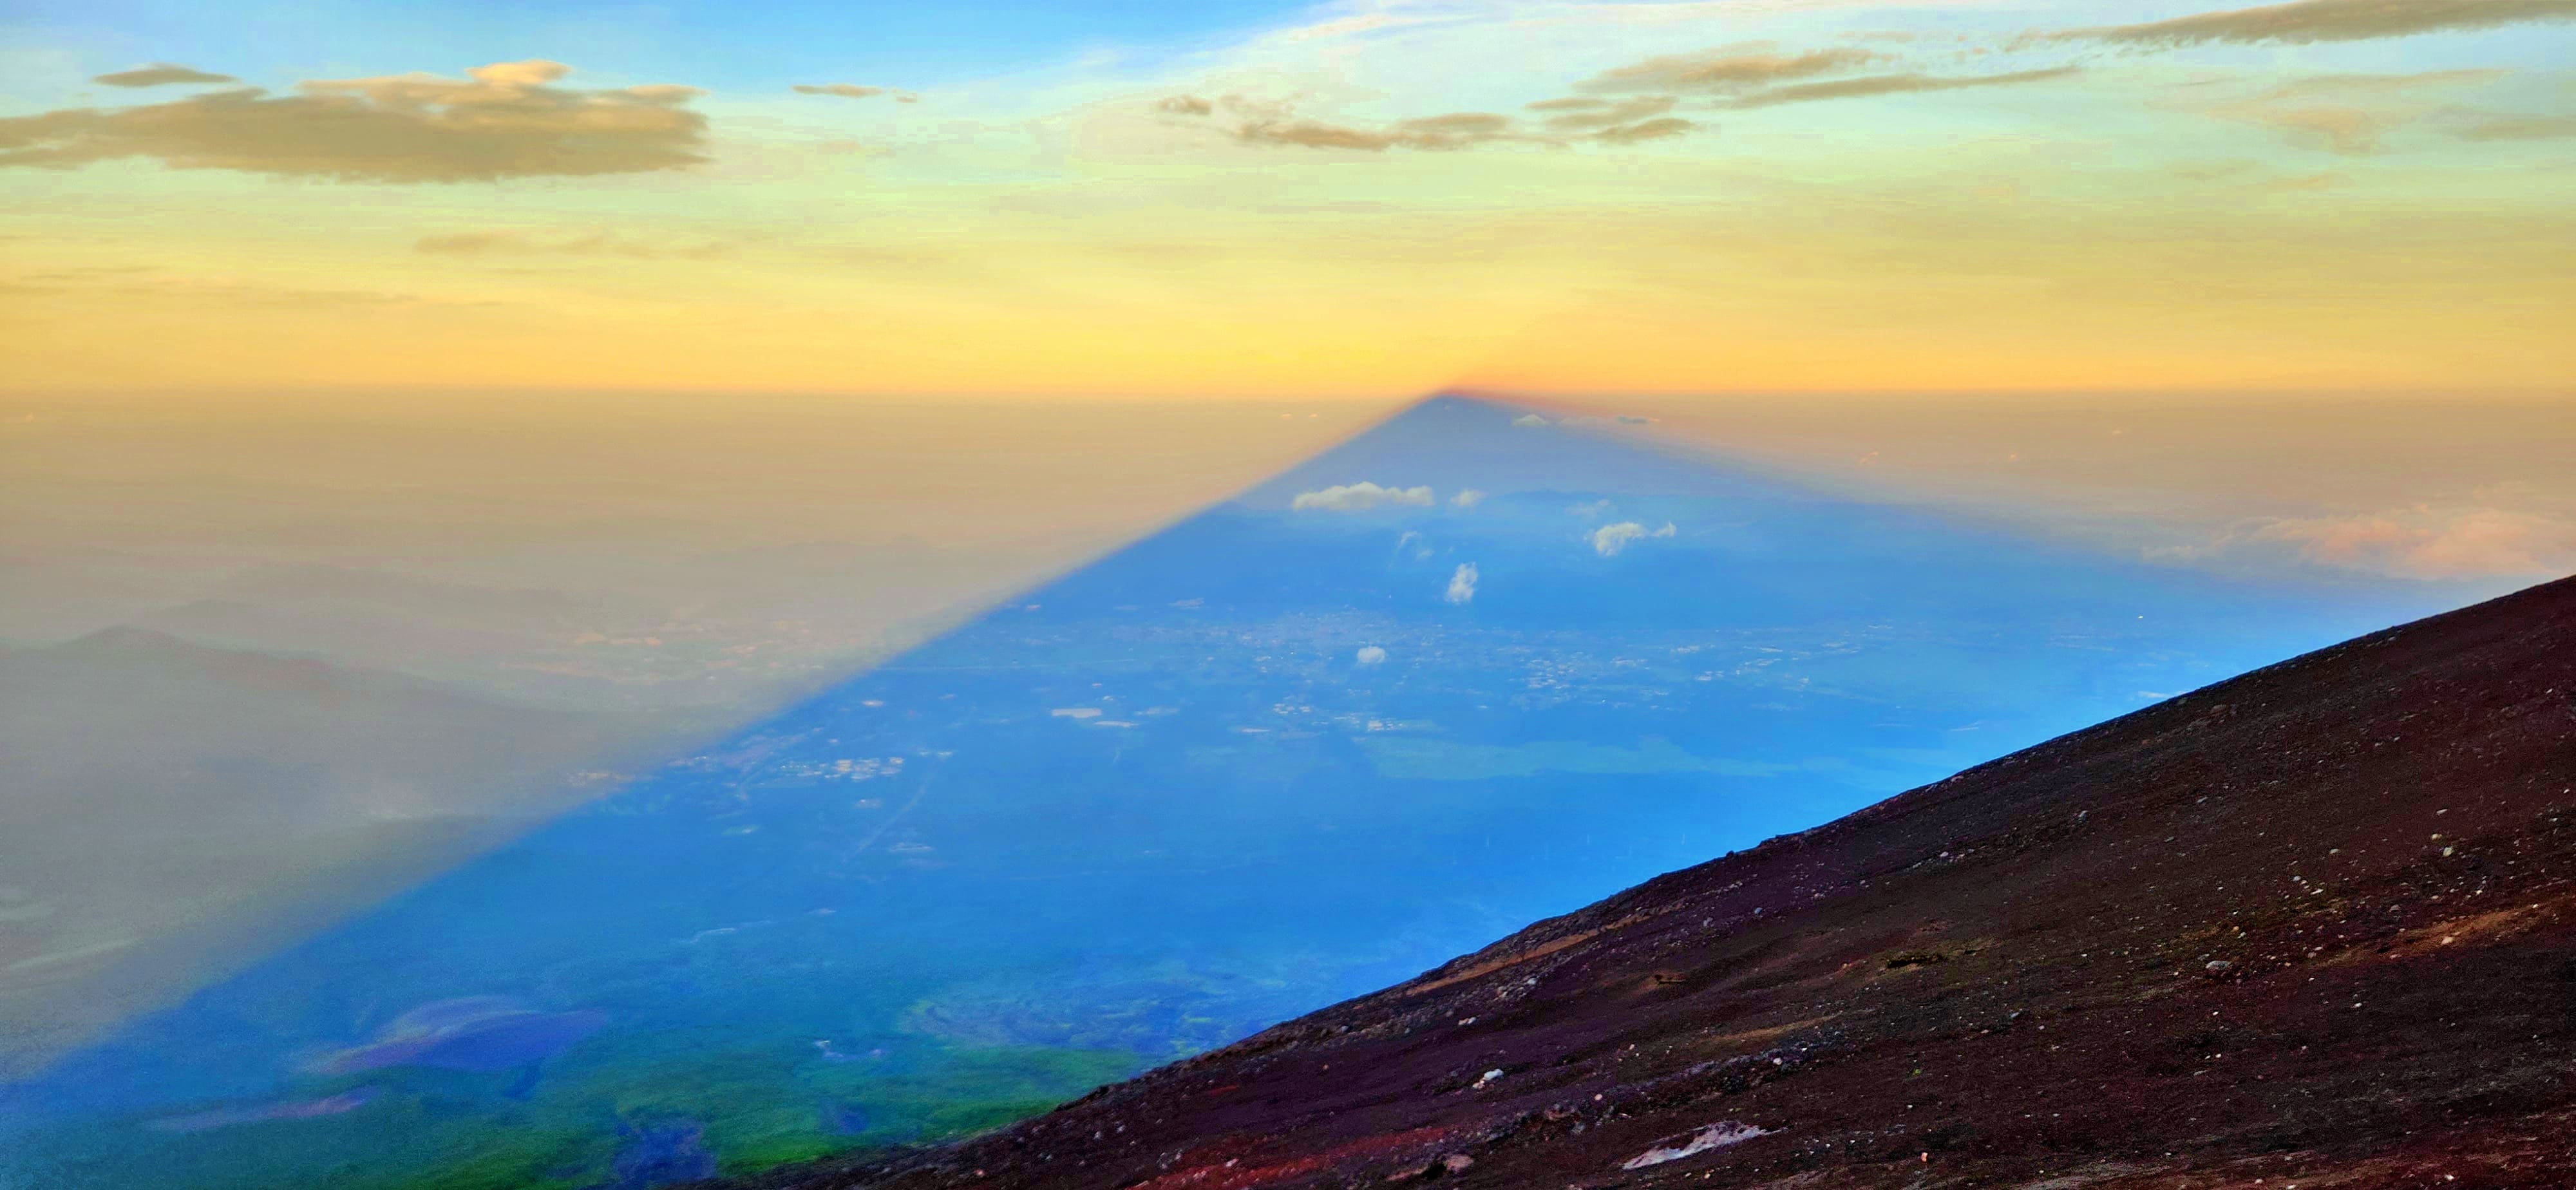
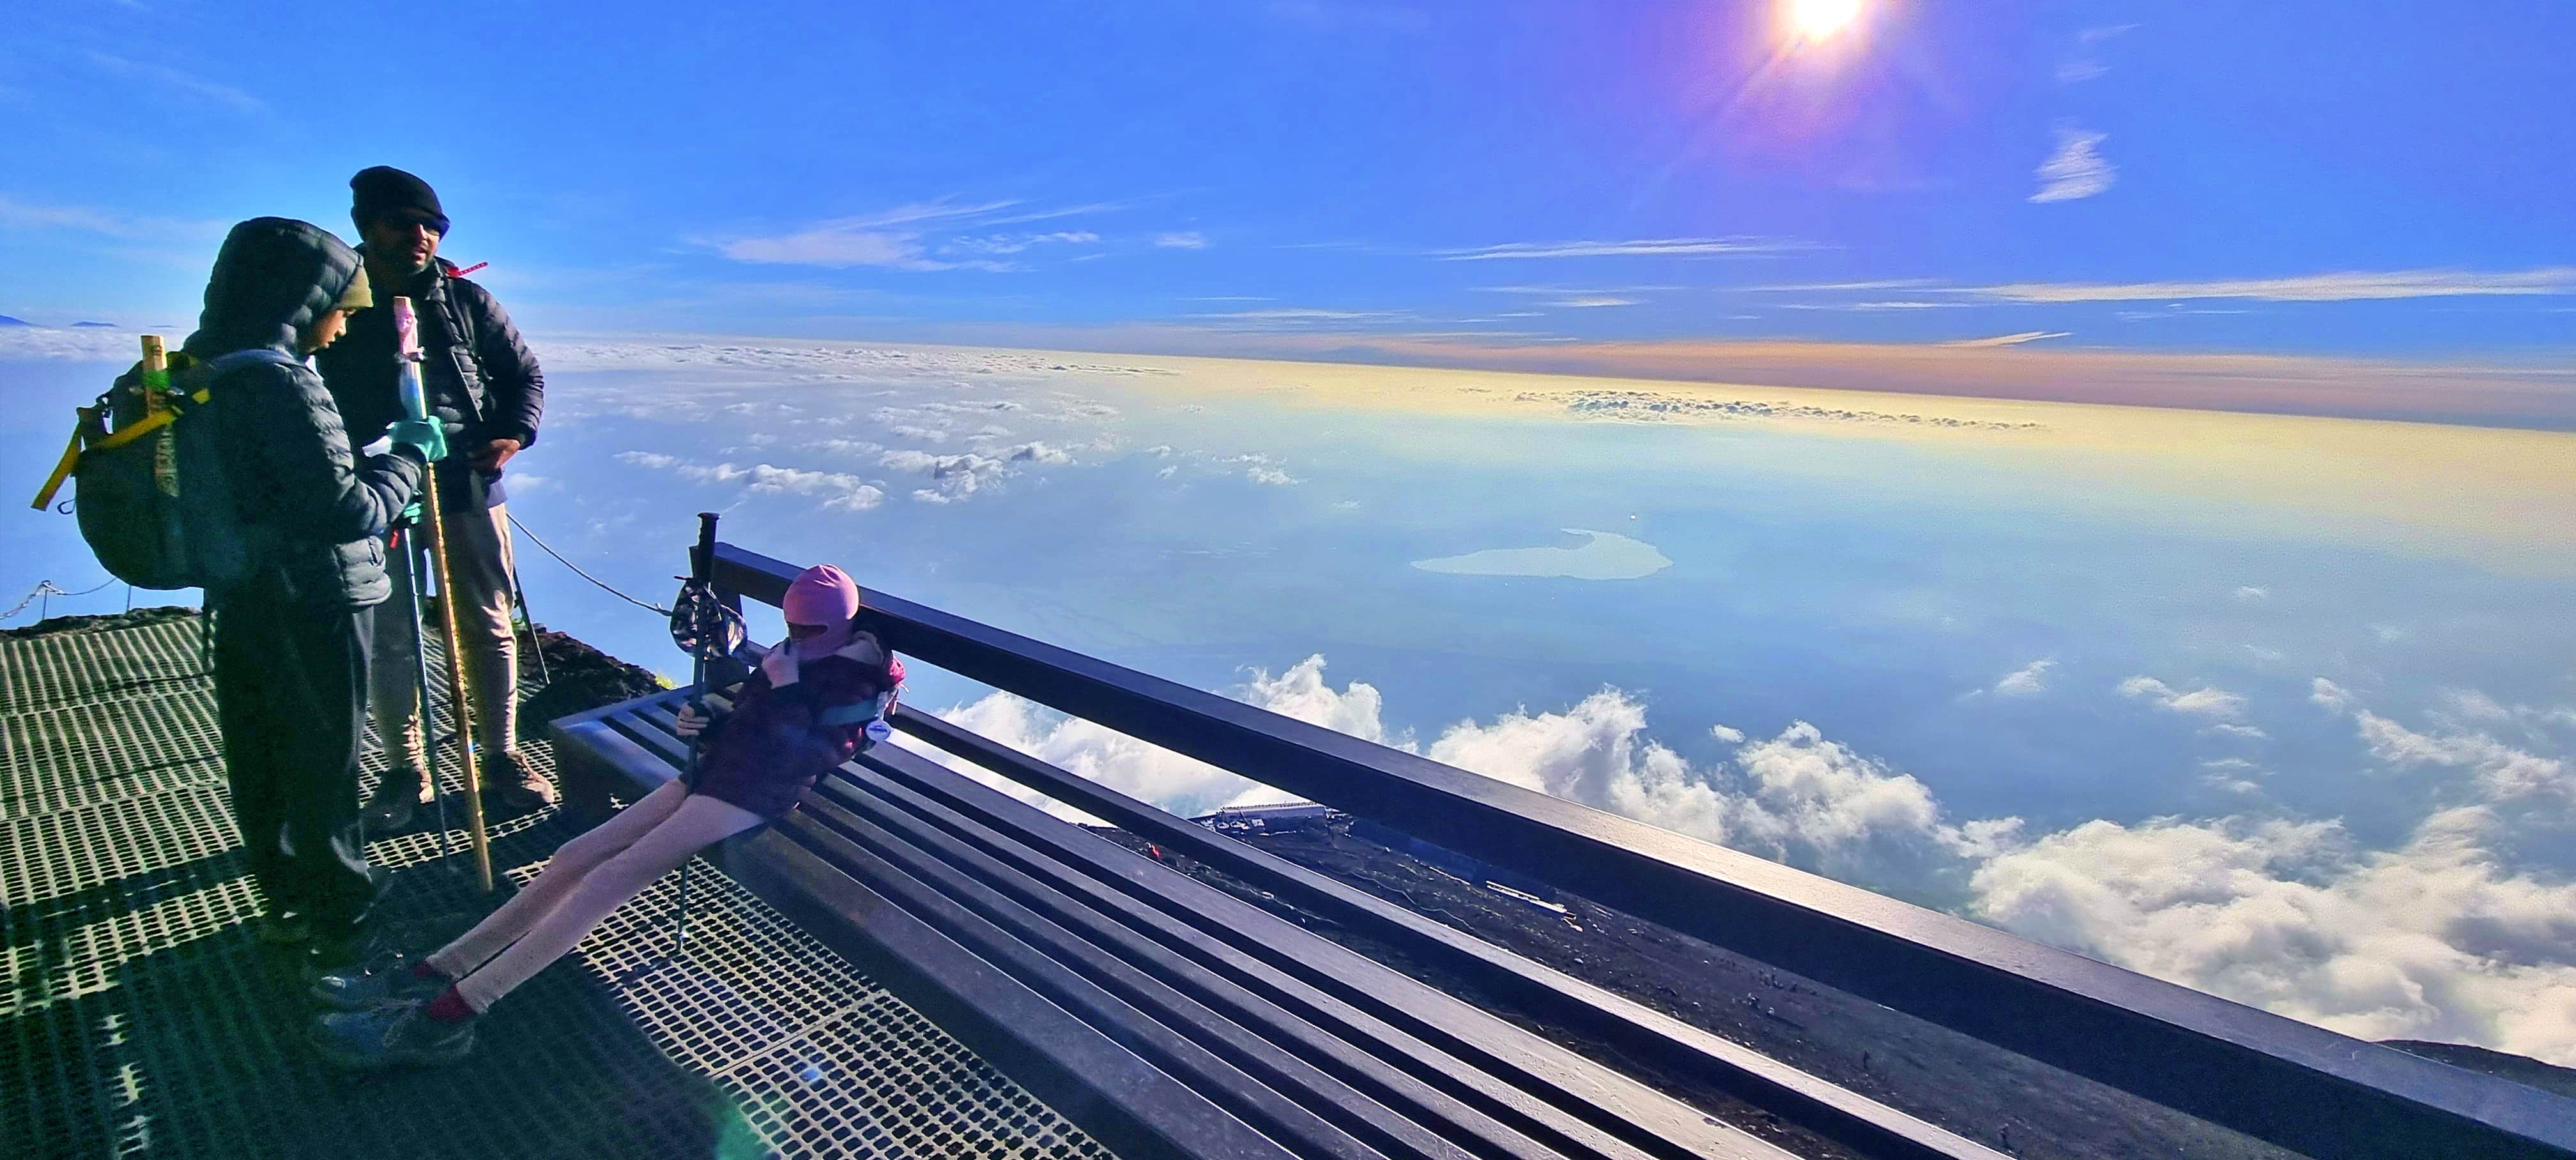
We couldn't have timed our arrival better. From the mountain hut, we were treated to a spectacular sunset, with Mt Fuji's shadow stretching across the surrounding landscape. At that point, we were looking forward to resting at the hut before our planned early-morning summit push. However, our experience that night would change our plans for the following morning!
Day 2 – From Original 8th Station to the Summit
Our Sunrise Plan Changes and Starting the Summit Push
Our original plan was to leave the hut during the early hours of the morning, around 2am and climb to the summit in time for sunrise. However, because we were experiencing mild altitude symptoms, none of us managed to sleep at the hut. Rather than continuing with the original pre-dawn plan, we stayed in our beds, rested and watched a spectacular sunrise from the mountain hut!
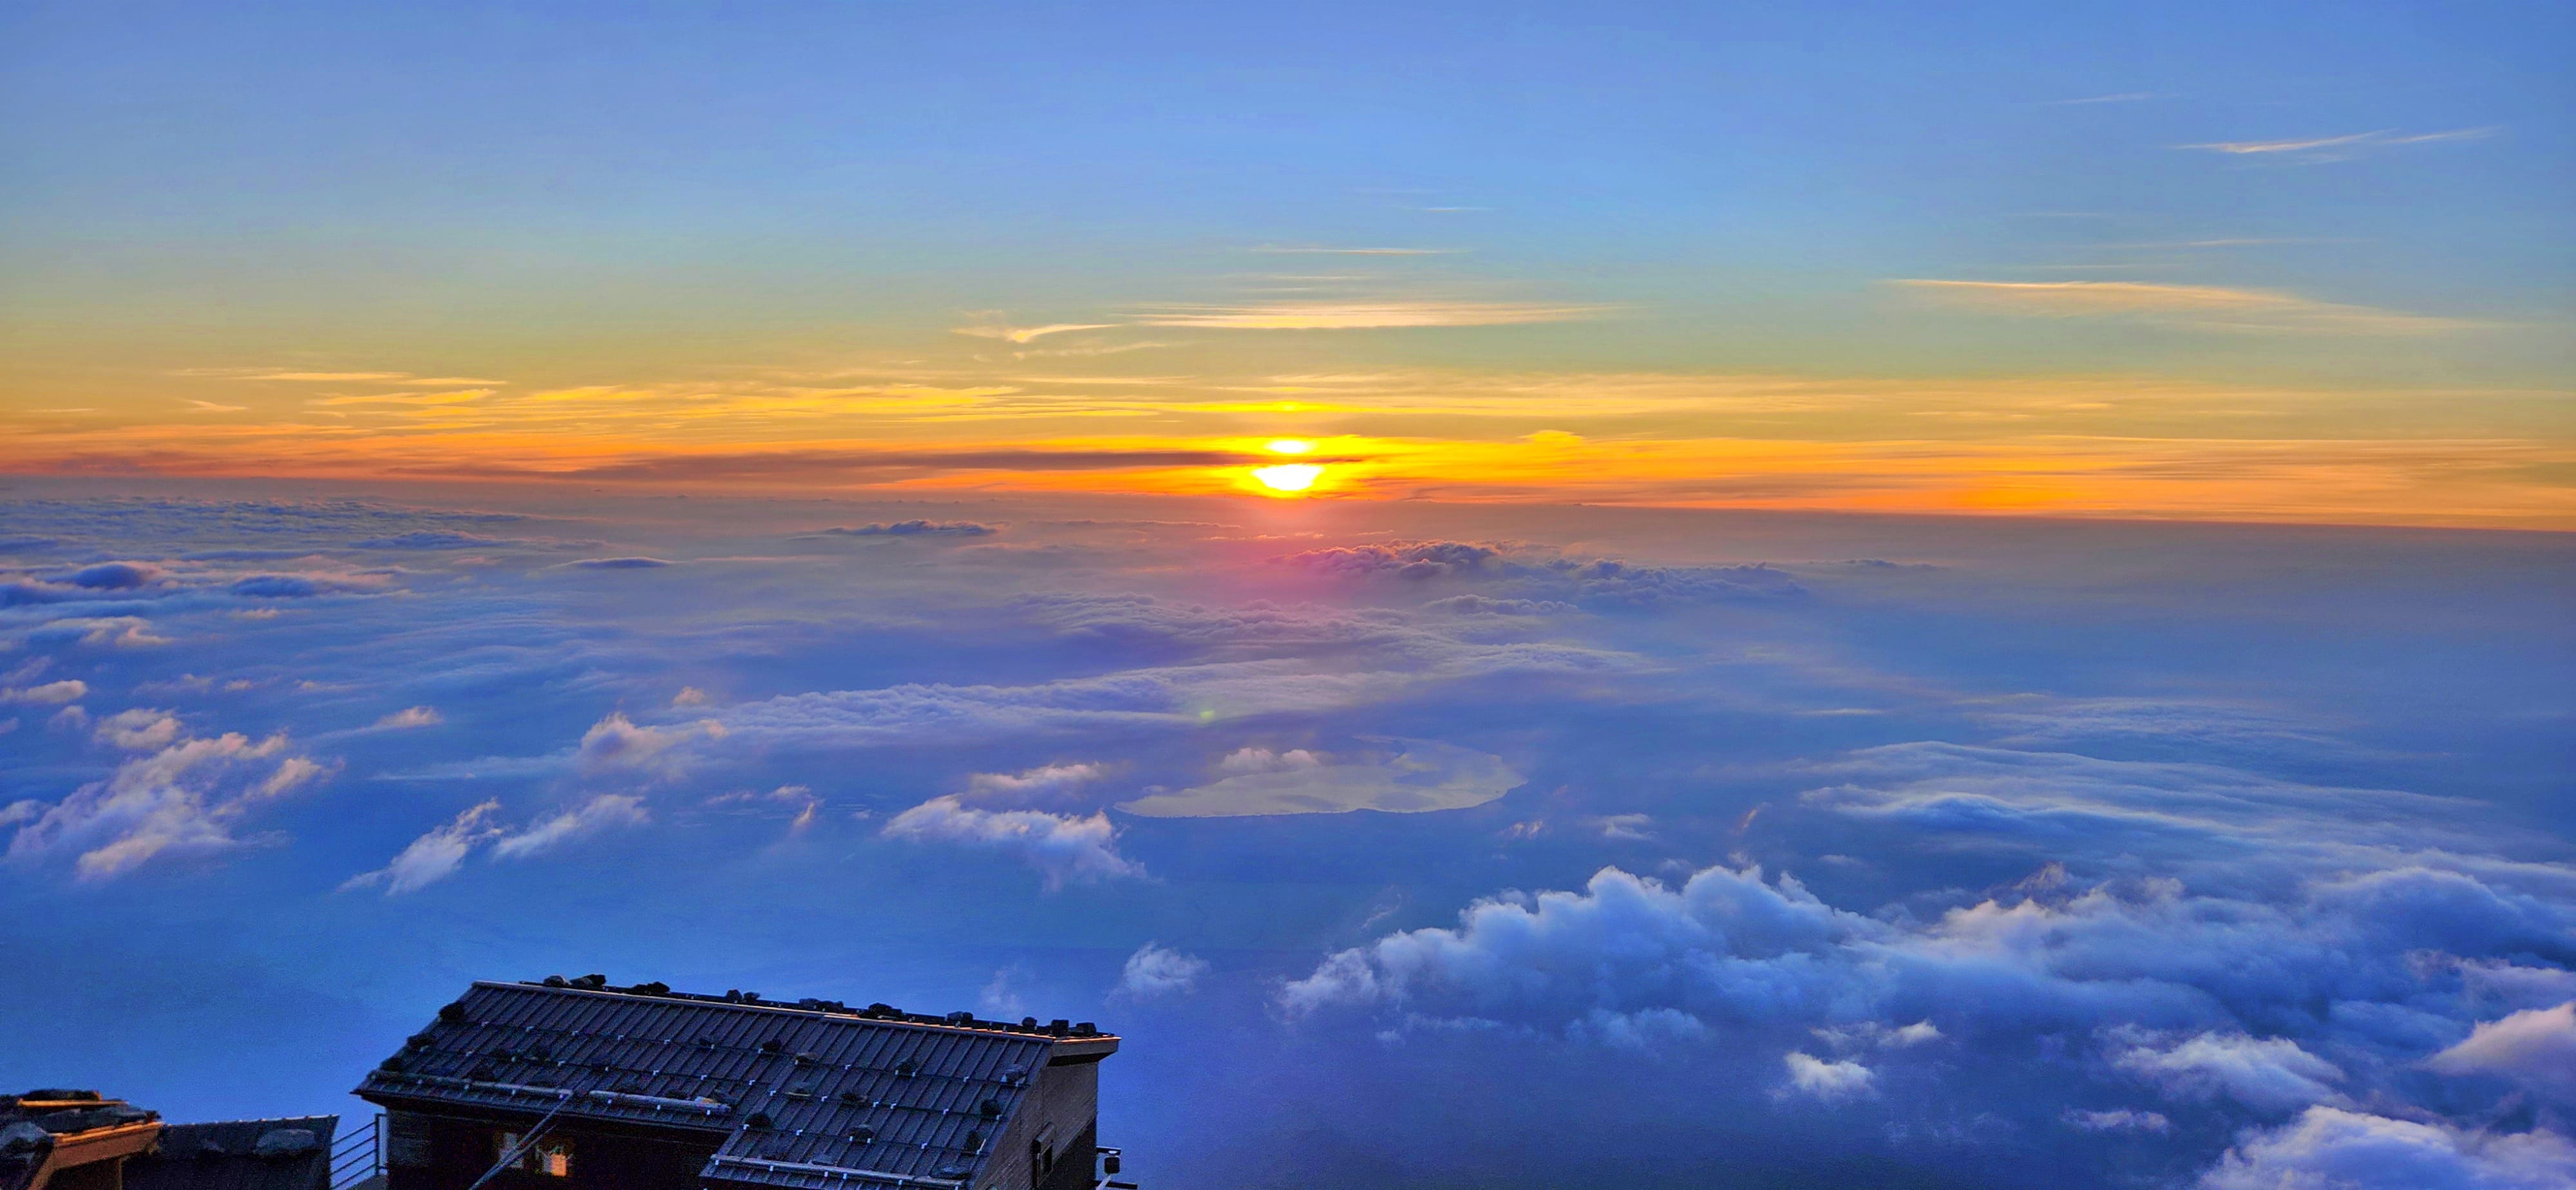
This was not how we had planned the morning, but it gave us the opportunity to conserve our energy before tackling the final section of the climb. Sunrise can be viewed from mountain huts along the Yoshida Trail, so reaching the summit before sunrise is not the only way to experience it! Once the sun had risen, we prepared for the final part of our climb. We left the Original 8th Station at around 5:30am.
8.5th Station – Higher into the Alpine Zone
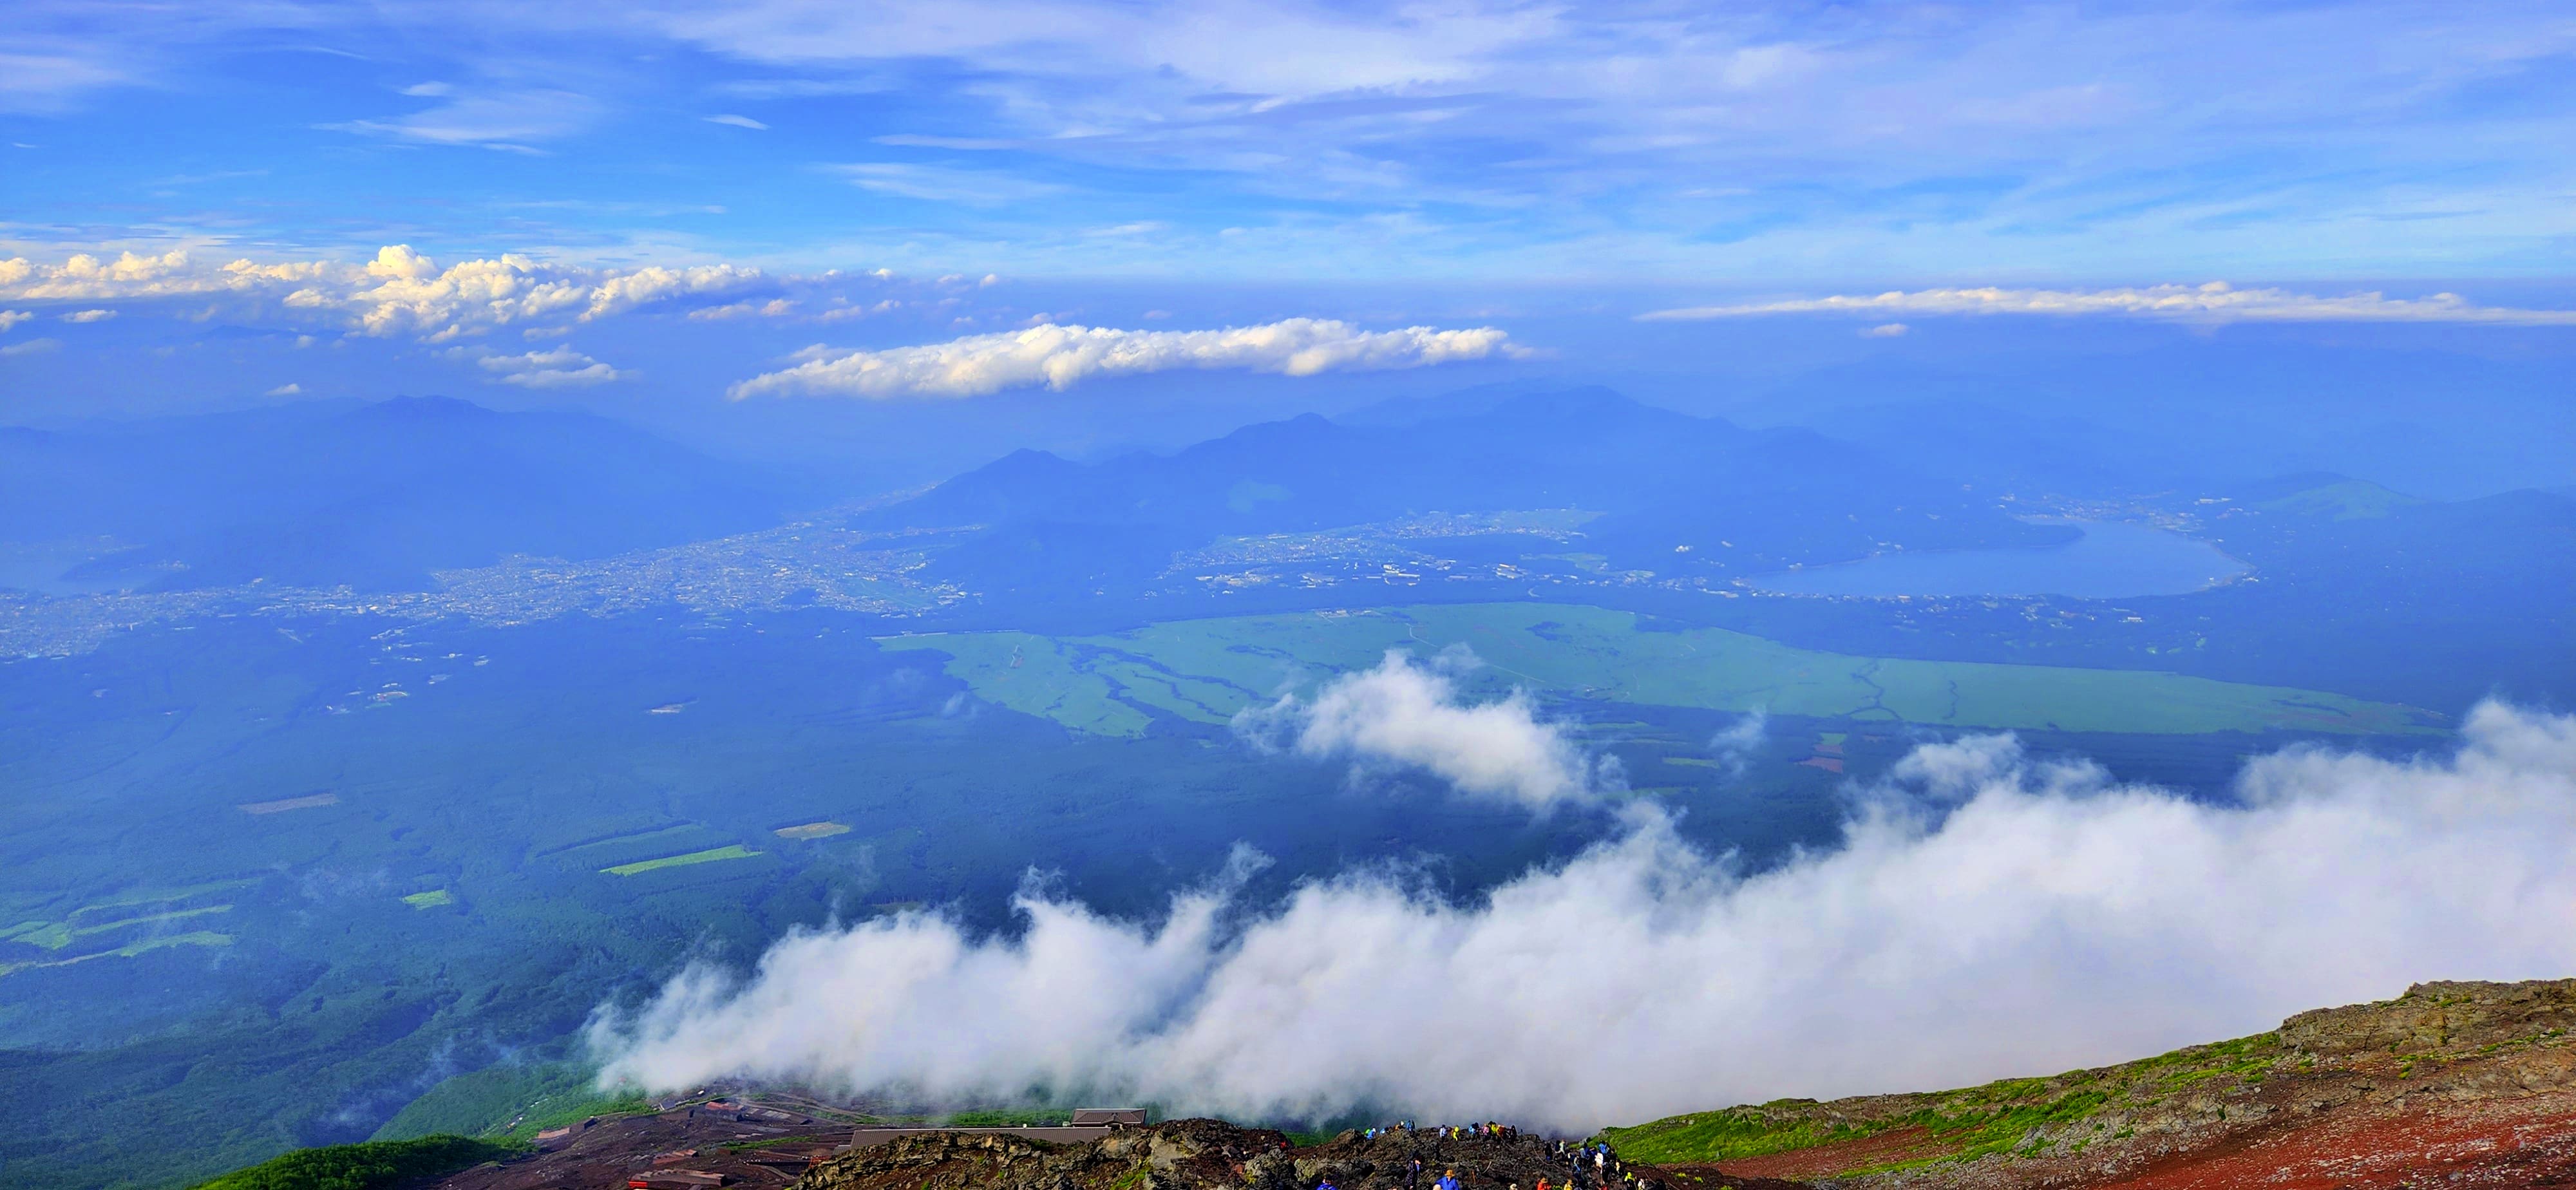
From the Original 8th Station, we continued upwards towards the 8.5th Station, at approximately 3,450 metres. At this elevation, there is very little resemblance to the forested trail we had started on the previous morning. The landscape is increasingly exposed, rocky and volcanic, and every additional section feels harder because of the altitude. We continued upwards, taking our time and keeping our focus on reaching the summit safely.
9th Station – The Final Rocky Section
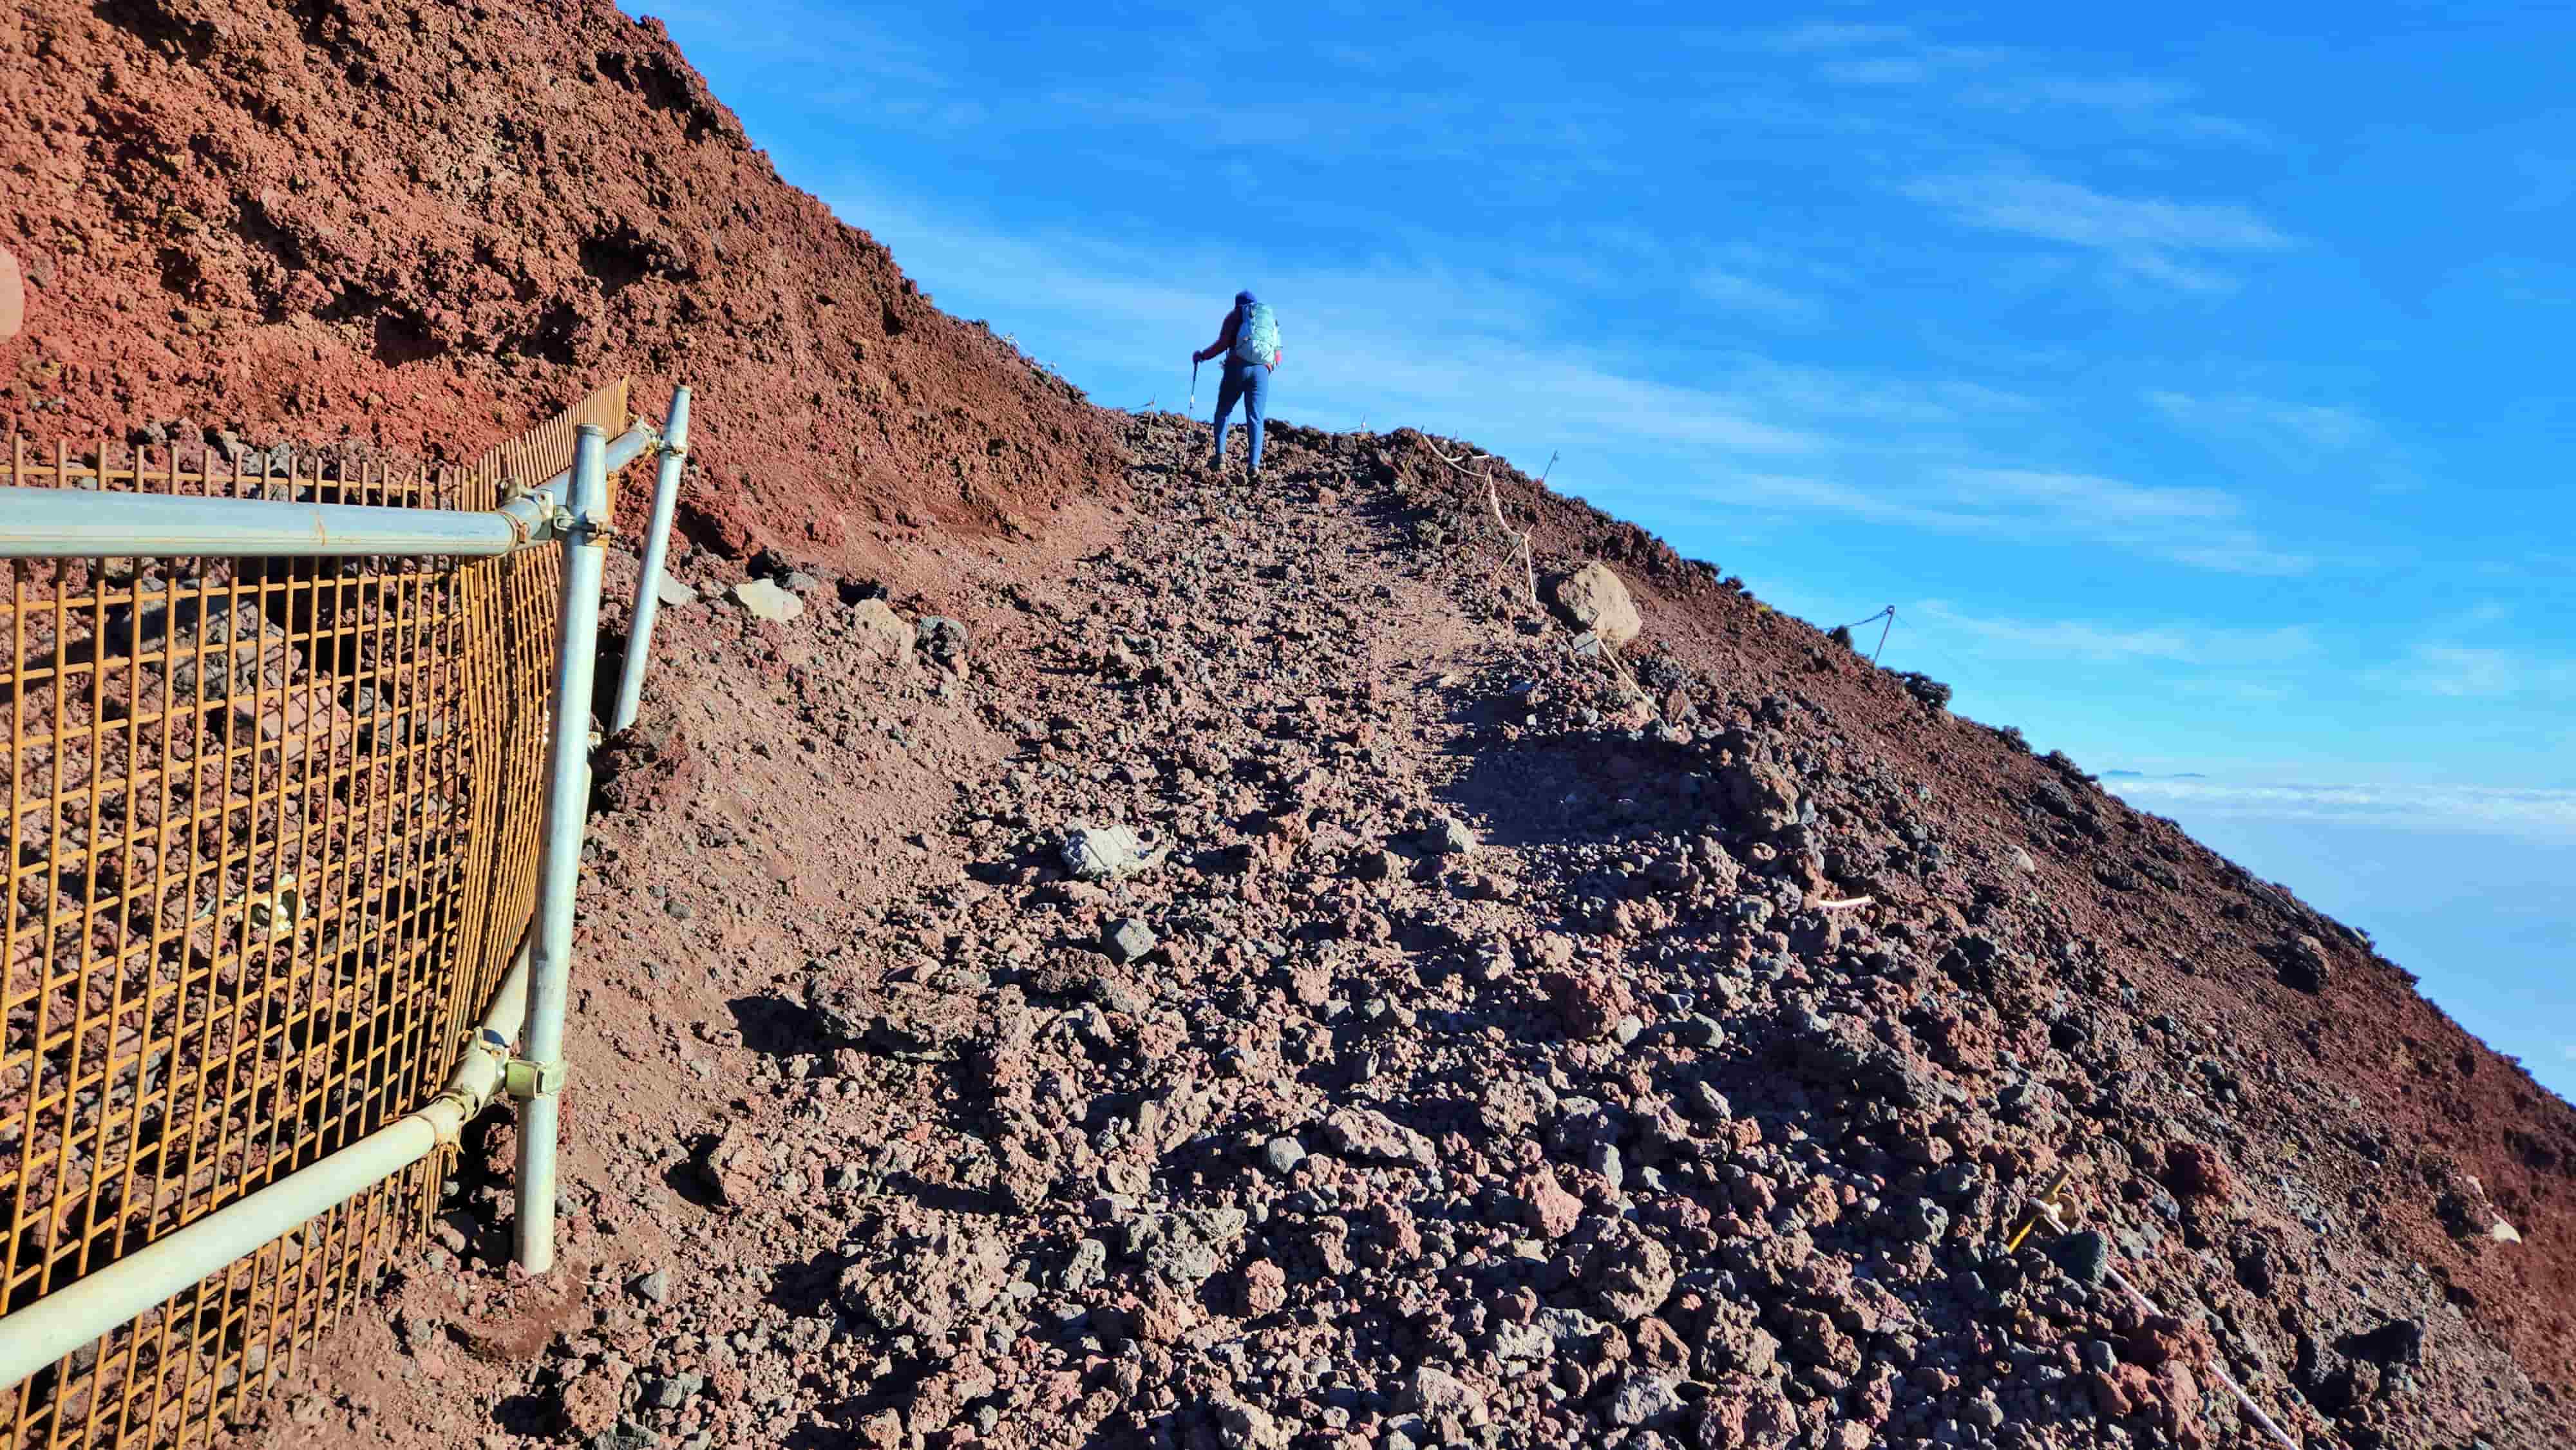
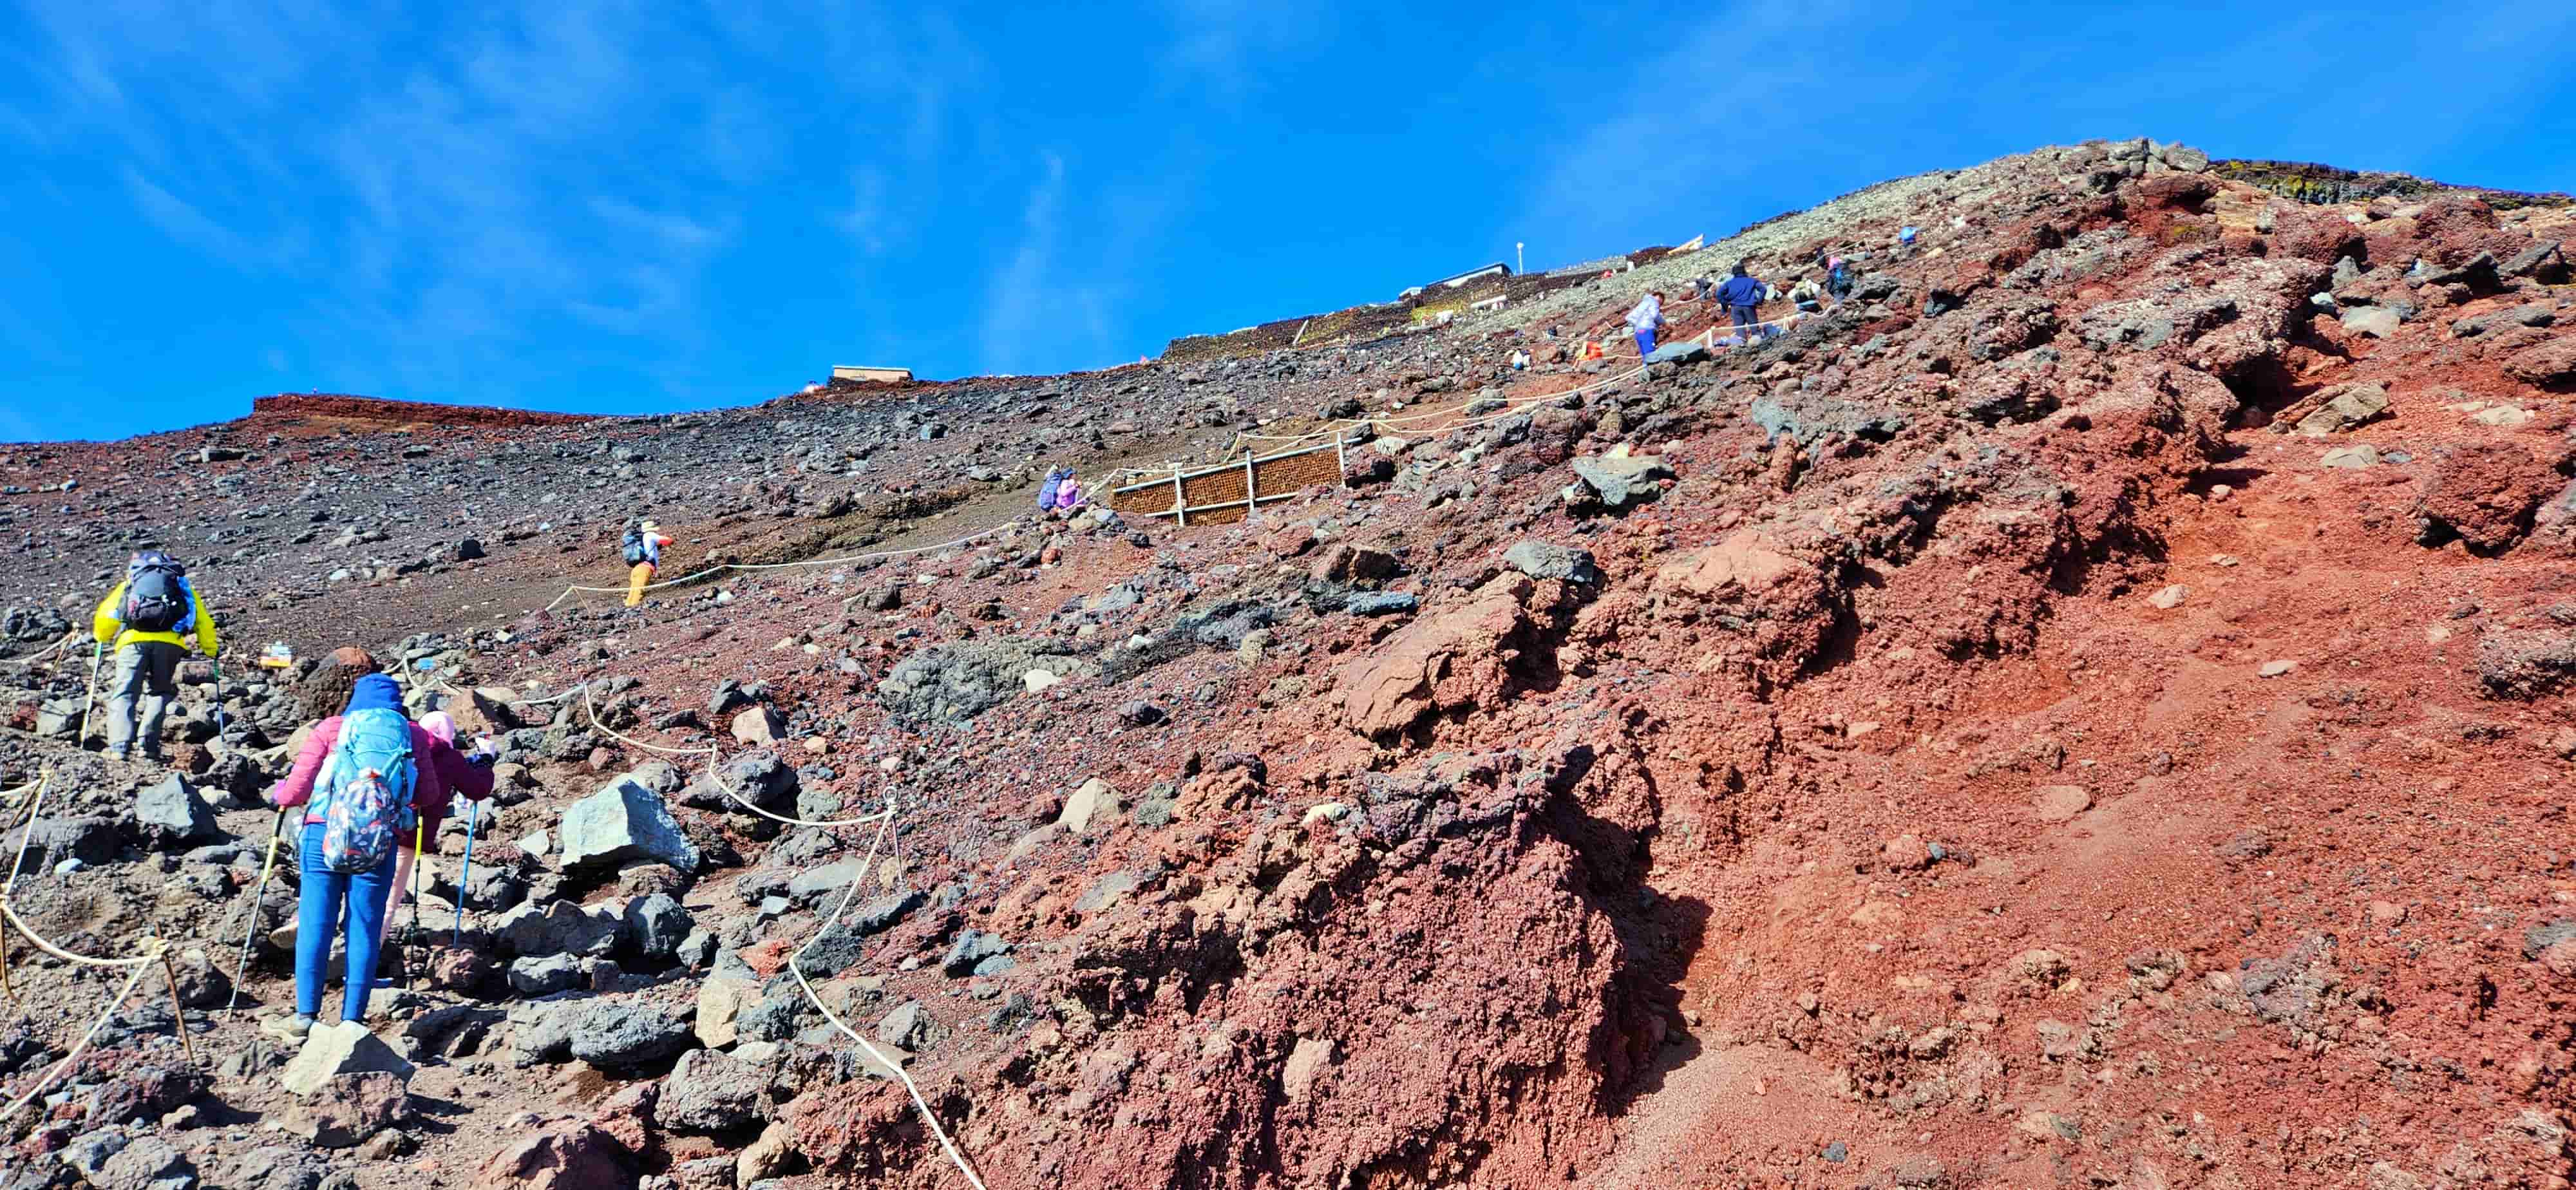
The 9th Station is at approximately 3,580 metres, putting us very close to the summit in terms of elevation but still with a demanding section ahead. From the 9th Station to the summit, the Yoshida Trail becomes narrower and consists of steep rocky terrain. There is a possibility of falling rocks in this section so be sure to take extra care. For us, this was one of the most physically demanding parts of the climb. By this stage, we had already been climbing for many hours across two days. We focused on maintaining a steady pace and not rushing the final section simply because the summit was getting closer.
Mt Fuji Summit
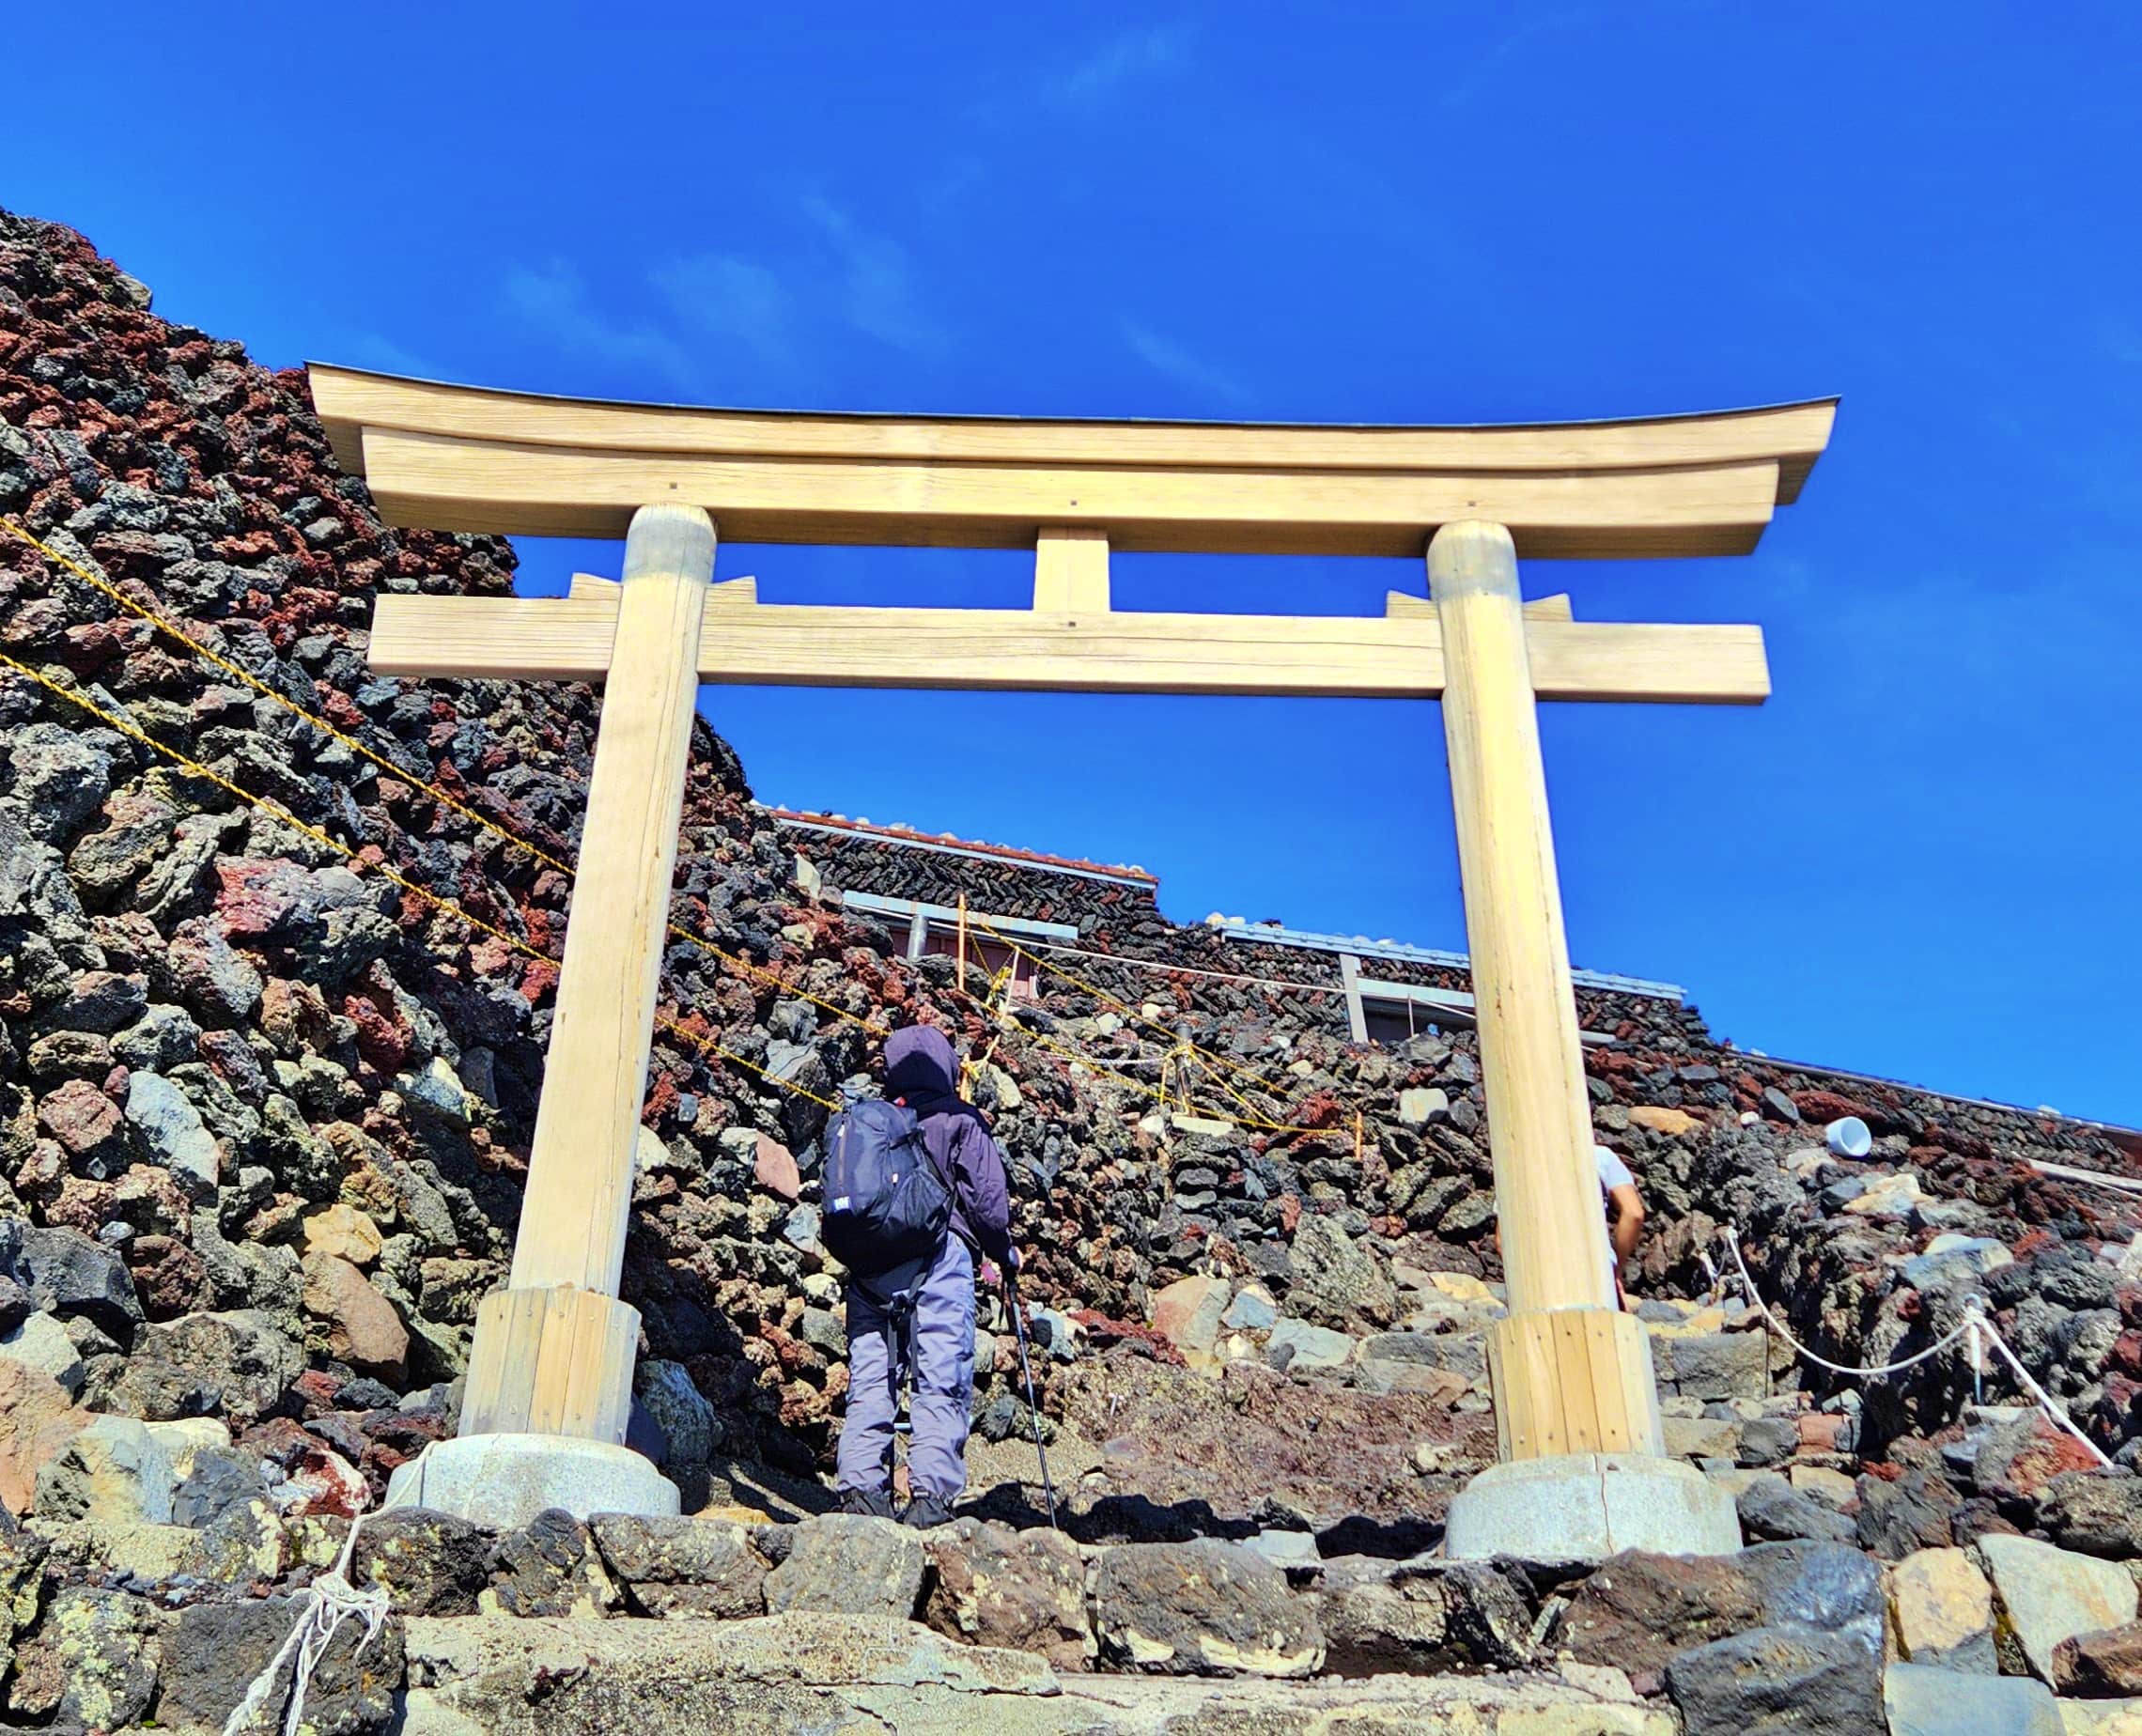
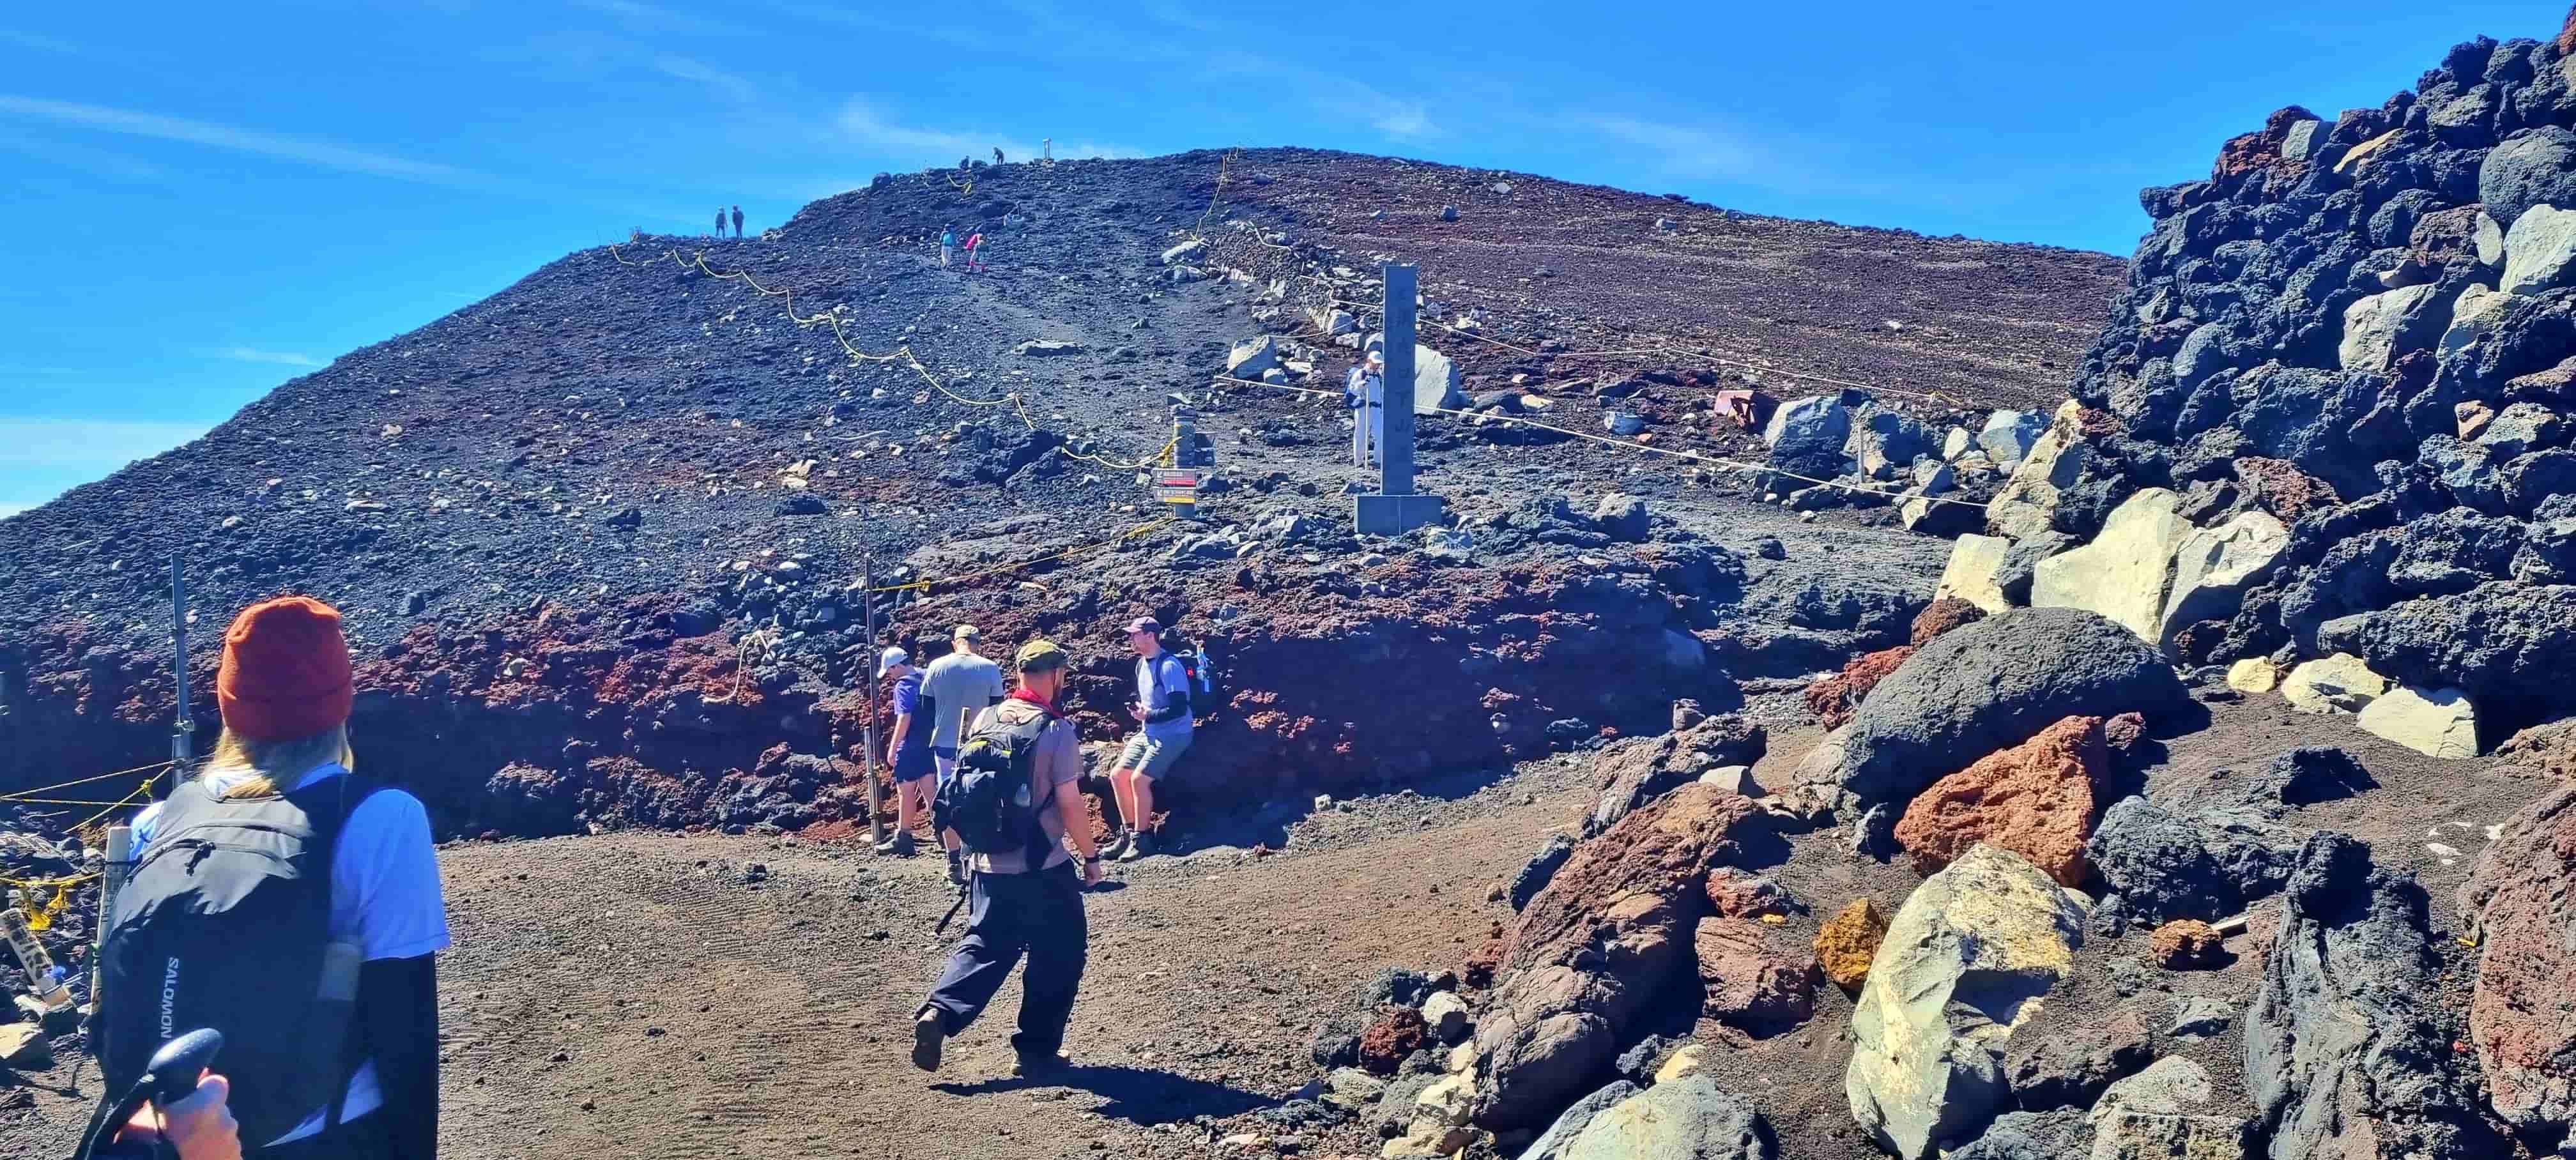
At around 8:20am, we finally reached the summit of Mt Fuji. Standing at the summit after everything we had experienced over the previous two days was a special moment for our whole family. We visited the summit shrine, took photos and enjoyed the views from the top. The weather was clear, allowing us to see the surrounding landscape and appreciate the scale of Mt Fuji.
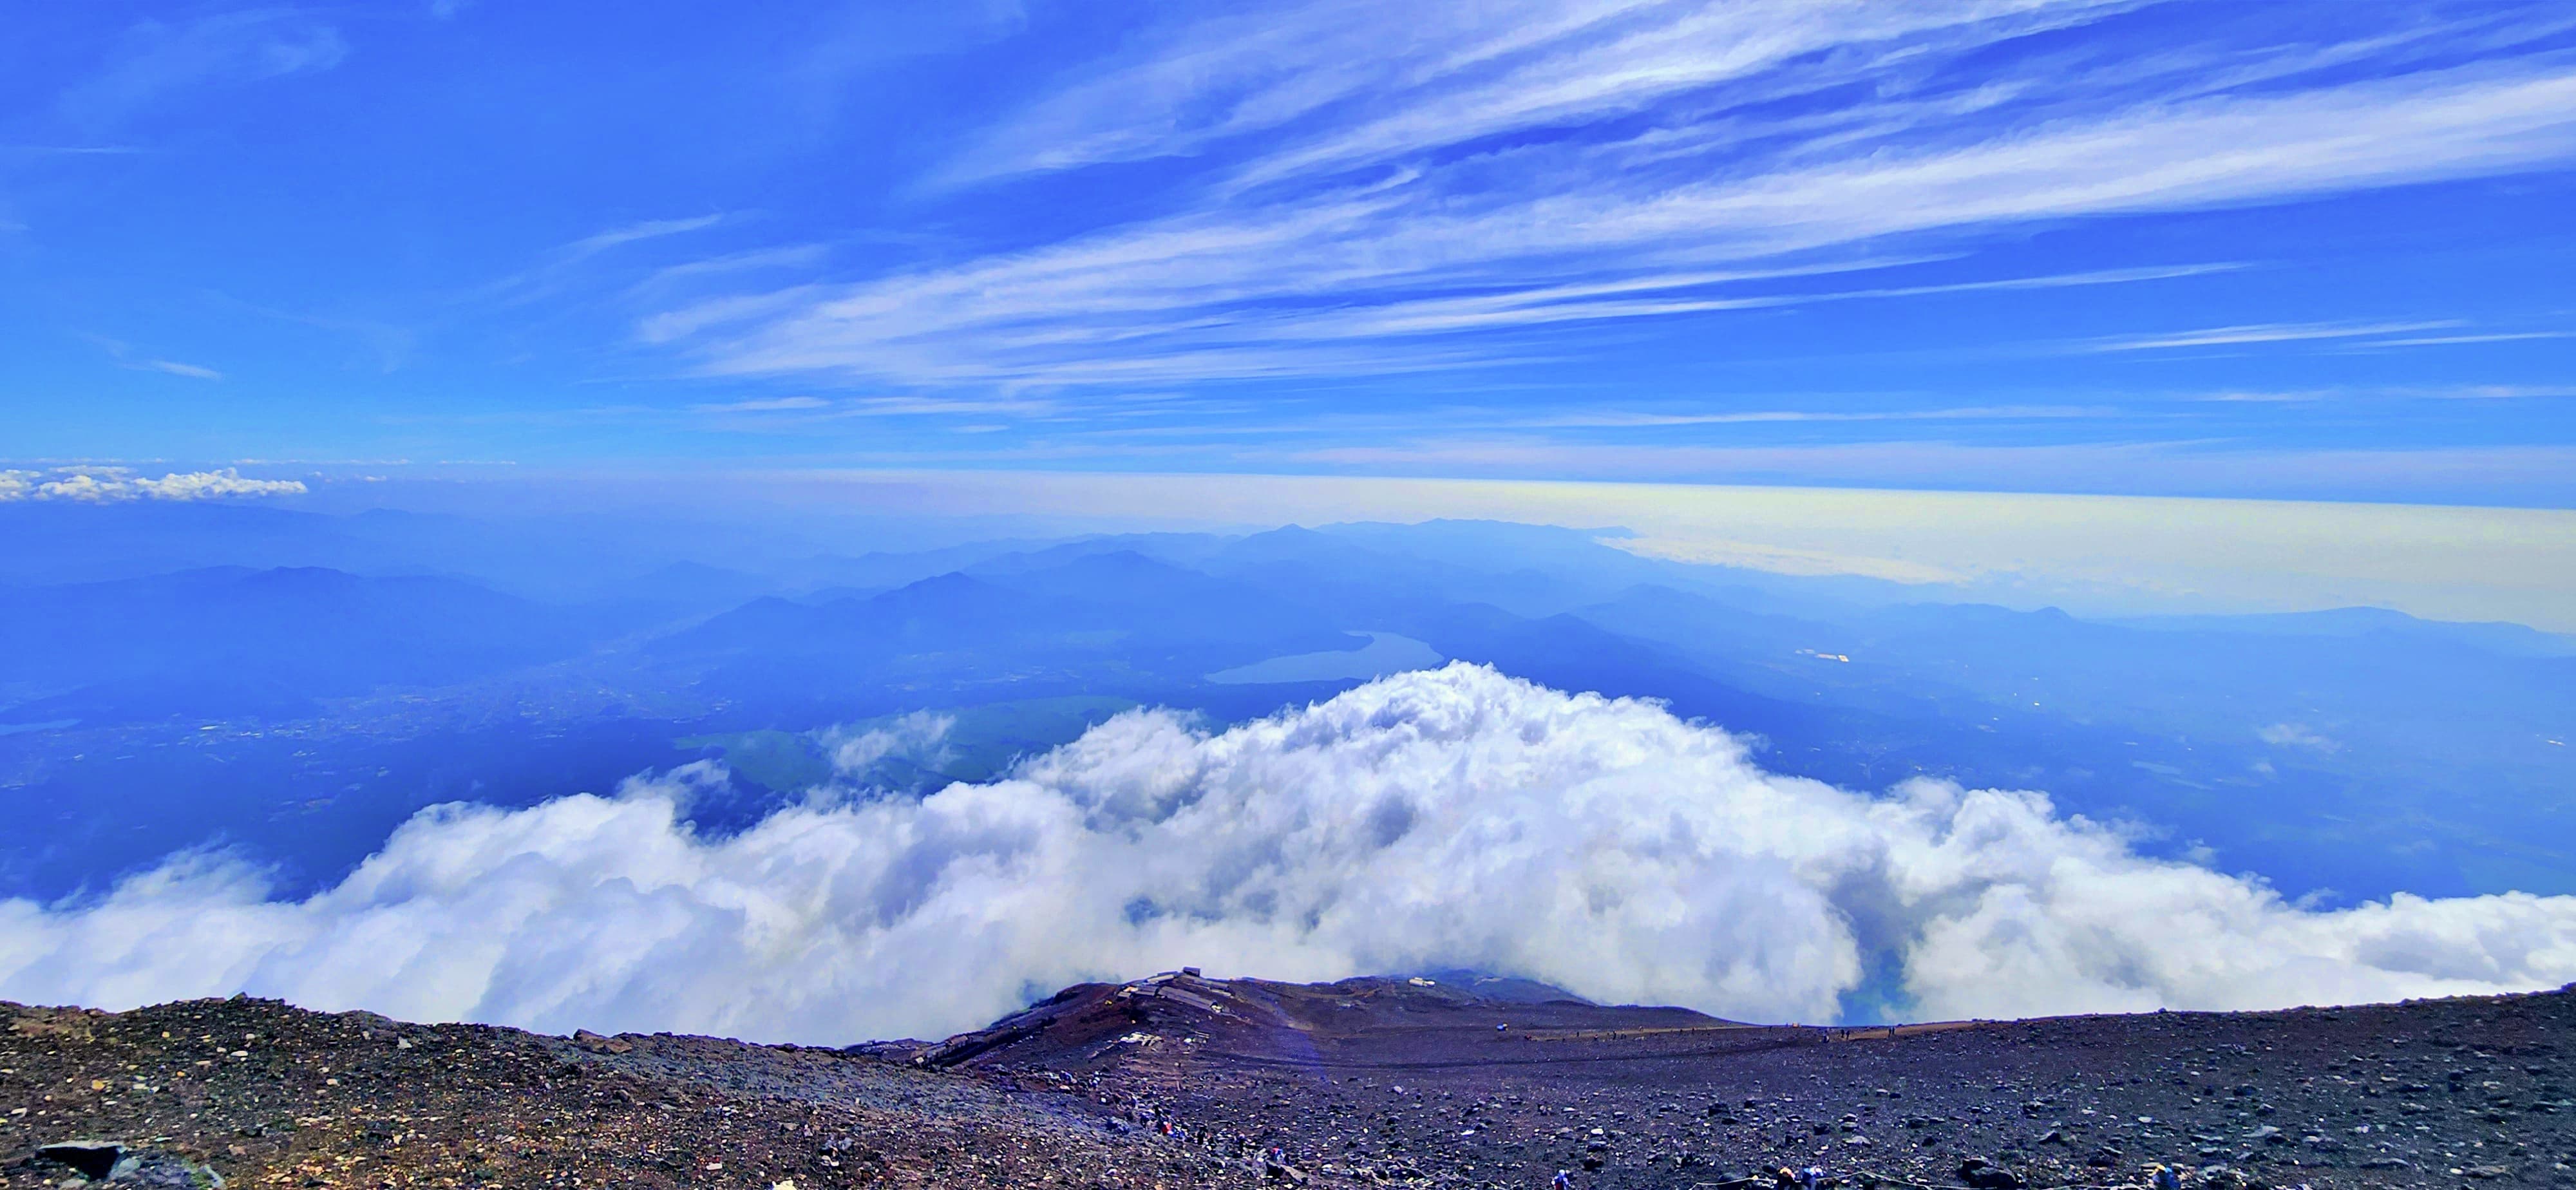
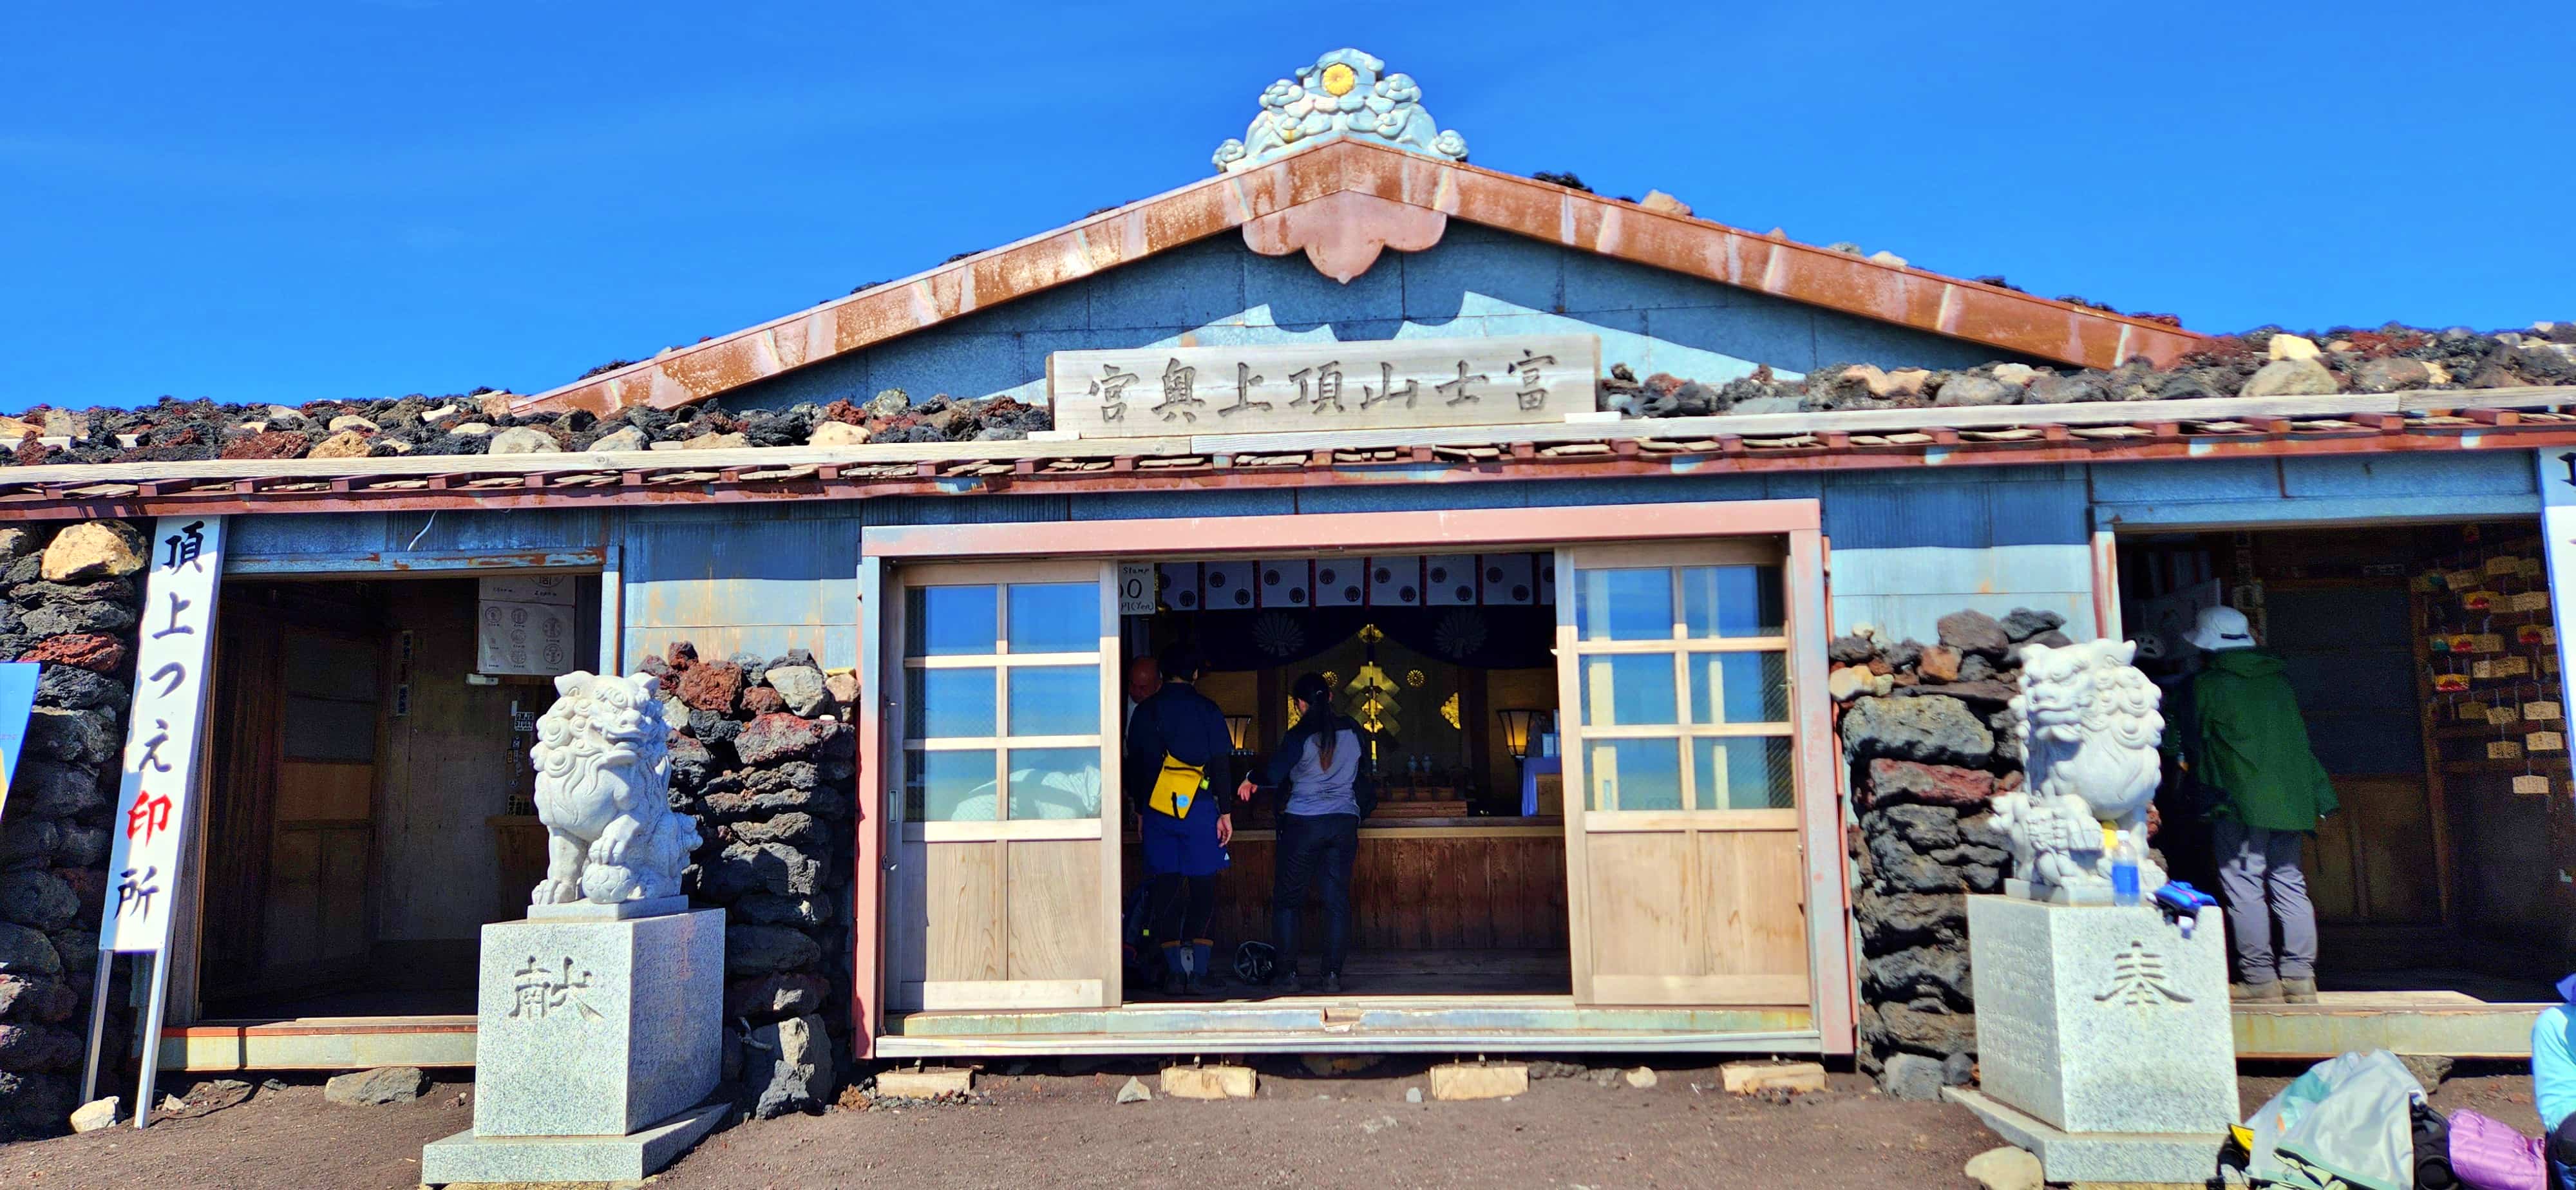
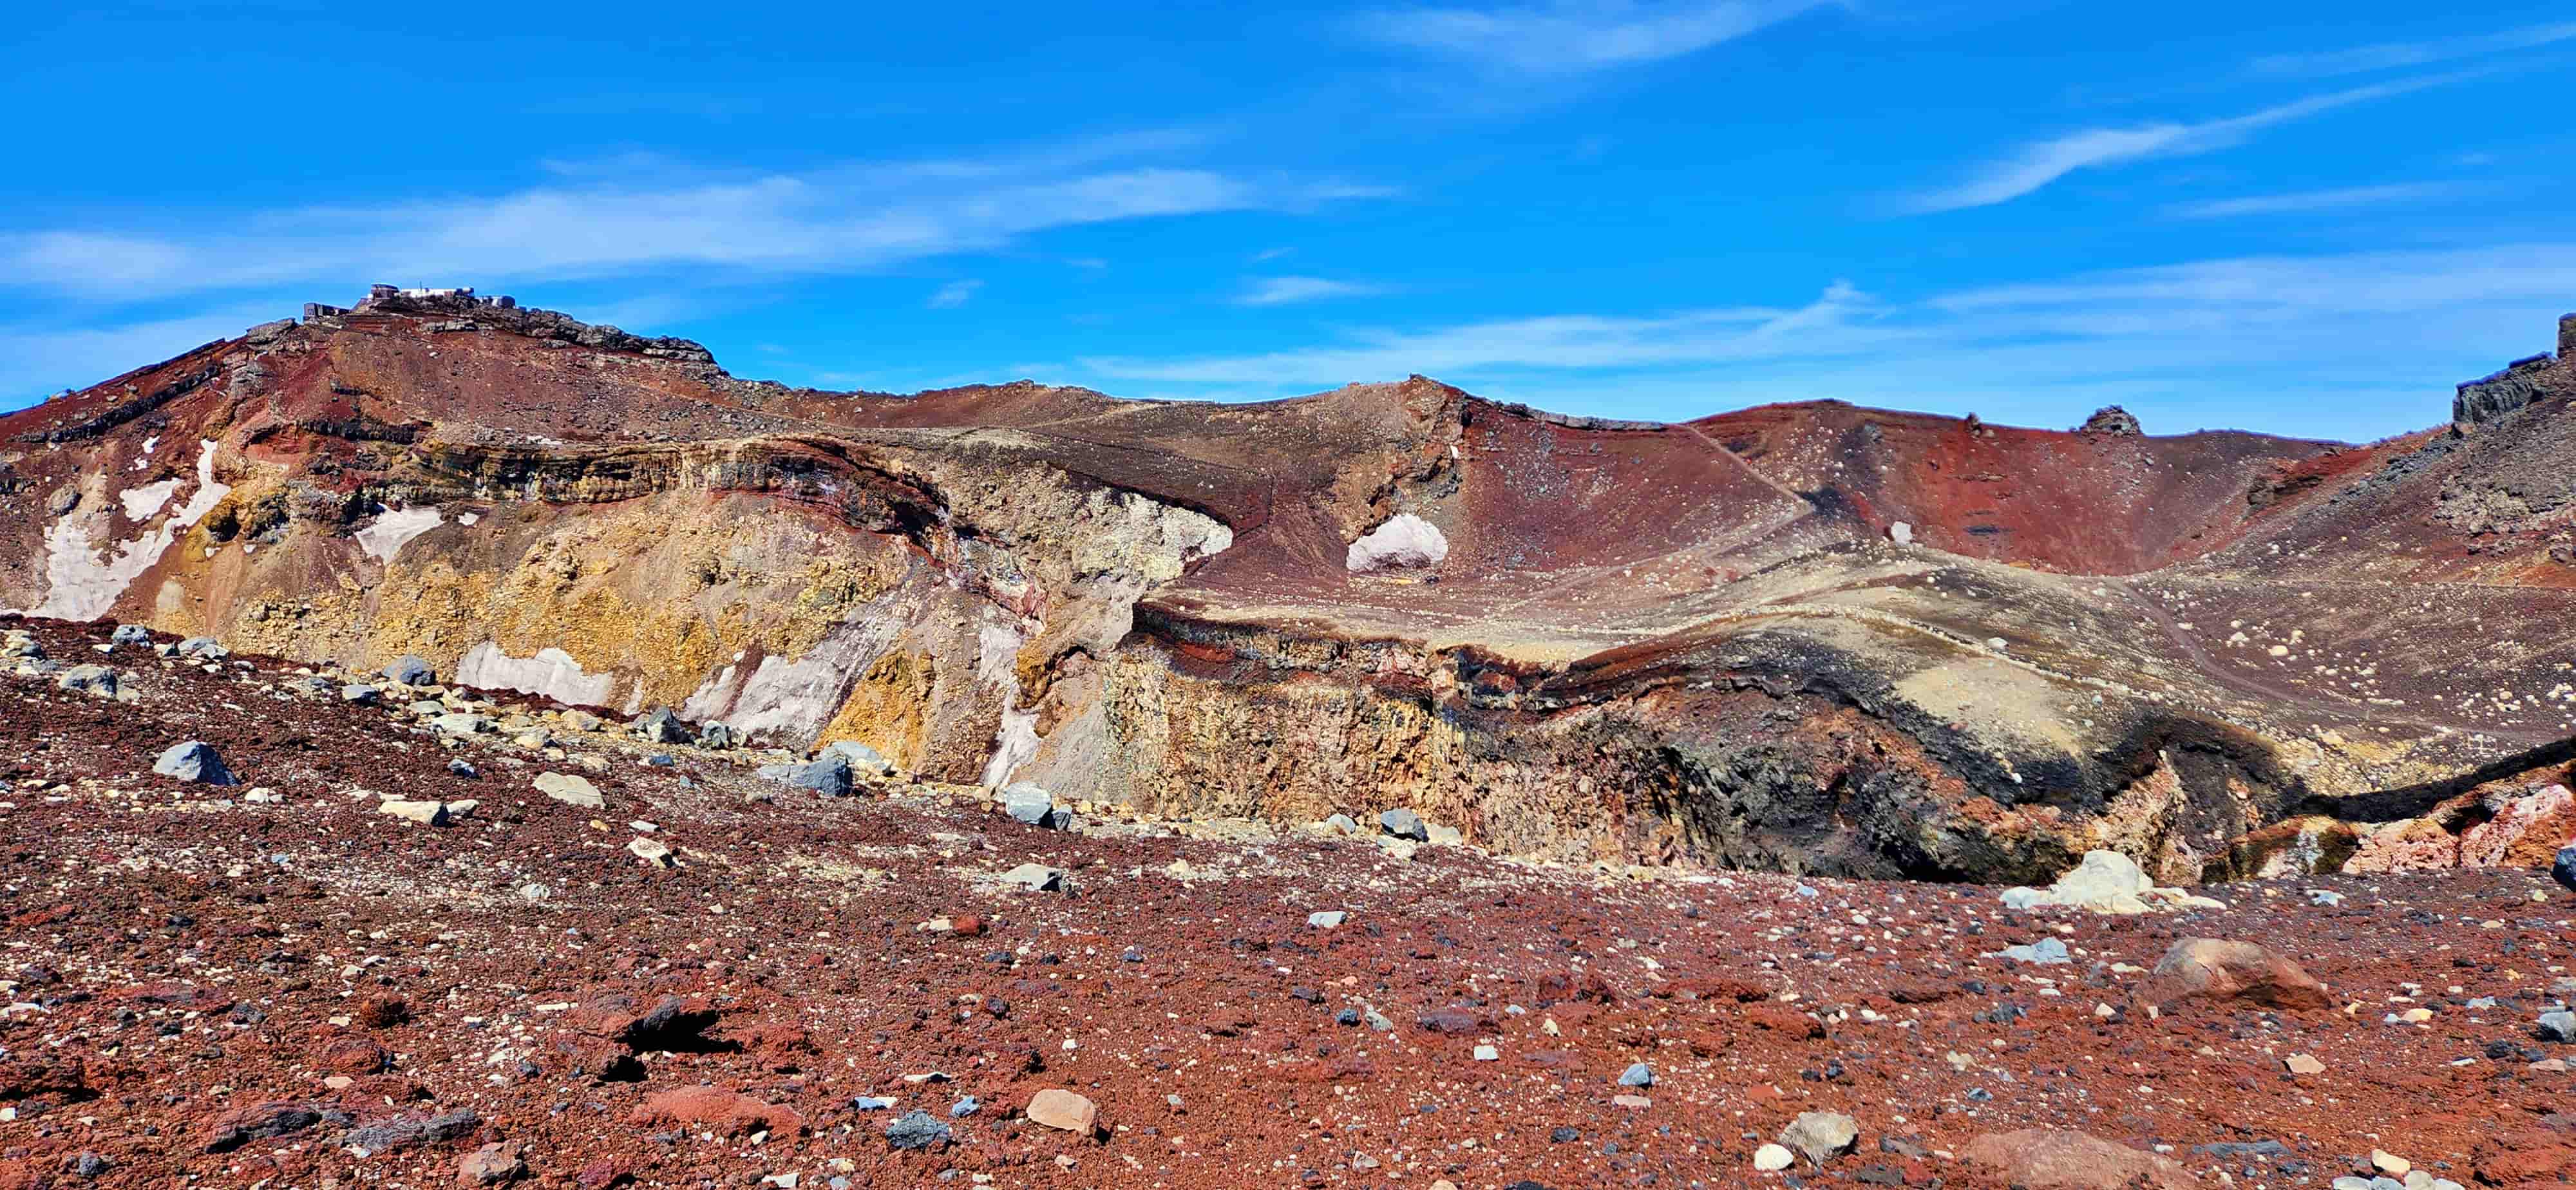
We stayed at the summit for approximately an hour. We had originally considered continuing around the summit rim to Kengamine Peak, the highest point of Mt Fuji. However, by the time we reached the summit, altitude and fatigue were still factors for some of us. We therefore decided not to continue around the summit rim. For us, reaching the summit was truly a special moment and one we would never forget! It was a good reminder that an itinerary should leave room for decisions based on how you are actually feeling on the mountain rather than simply following the original plan.
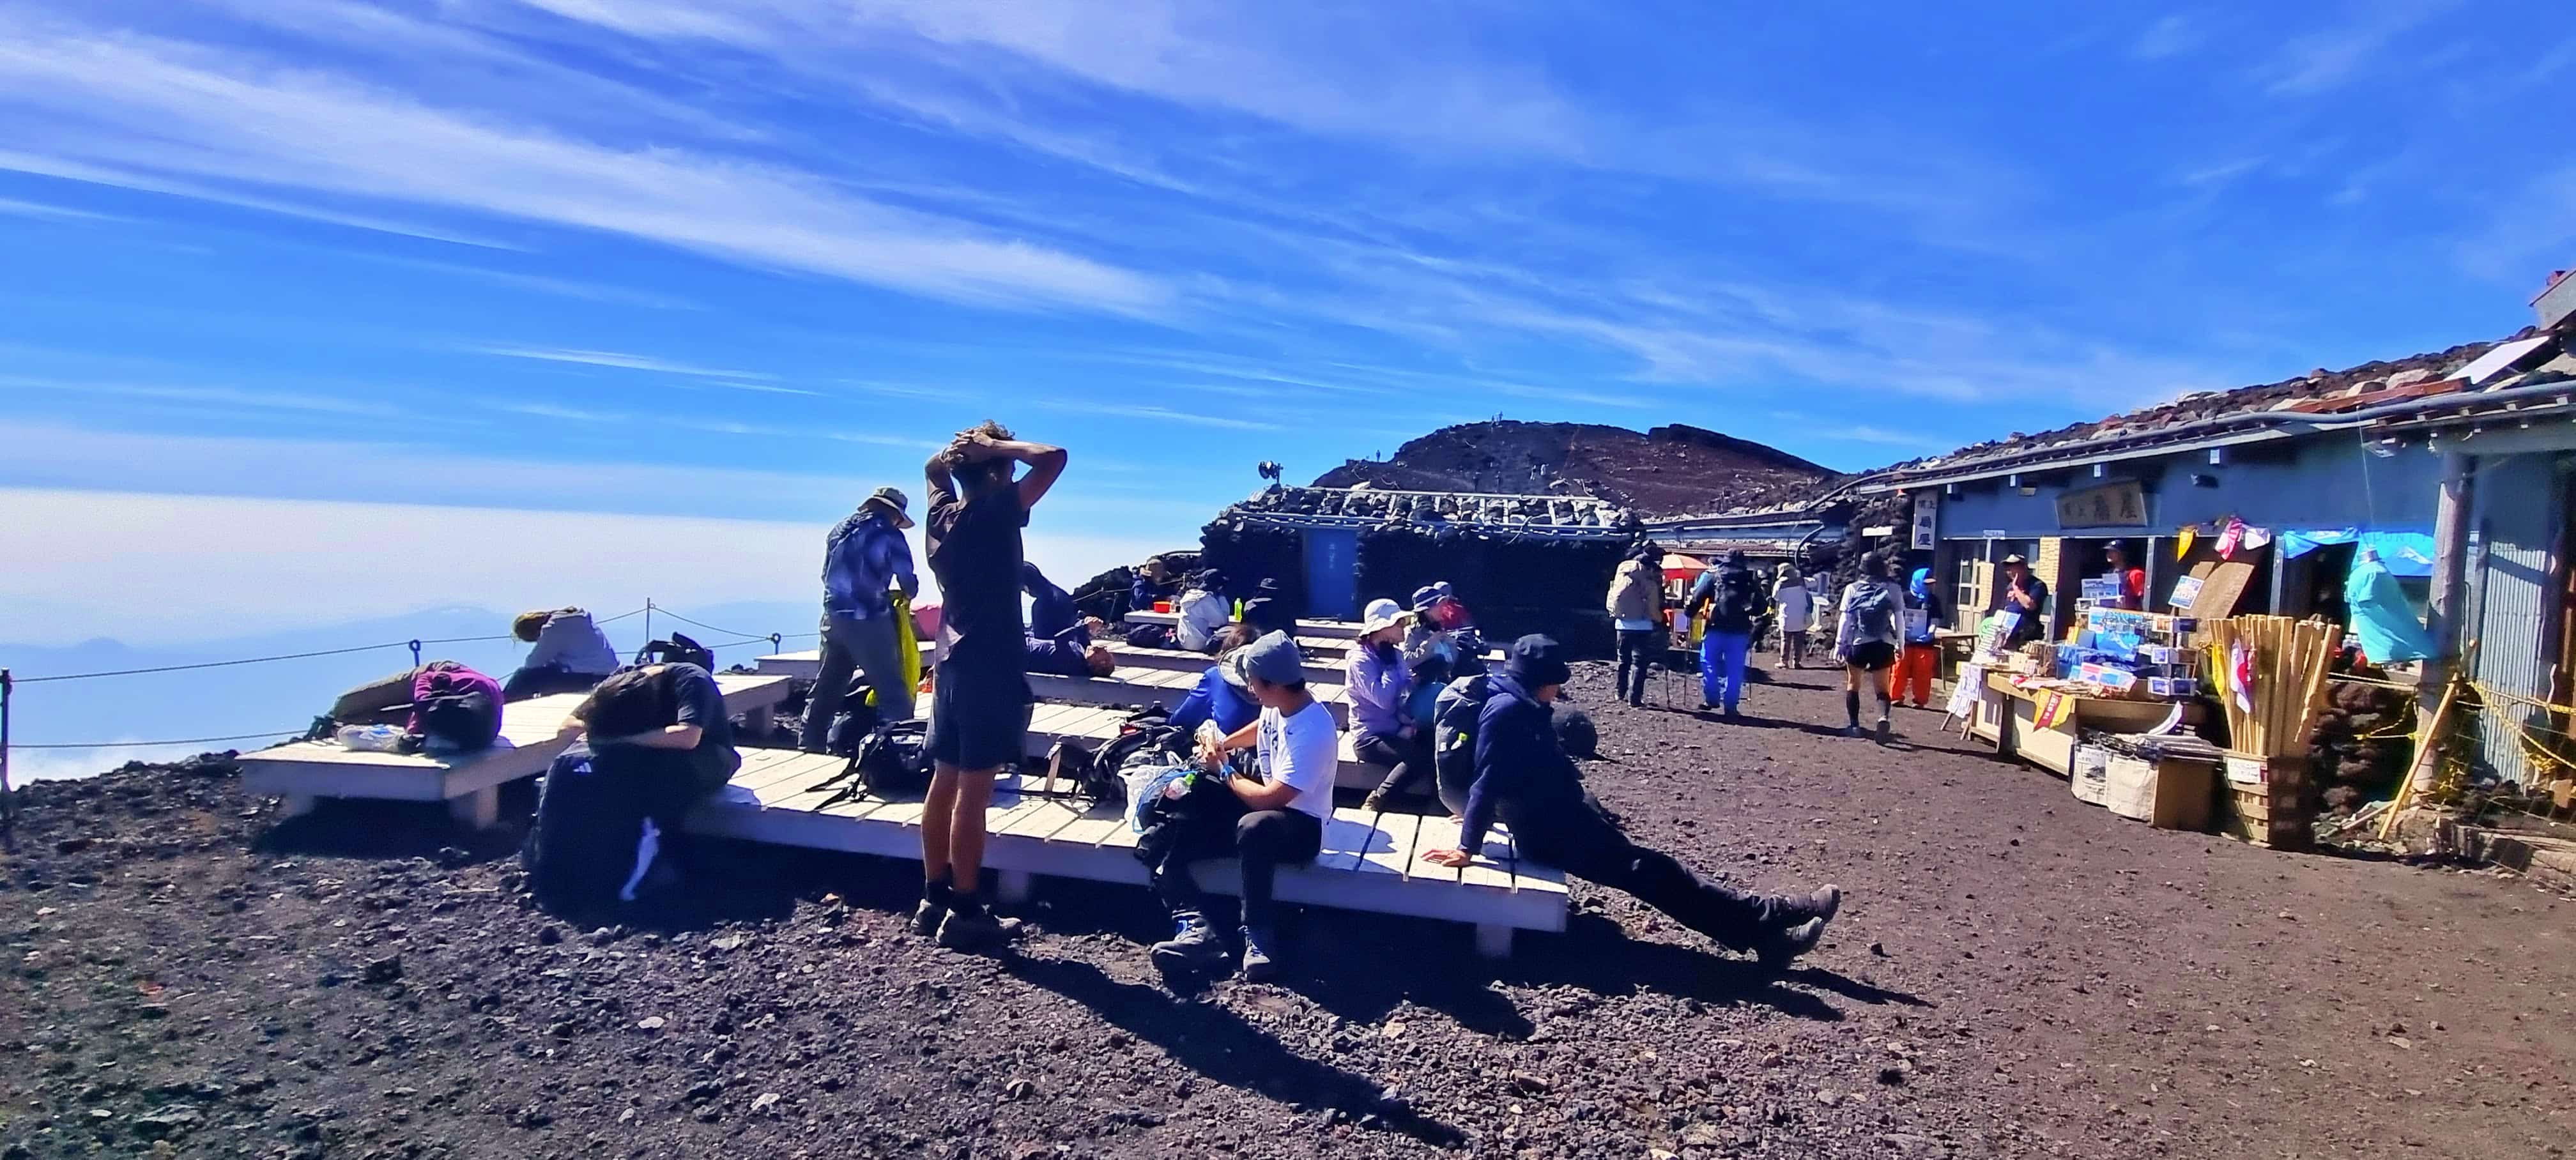
Our Descent from the Summit
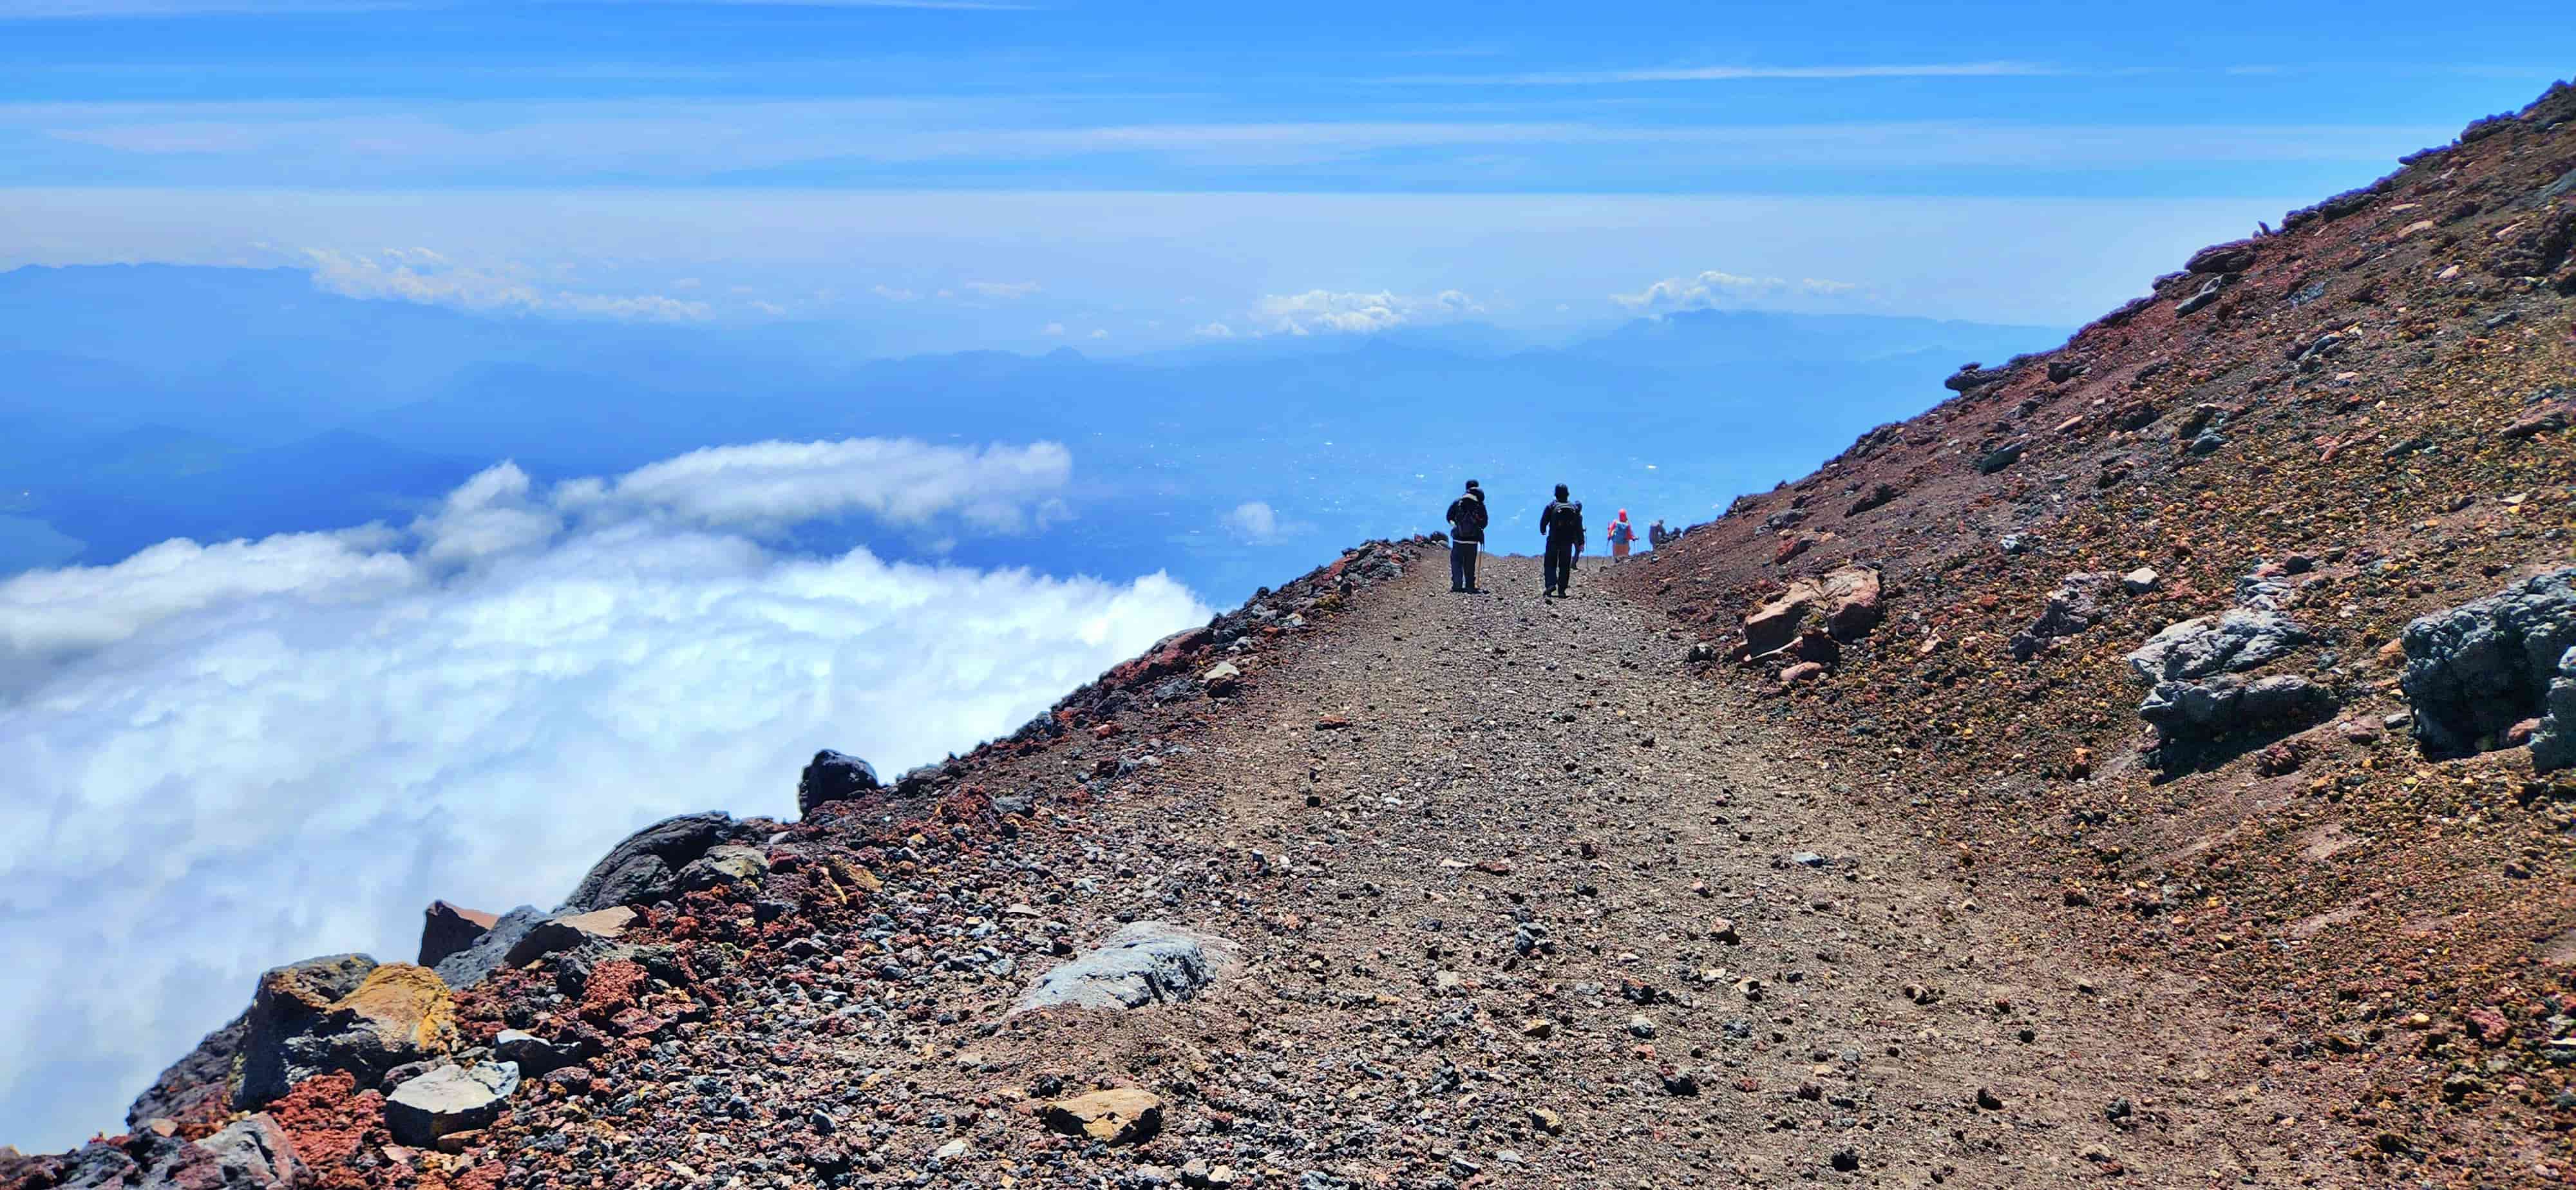
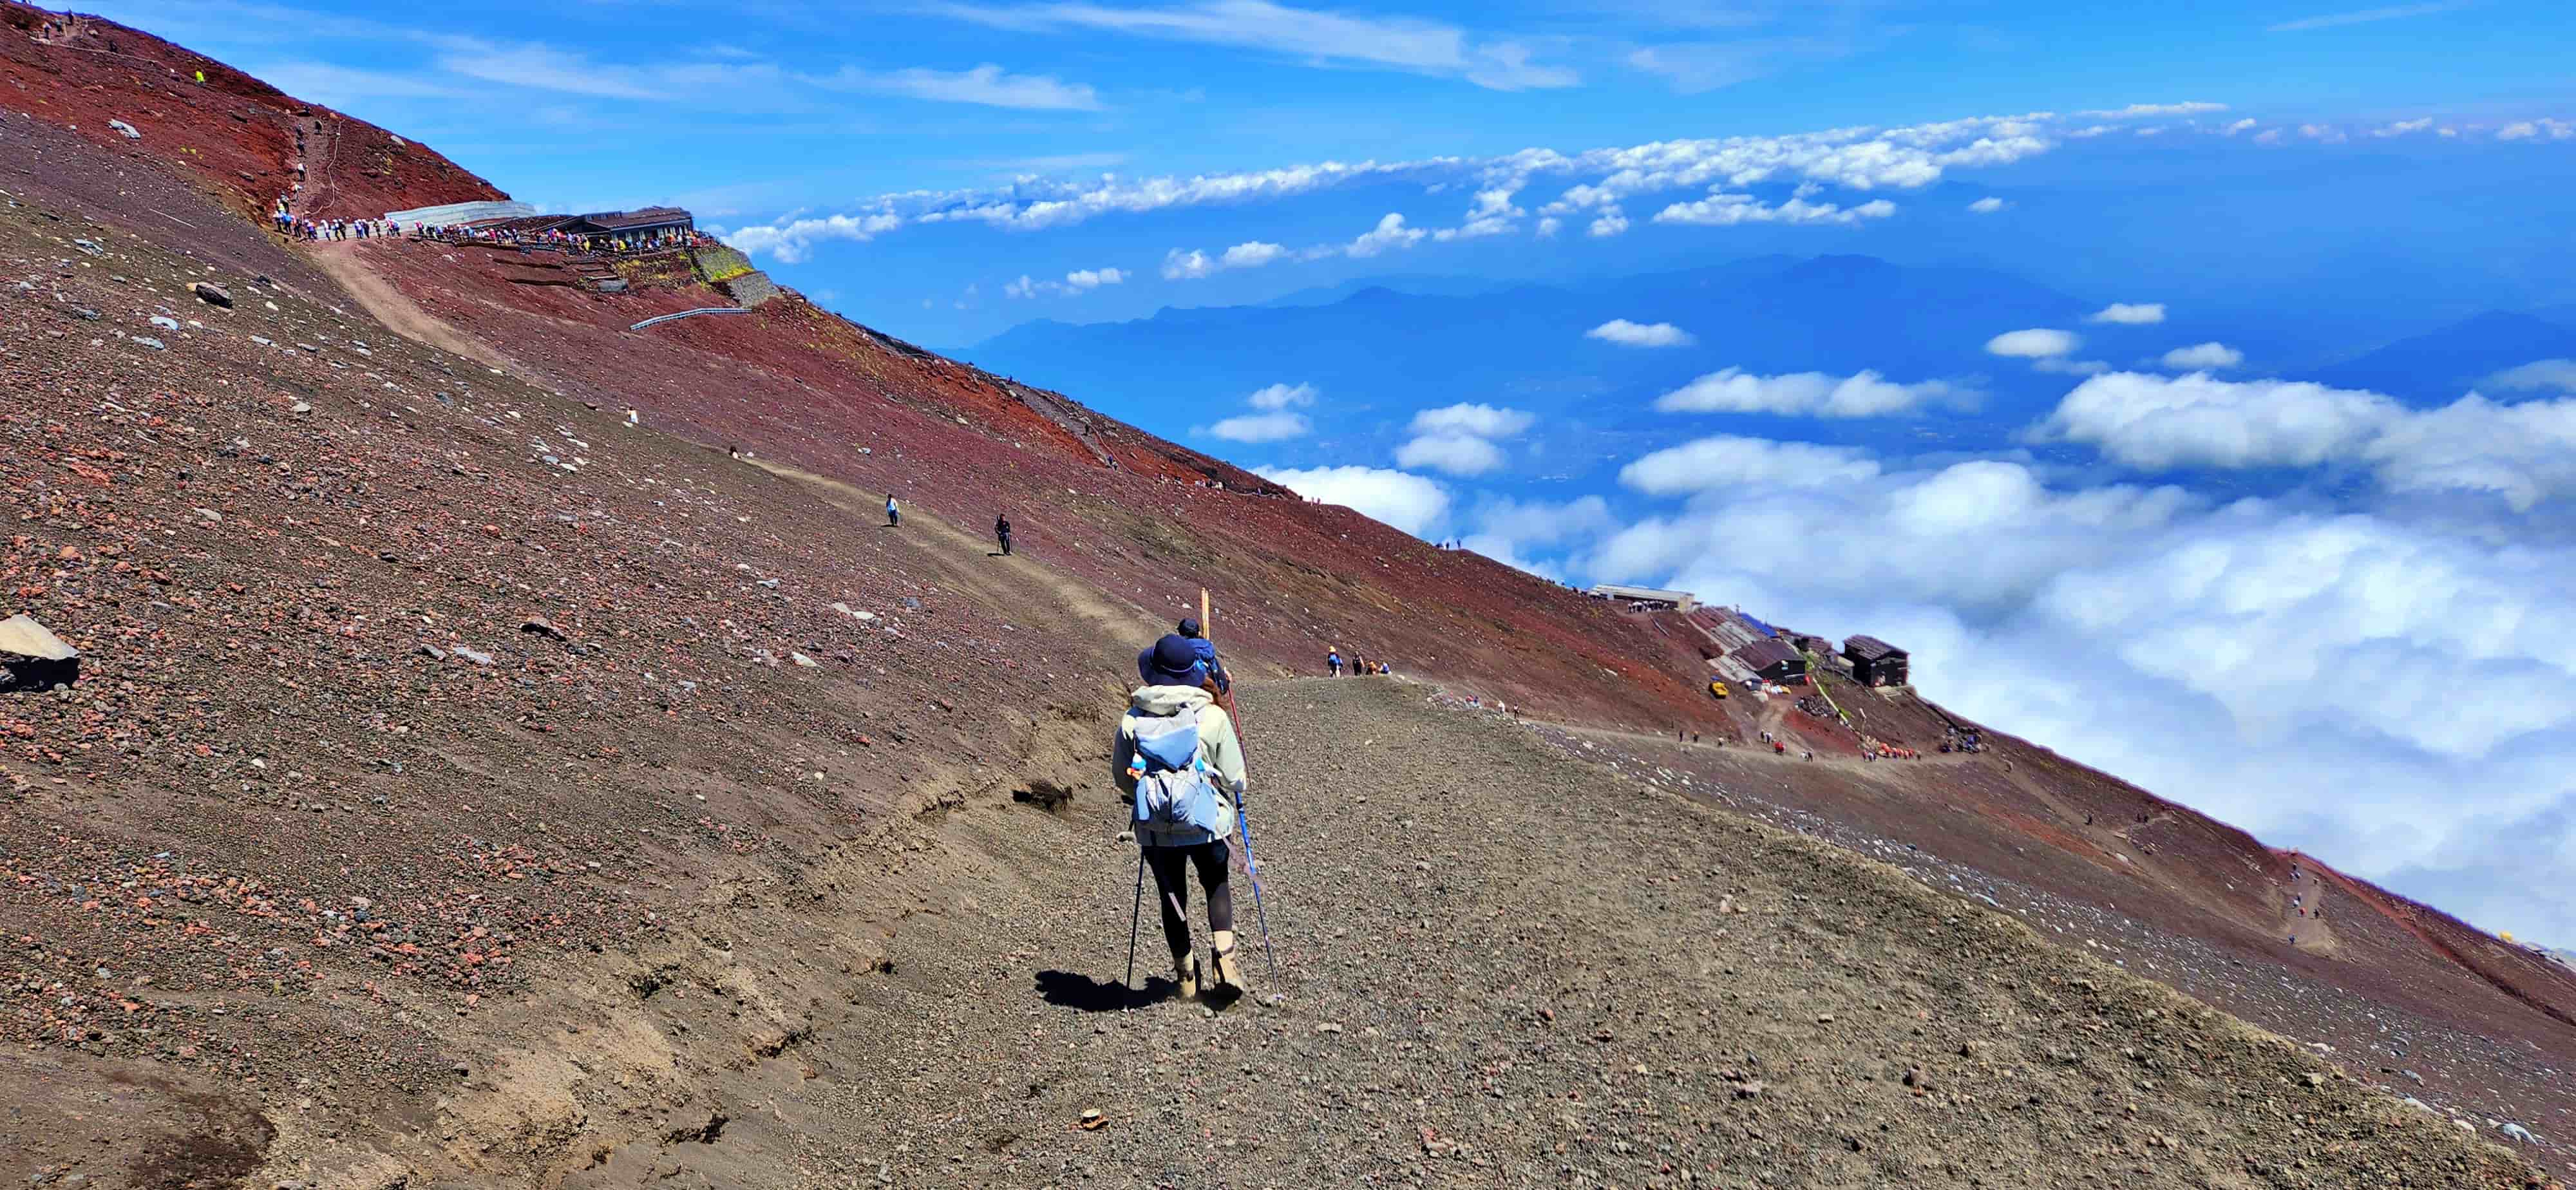
We started our descent from the summit at around 9:30am. The descent is very different from the ascent, with the route following a long, undulating trail covered in soft volcanic sand all the way down to the 6th Station. The loose surface means you need to pay close attention to where you place your feet. It is easy for your footing to shift on the volcanic sand, particularly when moving downhill, so we found it important to take each step carefully rather than trying to rush the descent. A hiking pole definitely helps with balance on this section. It gives you an additional point of support and makes navigating the soft, uneven surface more comfortable. After the long climb to the summit, the descent can also be tiring on the legs, so maintaining a controlled pace is worthwhile.
Be Very Careful at the Shimo-Edoya Junction
One of the most important things to watch for on the descent is the Shimo-Edoya junction near the 8th Station, where the Yoshida and Subashiri routes separate. This is a particularly important point because missing the signpost and taking the wrong turn will send you towards a different destination. After reaching the summit, you may be tired and simply following the flow of other climbers, so don't assume that every descending path will take you back to the Fuji-Subaru Line 5th Station.
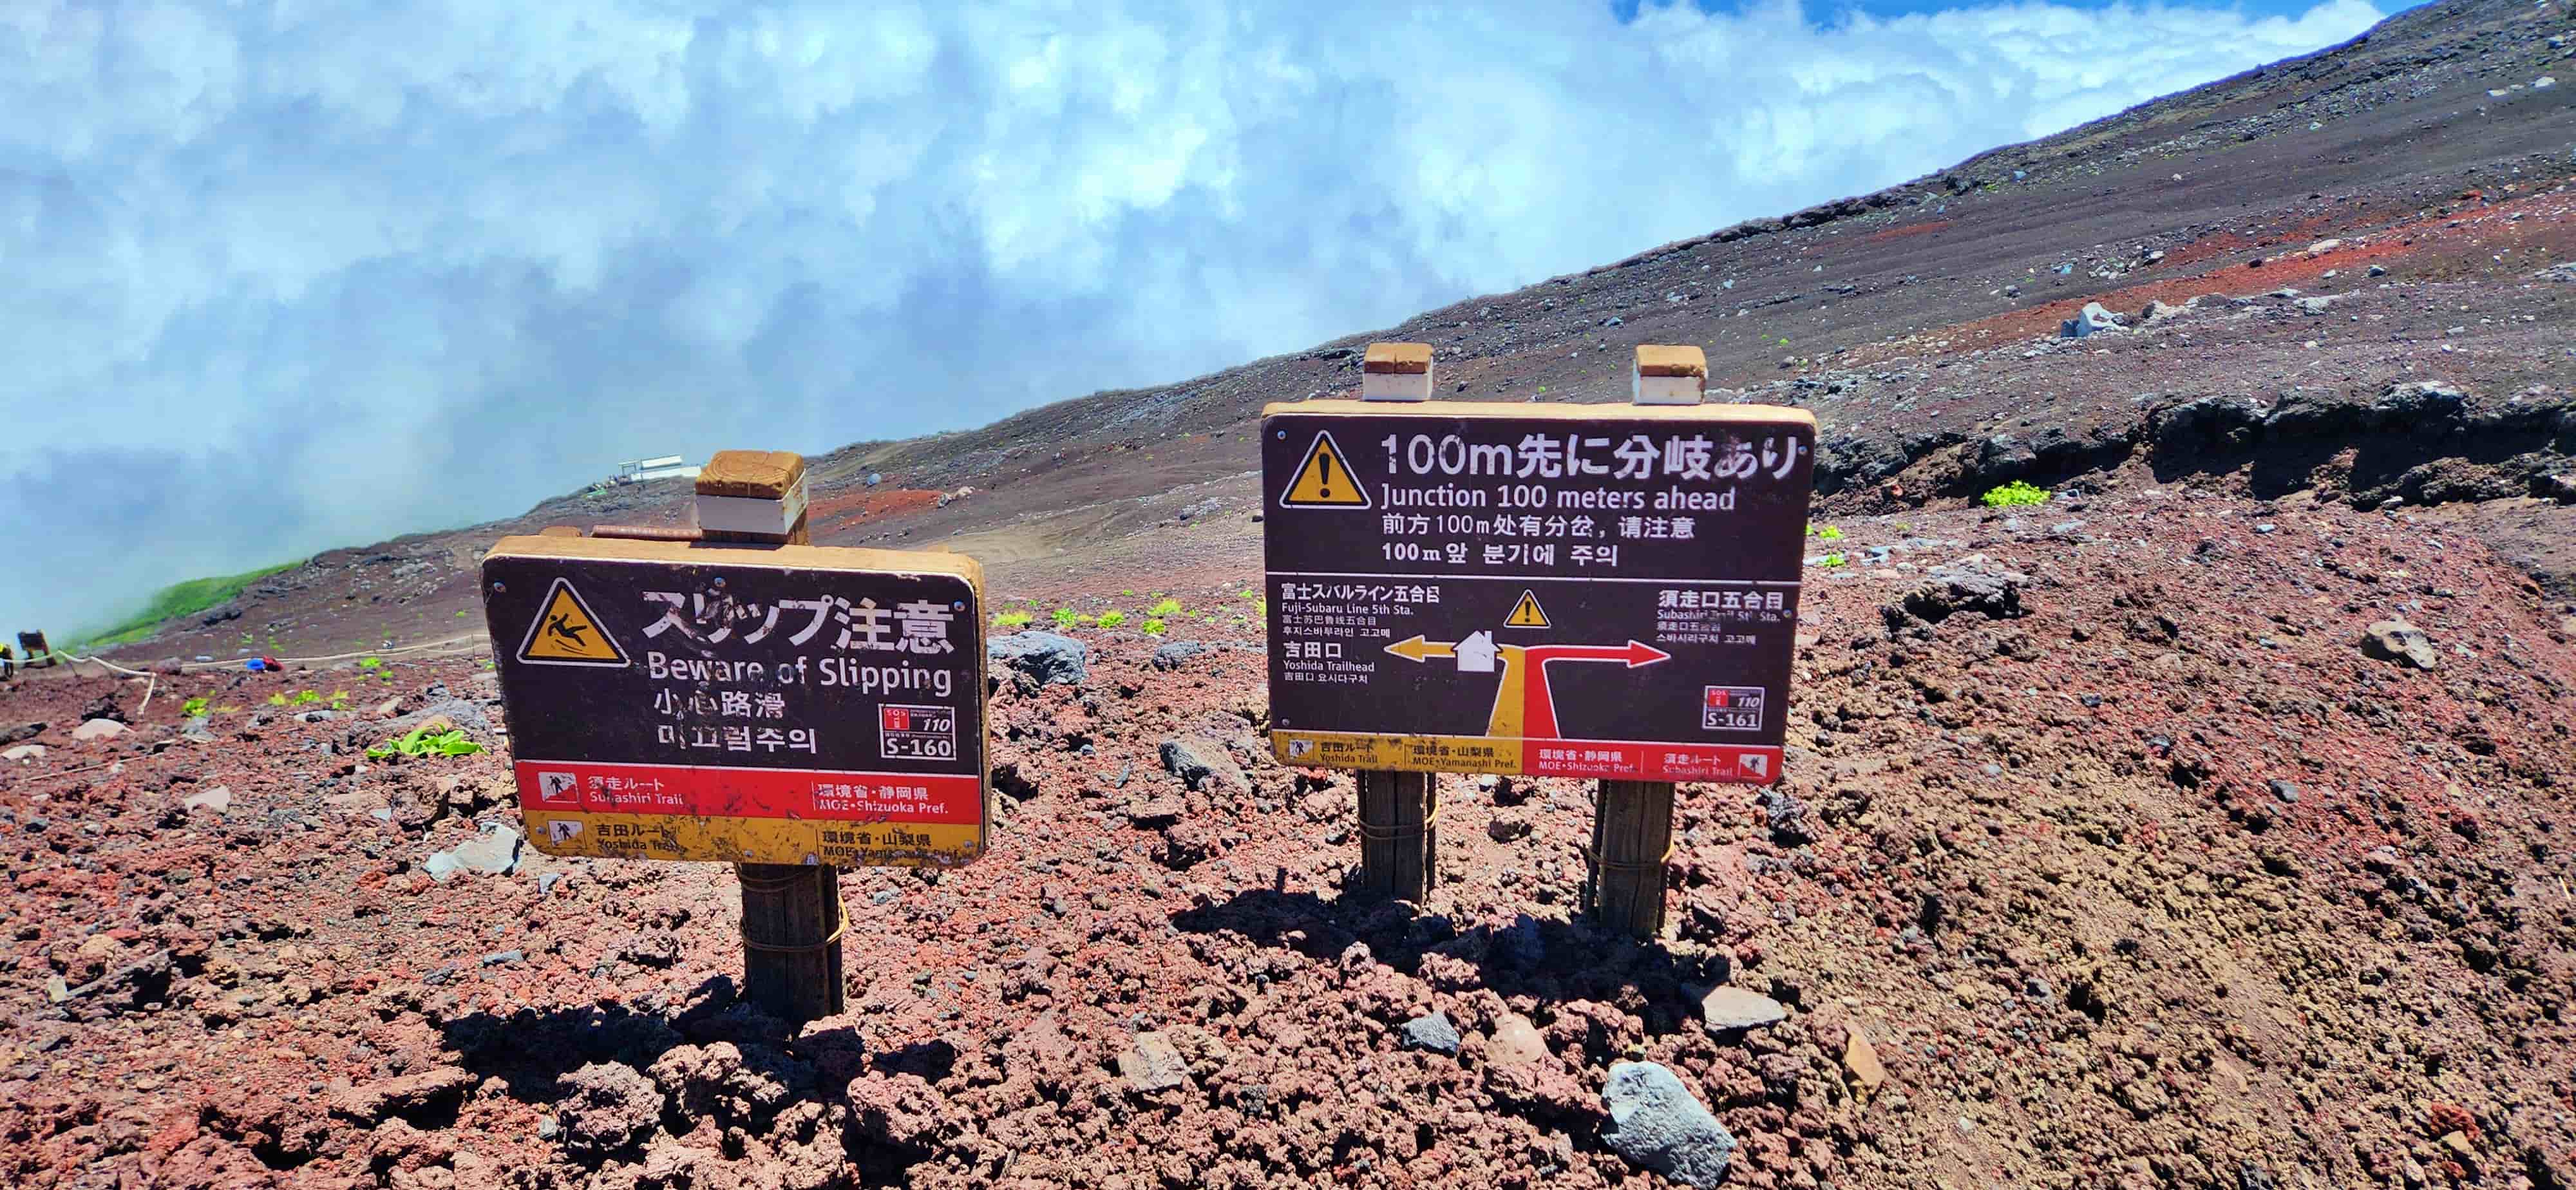
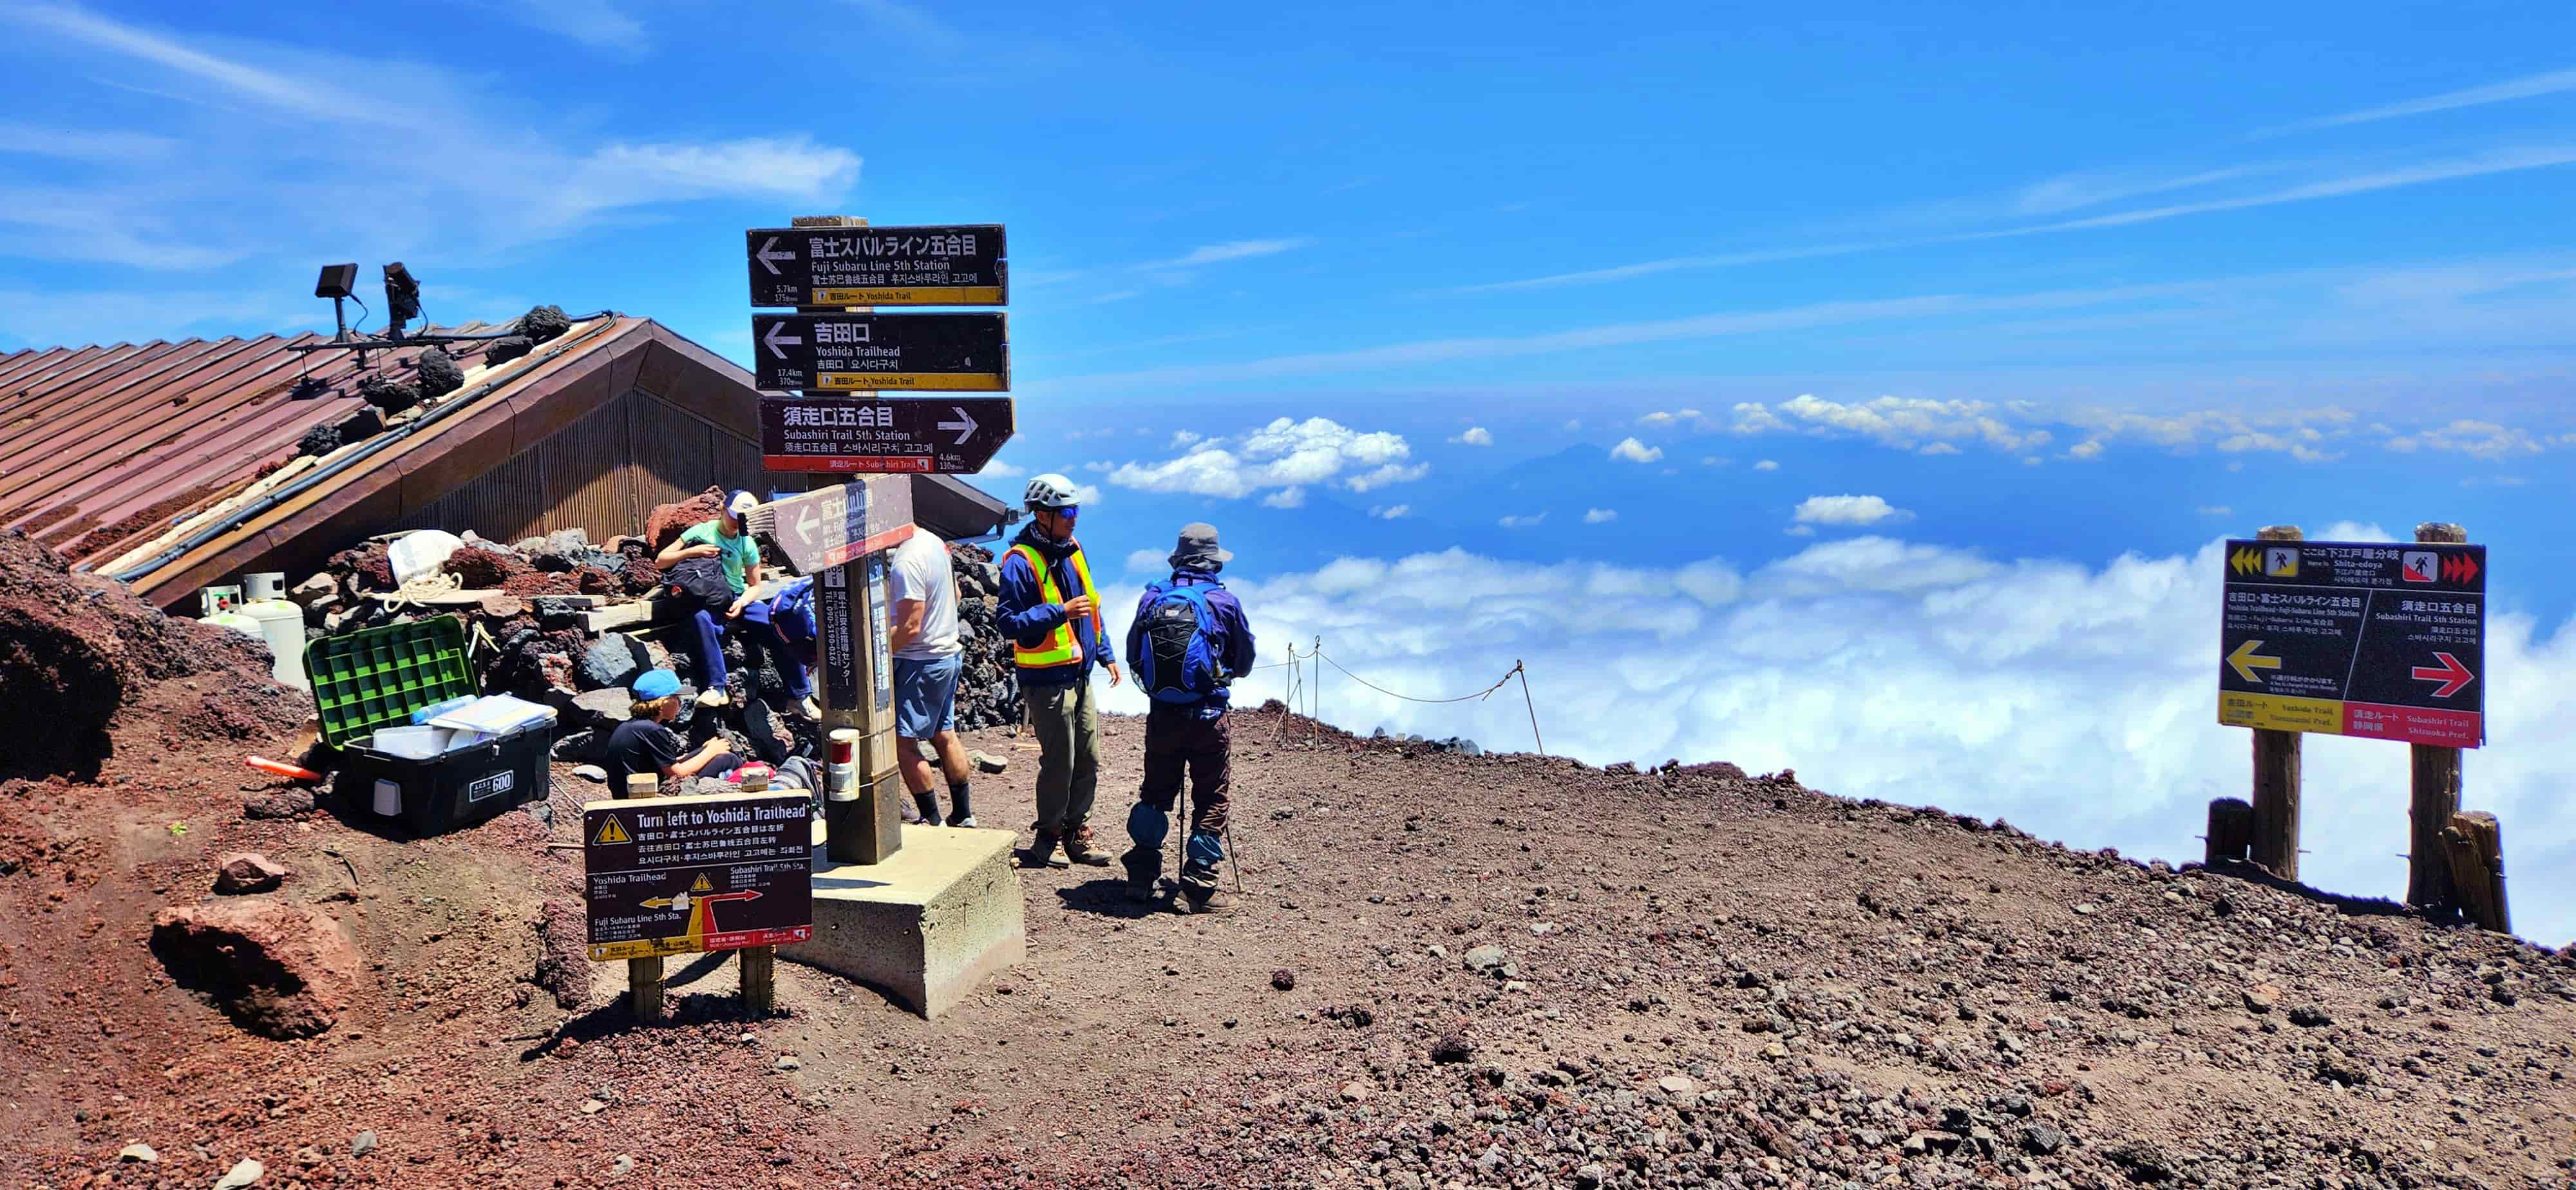
If you are descending the Yoshida Trail, make sure you follow the signs for the Yoshida descending route at the Shimo-Edoya junction. Take a moment to check the signpost and confirm that you are on the correct route before continuing. This is especially important if you are climbing as a family or group. Make sure everyone stays together at this junction and that nobody continues ahead without confirming the correct direction.
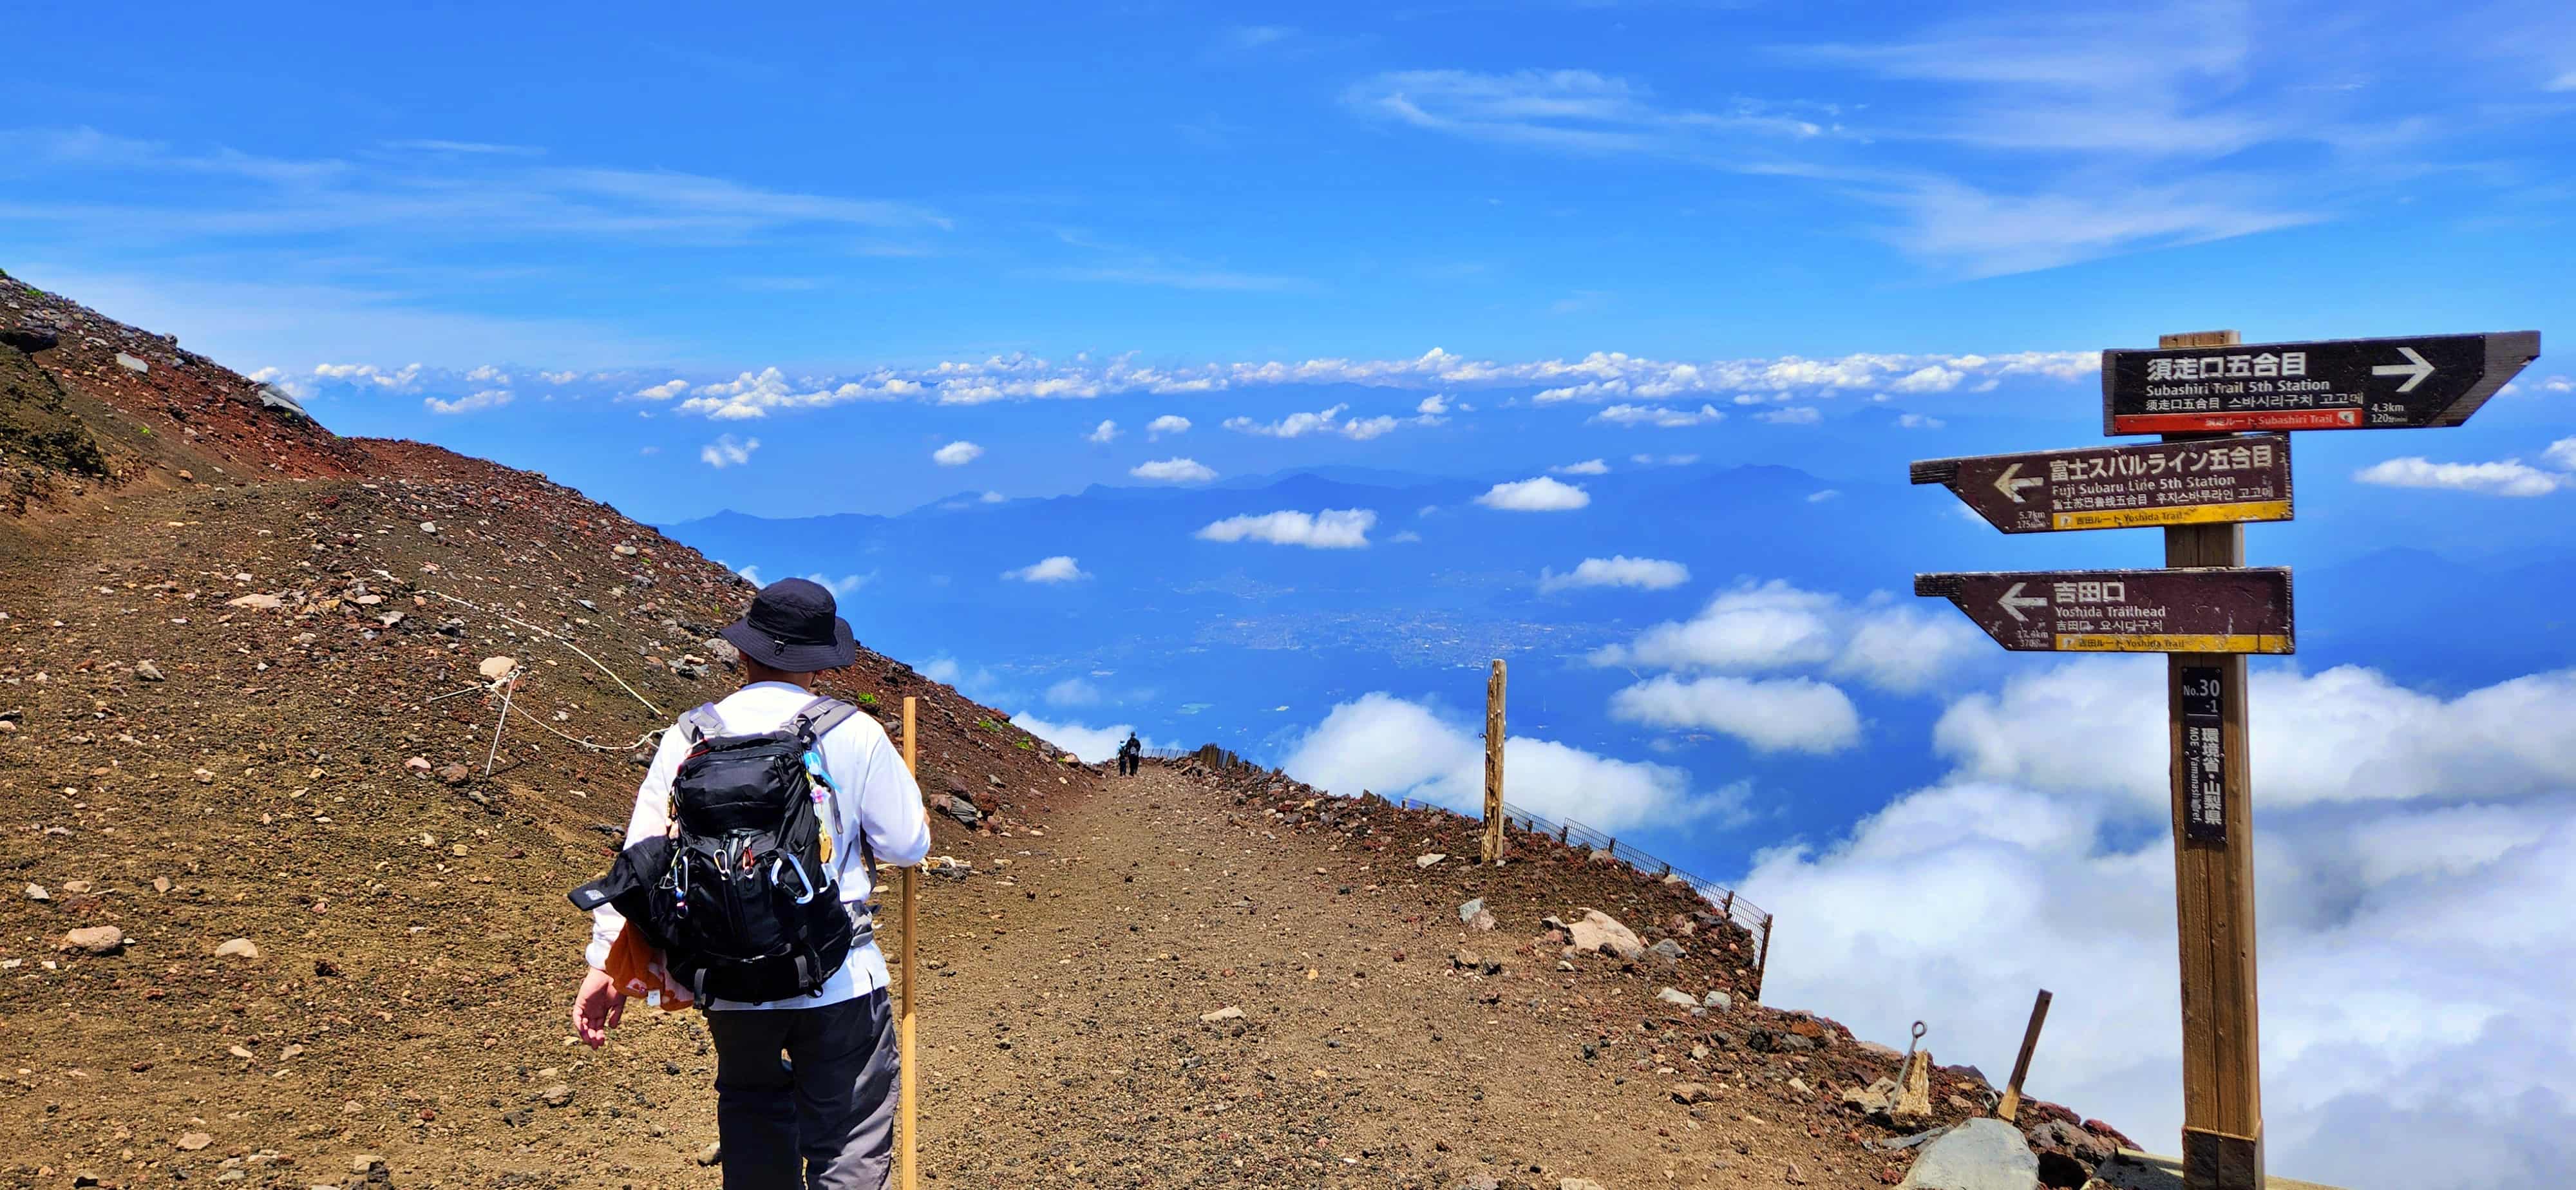
Continuing Down to the 6th Station
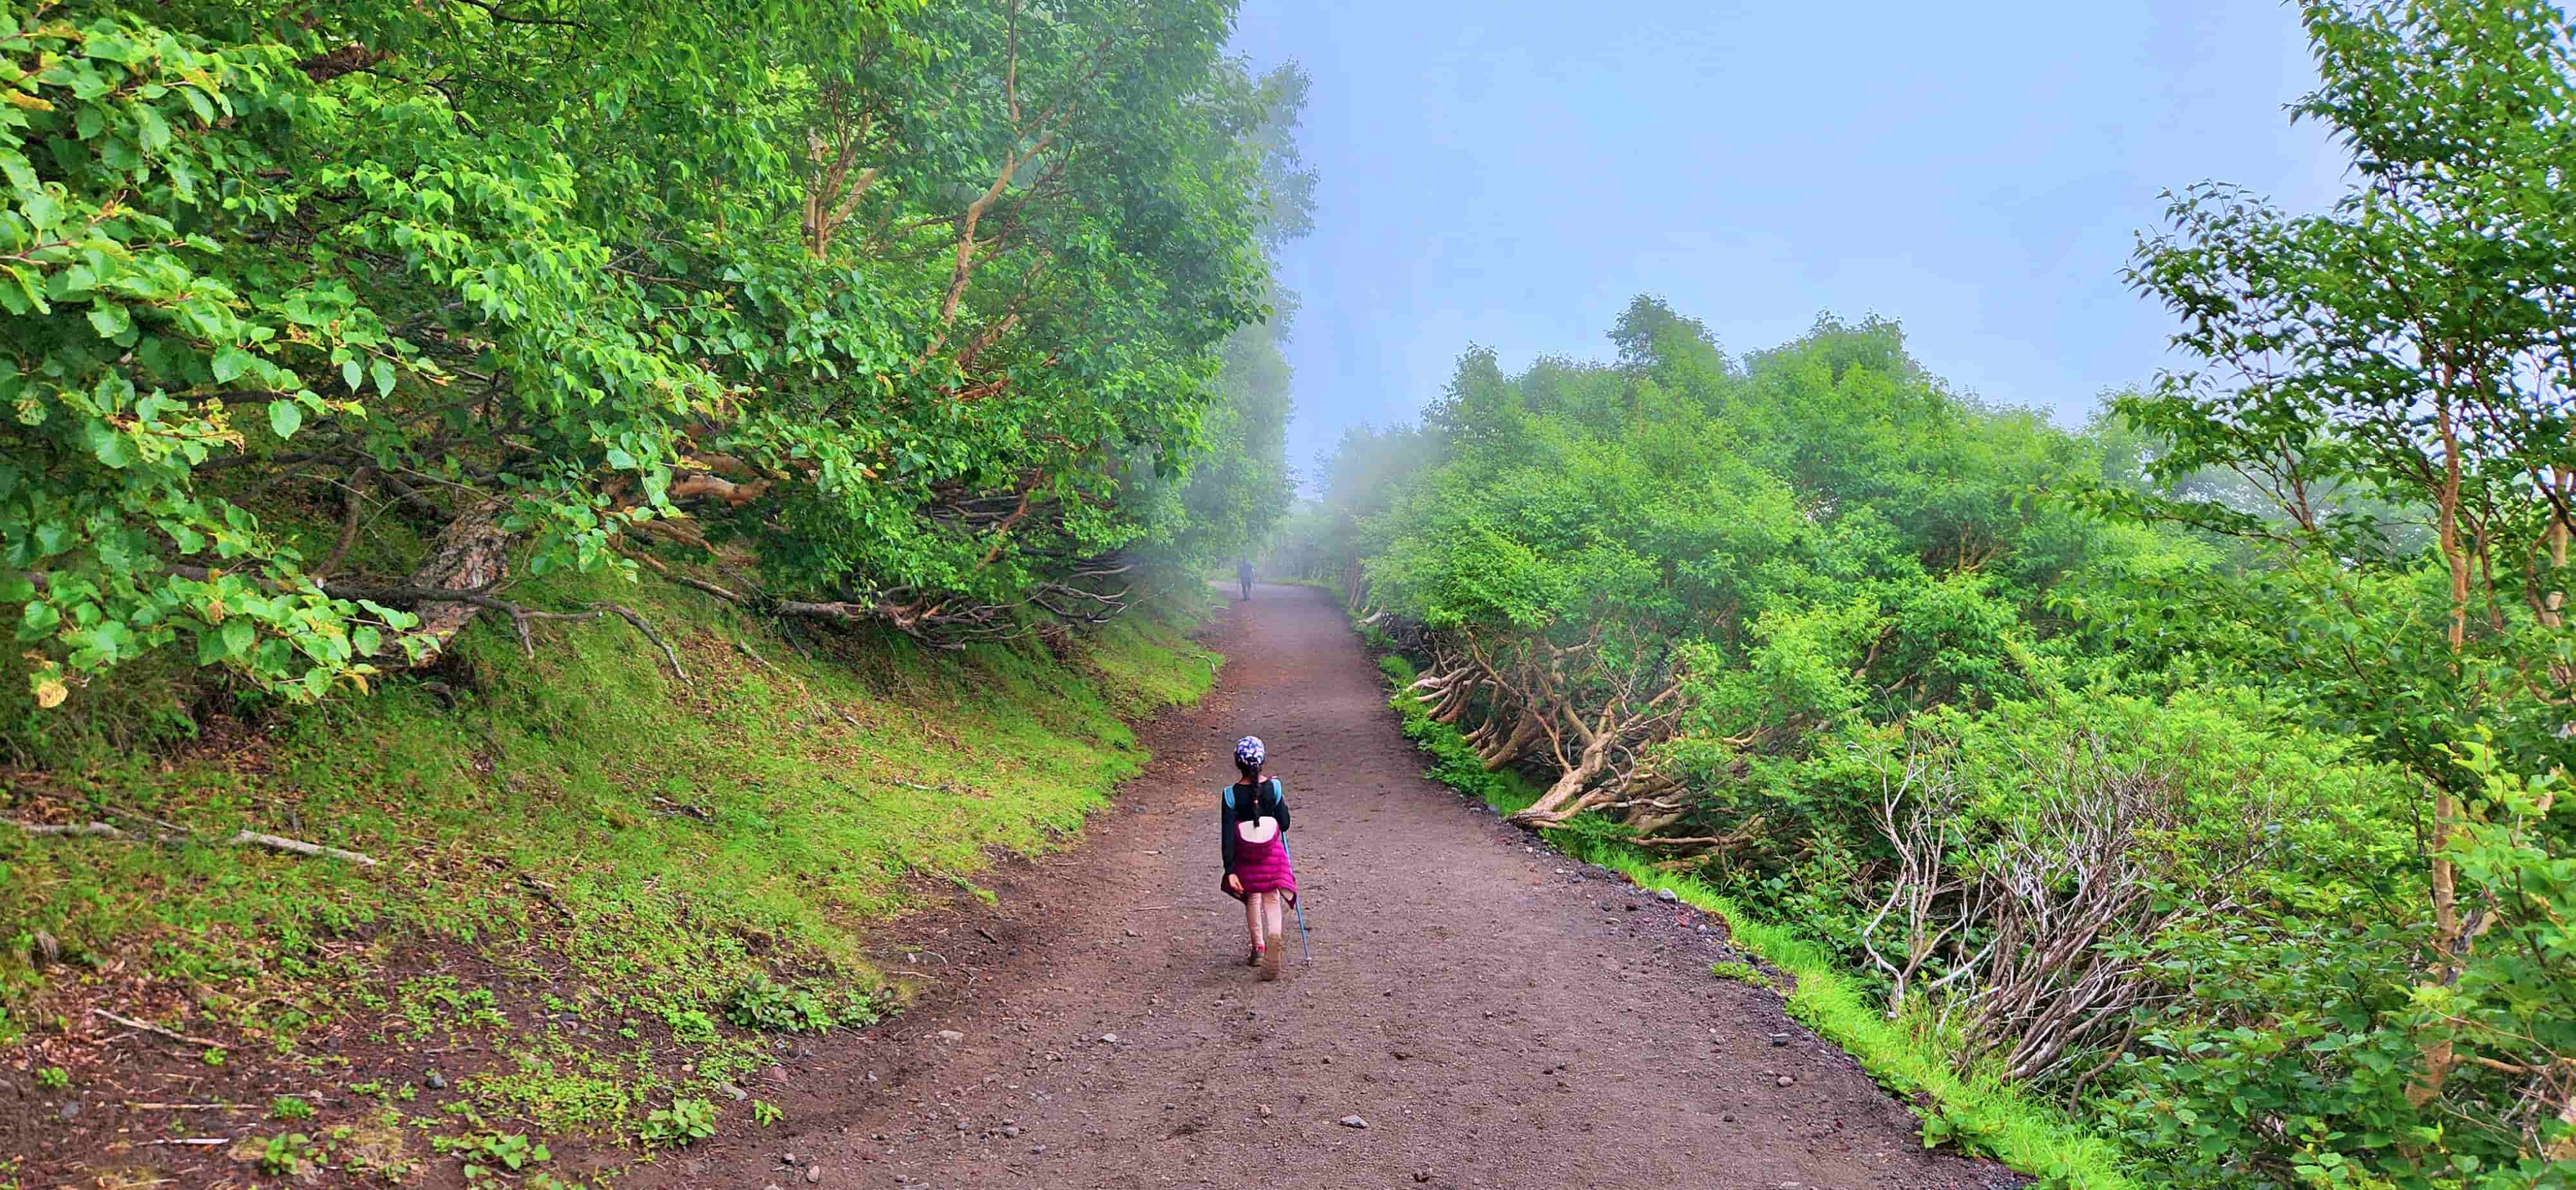
Once past the Shimo-Edoya junction, we continued along the Yoshida descent, carefully working our way through the soft volcanic sand. The undulating terrain continues for much of the descent, so the hiking pole remained useful for maintaining balance. By the time we reached the 6th Station, we had completed the soft volcanic-sand section of the descent and continued towards the Fuji-Subaru Line 5th Station.
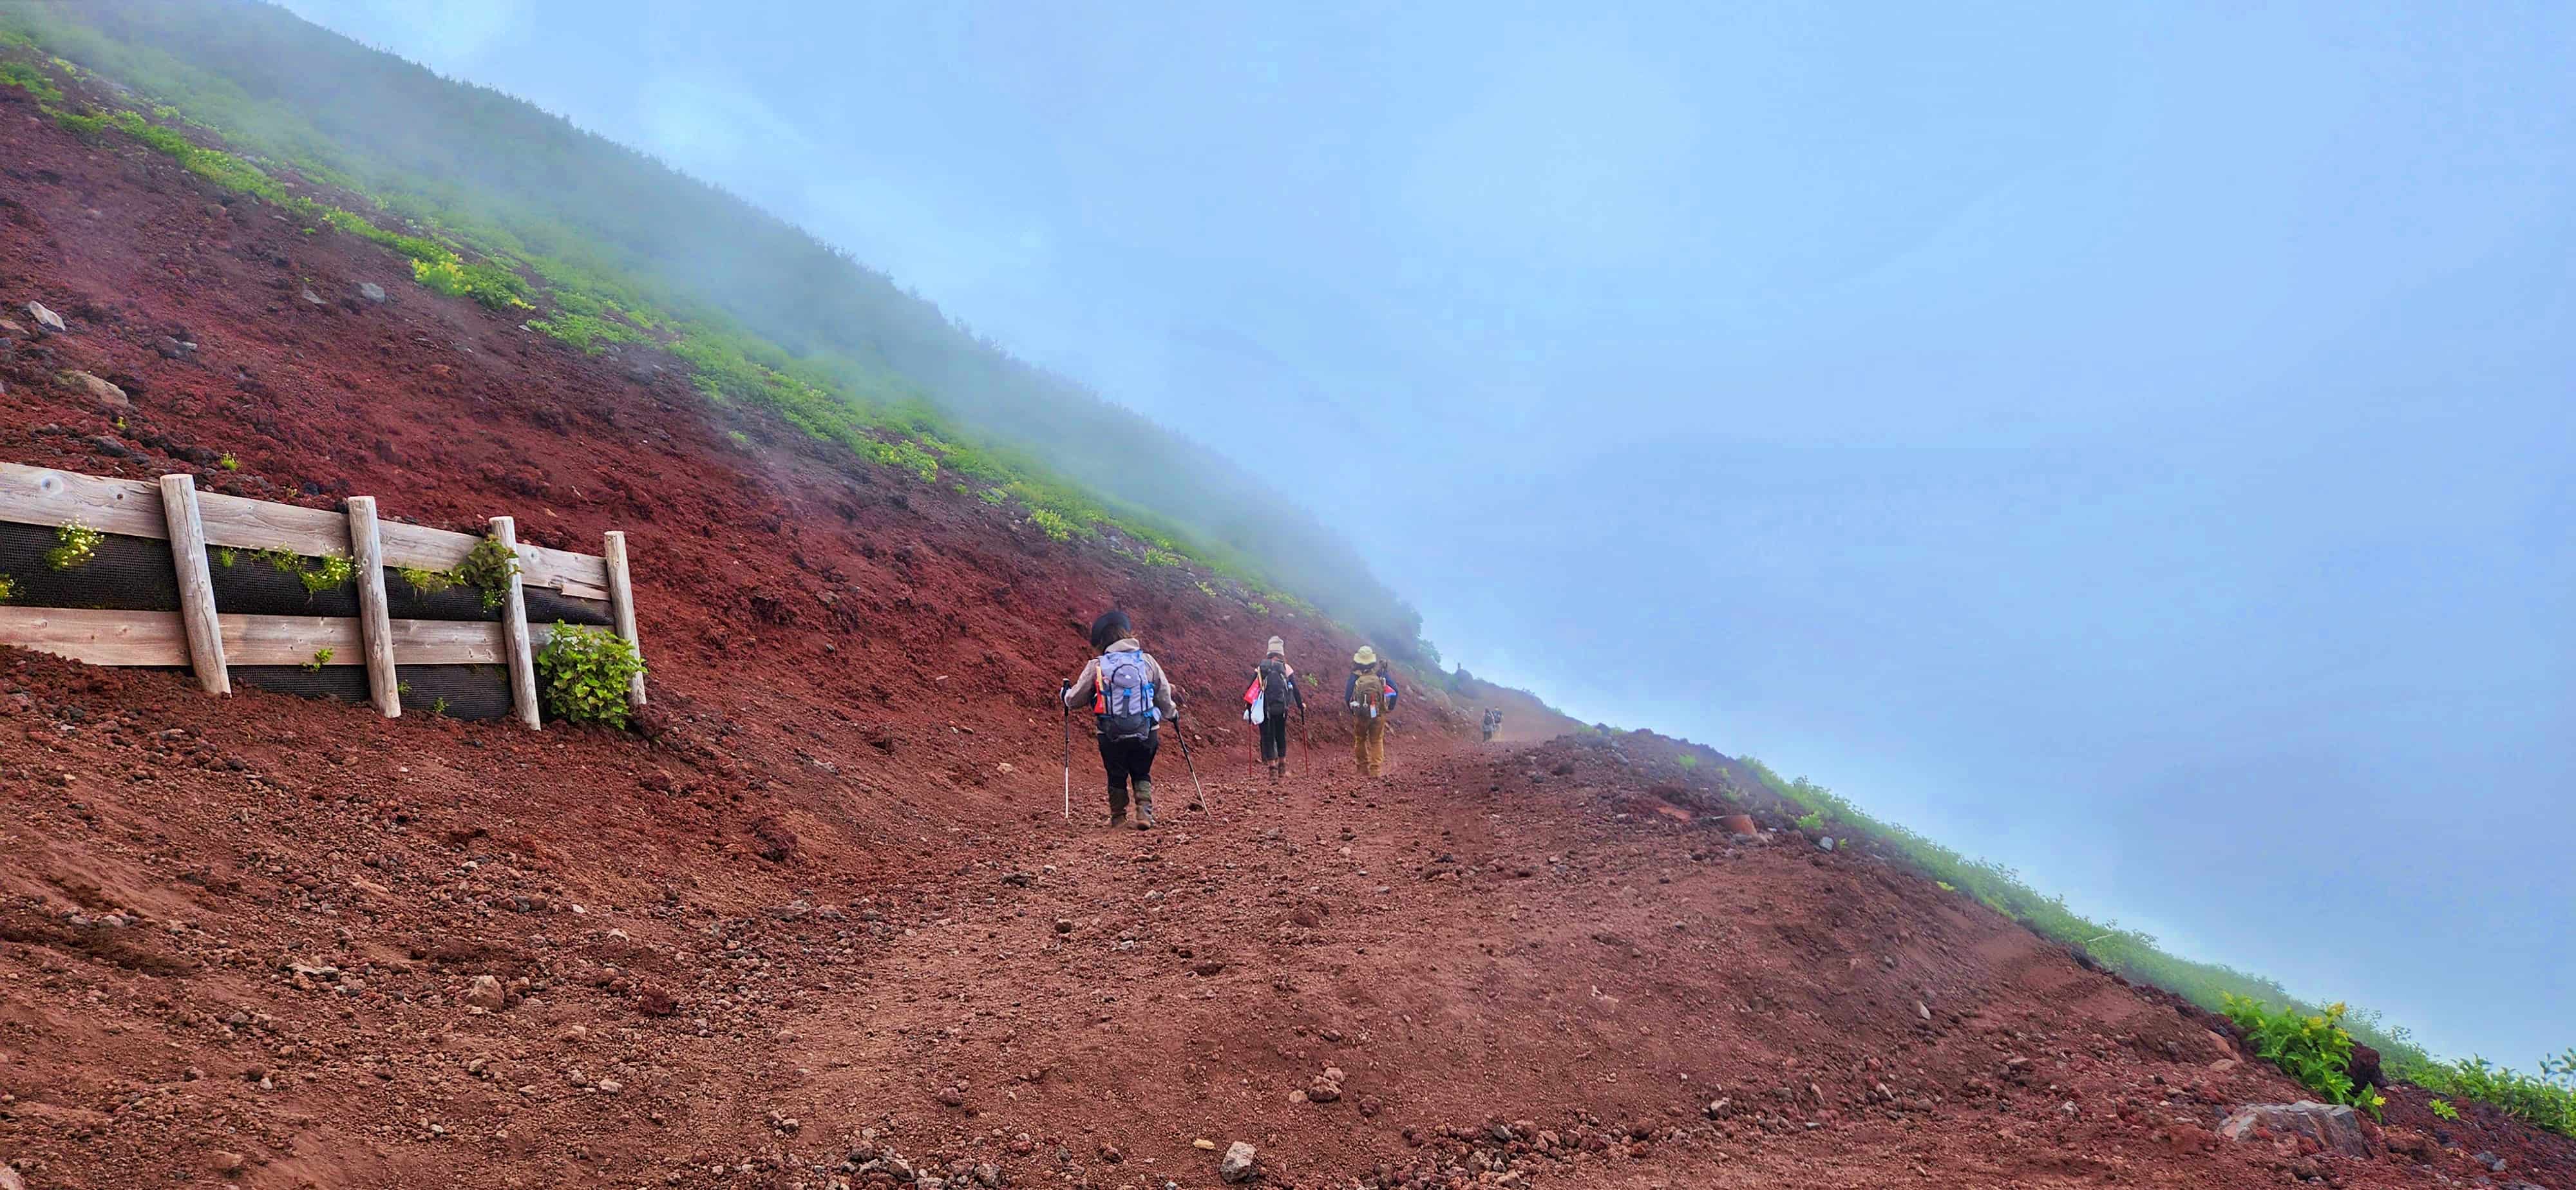
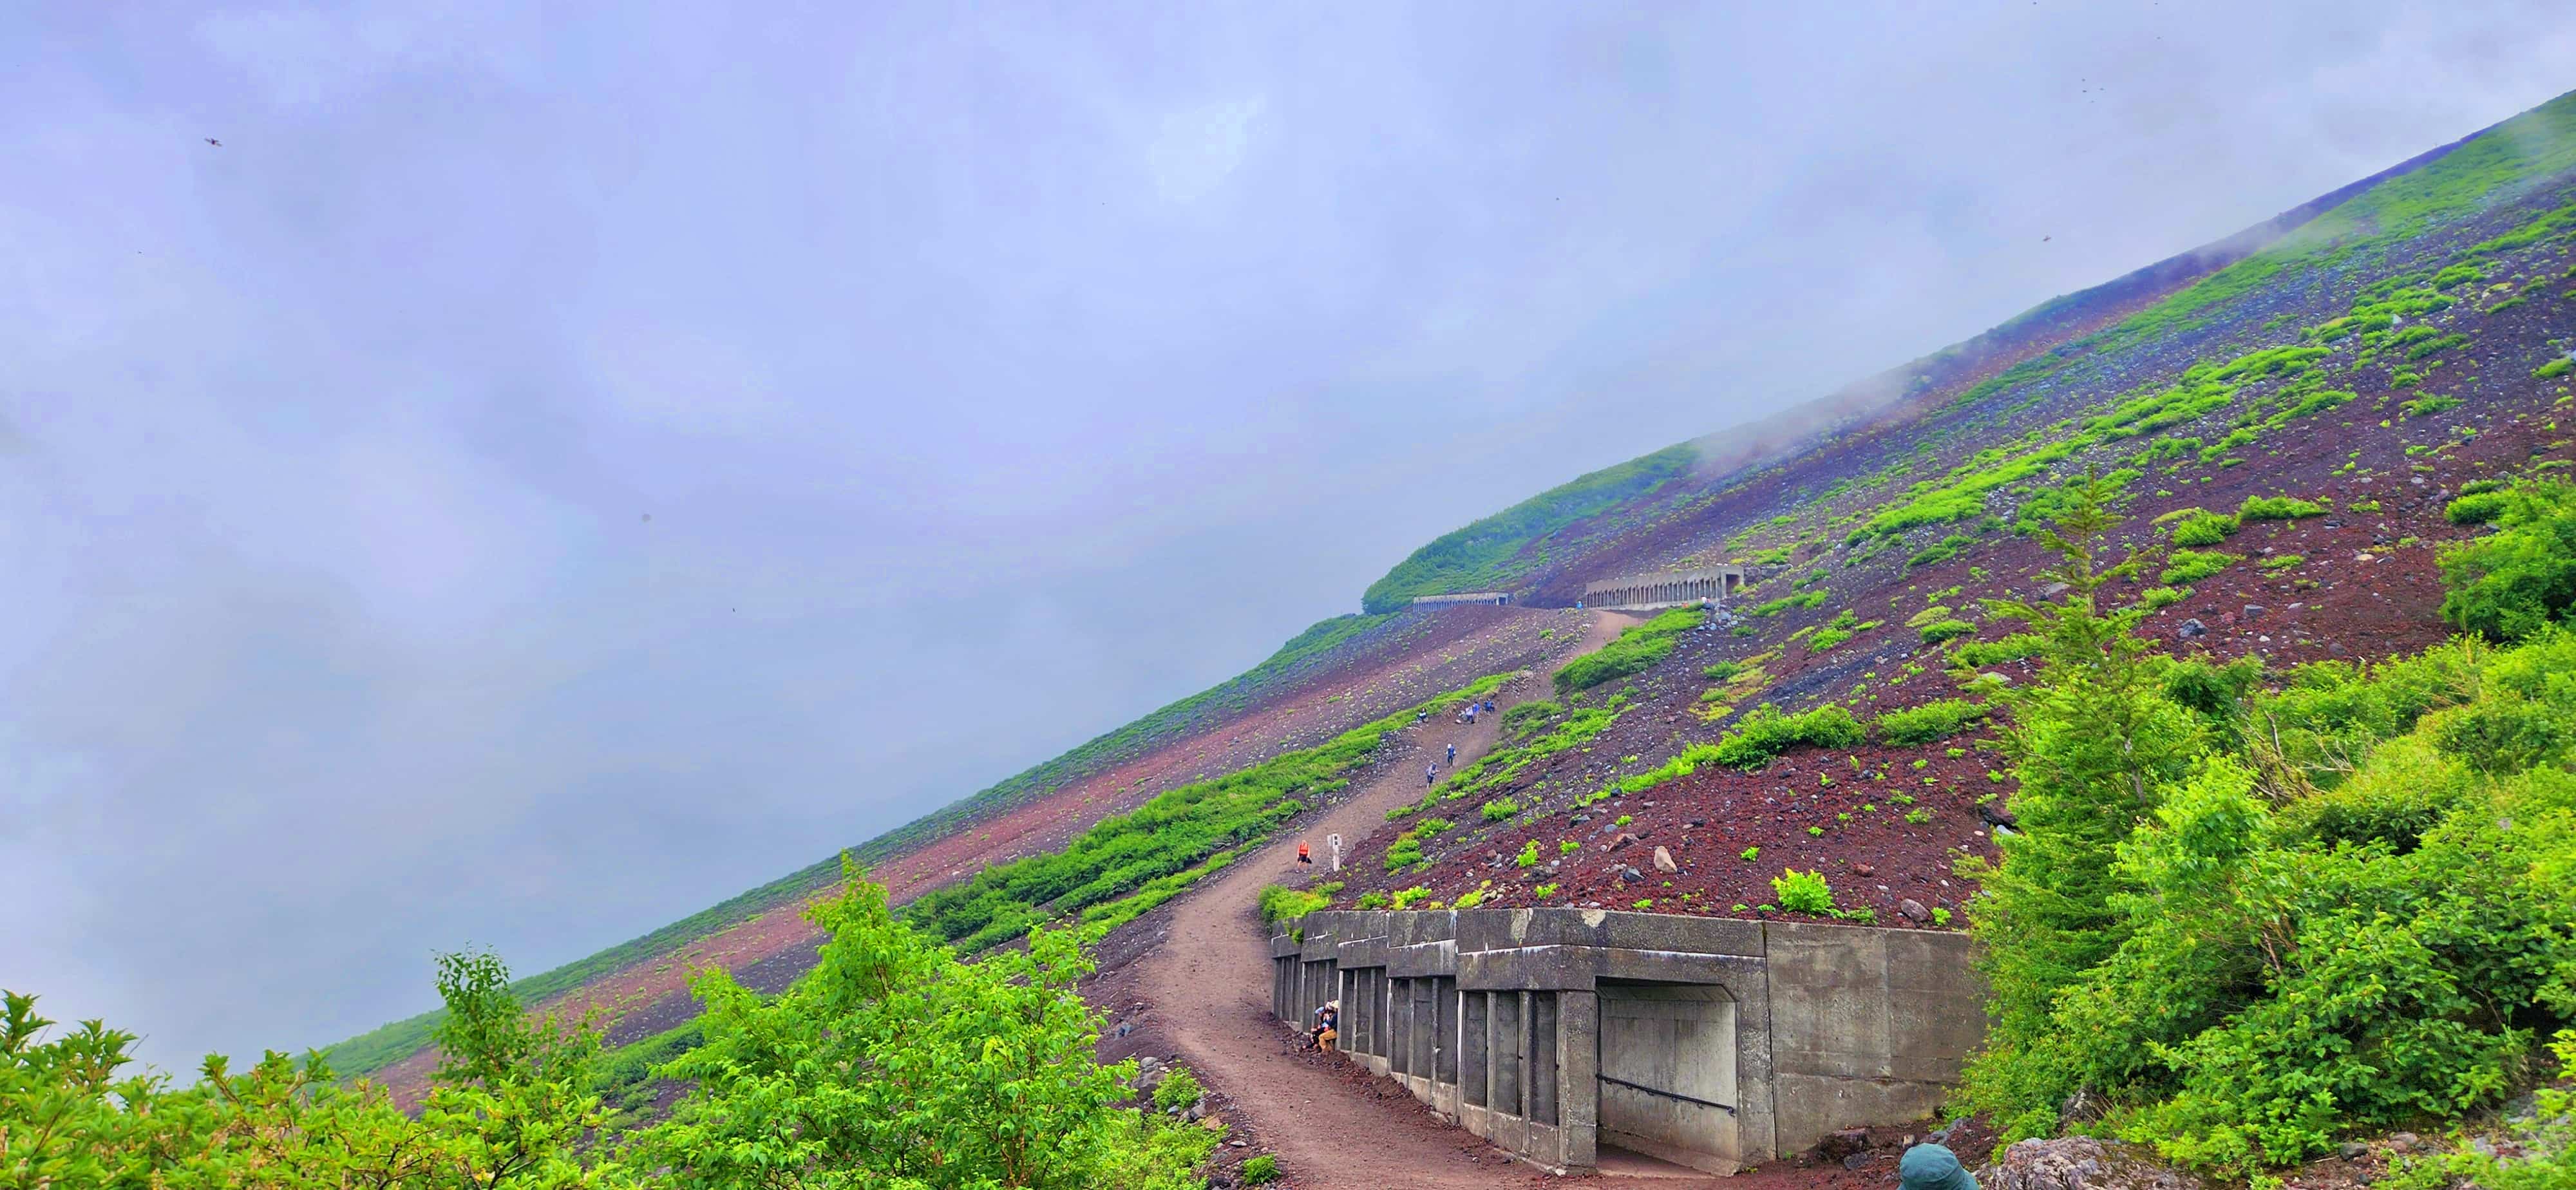
Back to the 5th Station
We eventually reached the Fuji-Subaru Line 5th Station at around 4:00pm. After starting our climb from the 5th Station the previous morning, spending the night at Original 8th Station, reaching the summit and then completing the long descent, it was a great feeling to finally be back where we had started. However, our journey for the day was not over yet. We had booked a 7:10pm Highway Bus from Kawaguchiko to Shinjuku, so we still needed to make our way down to Kawaguchiko in time for the bus.
From the 5th Station to Shinjuku via Kawaguchiko
Our original plan had been to finish the hike earlier, travel to Kawaguchiko and use the few hours before our 7:10pm Highway Bus to visit Lake Kawaguchi and the Mt. Fuji Panoramic Ropeway. However, the slower progress on the mountain and the altitude related issues we experienced meant that we had to abandon those plans. Getting to Kawaguchiko on time for our pre-booked Highway Bus became our priority. When we reached the bus stop at the 5th Station, we were surprised to see a huge queue for the 4:45pm bus to Kawaguchiko. With so many people already waiting, we knew we would have to wait for the 5:45pm bus instead. The bus service from the 5th Station to Kawaguchiko operates hourly, so we joined the queue and waited for the next service. Fortunately, we eventually managed to board the 5:45pm bus and reached Kawaguchiko at around 6:45pm. That gave us just enough time to make our way to the Highway Bus to Shinjuku.
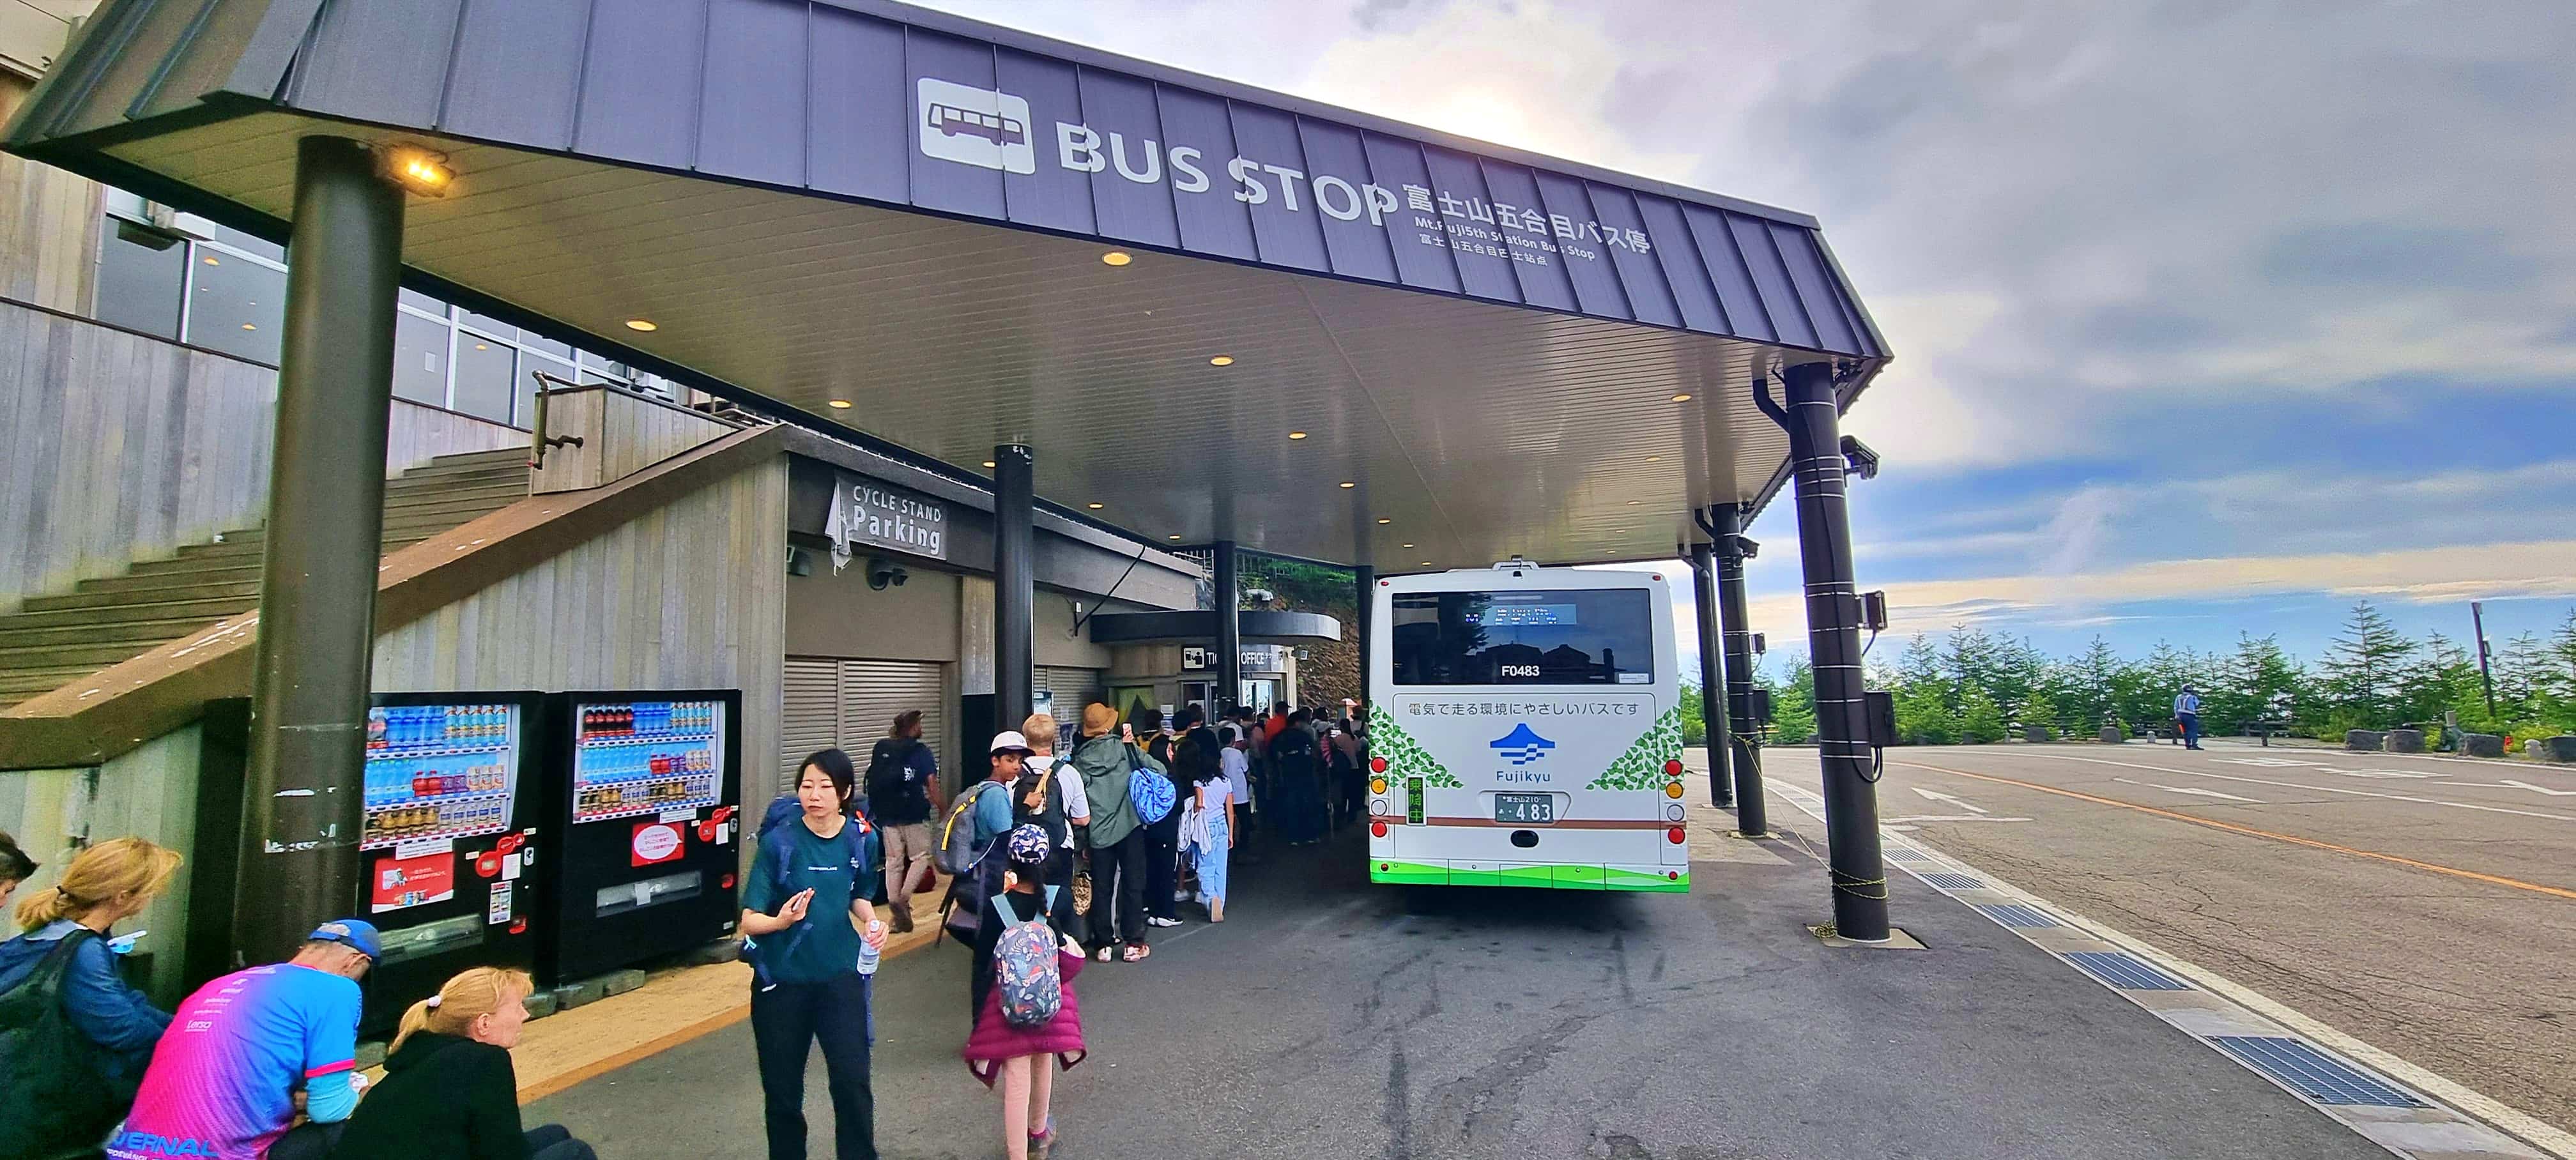
We boarded our 7:10pm Highway Bus to Shinjuku as planned and finally arrived in Shinjuku at around 9:00pm. Our original afternoon plans in Kawaguchiko may not have worked out, but after such a long and demanding climb, we were simply relieved to have made our connection and be on our way back to Tokyo. It was a fitting end to our Mt Fuji adventure and a good reminder to allow plenty of buffer time between finishing a Mt Fuji climb and any onward transport. Mountain conditions, altitude, fatigue and queues for buses from the 5th Station can all affect how quickly you get back down the mountain. Nevertheless, we were happy to have made it back to Shinjuku safely and with plenty of memories from our Mt Fuji climb!
Climbing Mt Fuji as a family was challenging, tiring and very different from an ordinary day hike. We spent more time reaching our mountain hut on the first day than we originally planned, dealt with altitude symptoms, changed our sunrise plan and then made the final climb to the summit after sunrise. The next day was not easy either. Our altitude symptoms persisted throughout the descent, and after reaching the 5th Station, queues meant we missed our planned bus to Kawaguchiko. We had to wait for the next bus before finally continuing our journey from Kawaguchiko to Shinjuku.
For us, the biggest lesson wasn't simply about reaching the summit. It was about being prepared enough to change the plan when the mountain demanded it. Our itinerary looked straightforward on paper, but the reality of climbing Mt Fuji meant adapting along the way and making decisions based on how our family was actually coping. If you are planning your own Mt Fuji climb, first use our Mt Fuji Climbing Guide below to prepare for the practical side of the climb, then follow our experience in this itinerary post to get a better idea of what the journey itself can actually feel like.
Love our itinerary? Excited to summit Mt Fuji? Book your accommodation via Booking.com below at cheaper prices!
This post may contain affiliate links. This means that, at no additional cost to you, we may earn a small commission if you make a purchase through the links provided. These commissions help support our website and allow us to continue sharing our travel experiences. Thank you for your support.
This itinerary is based on our personal experiences and recommendations. All information is provided for general guidance only and may change due to circumstances beyond our control. Travellers are encouraged to independently verify details and make choices according to their own preferences and safety considerations. We do not accept responsibility for any loss, injury, or inconvenience sustained by anyone using our itineraries.