
Climbing Mt Fuji is one of those adventures that looks deceptively simple from a distance. Japan's iconic mountain and the country's highest point rises to 3,776 metres, and during the official climbing season, thousands of people make their way towards the summit. But reaching the top is very different from simply seeing Mt Fuji from below. The combination of altitude, steep sections, volcanic terrain, changing weather and a long day on the mountain means that preparation is an important part of the experience.
Explore our itineraries hassle-free with these recommended services!
eSIM
Car Rental
If you're planning to climb Mt Fuji, this guide covers what you need to know before setting off, from choosing a route and preparing your body to deciding what to pack, where to stay and what to expect on the mountain.
Planning your climb is only half the story. Want to know what climbing Mt Fuji is actually like?
We documented our actual Mt Fuji climb experience from the trailhead to the summit, including the ascent, mountain hut experience, summit push, sunrise, descent and everything we encountered along the way. Read our Mt Fuji Summit Experience & Itinerary post below for a first-hand account of what it's like to climb Japan's highest mountain.
When to Climb Mt Fuji
Mt Fuji is a seasonal mountain and the official climbing season generally runs from early July to early September, although the exact opening and closing dates vary by route and can change because of weather and trail conditions. Always check the official Mt Fuji climbing website before planning your climb, particularly if you are travelling close to the beginning or end of the season. Outside the official season, the summit trails are closed and conditions can become extremely dangerous because of snow, ice, strong winds and rapidly changing mountain weather.
Which Route Should You Choose?
There are four main routes to the summit of Mt Fuji:
- Yoshida Trail
- Subashiri Trail
- Fujinomiya Trail
- Gotemba Trail
They are not interchangeable. Each has a different starting elevation, distance, terrain, climbing time, scenery and number of mountain huts. The official estimates give a useful indication of the differences. Yoshida is approximately 6.8 km to the summit, Fujinomiya about 4.3 km, Gotemba approximately 10.5 km and Subashiri approximately 6.9 km. The estimated ascent times range from around five hours for Fujinomiya to around nine hours for Gotemba, before allowing for breaks. Refer to the Route Comparison page on the official Mt Fuji climbing website for the most up-to-date information on each route.
Yoshida Trail
The Yoshida Trail begins at approximately 2,305 metres and is one of the most popular approaches to the summit. It is well-serviced with mountain huts and has a relatively gentle gradient, making it a good choice for first-time climbers. The trail offers stunning views of the surrounding landscape and is often busy during peak season.
Subashiri Trail
The Subashiri Trail begins lower, at around 2,000 metres, and initially passes through a forested section before becoming more exposed and volcanic higher up. It is less crowded than the Yoshida Trail and offers a more secluded experience, but it can be more challenging due to its steeper sections and longer distance.
Fujinomiya Trail
Fujinomiya begins at approximately 2,400 metres and provides the shortest distance to the summit, although the route is steep and should not be confused with being an easy climb. It is a popular choice for those looking to reach the summit quickly, but the steepness can be physically demanding. The trail is well-marked and has several mountain huts along the way, making it a convenient option for climbers.
Gotemba Trail
Gotemba starts at the lowest elevation, approximately 1,440 metres, making it the longest of the four routes to the summit. It is less frequented by climbers, which can provide a more solitary experience. However, the trail is known for its loose volcanic gravel, which can make the ascent and descent more physically demanding. The Gotemba Trail is often recommended for those seeking a more challenging climb and who are prepared for a longer trek.
Each route has its own unique characteristics, and the choice of which to take will depend on your personal preferences, fitness level, and the type of experience you are seeking. Research each trail thoroughly via the official Mt Fuji climbing website and consider factors such as distance, elevation gain, trail conditions, and available facilities before making a decision.
Summit Rim Trail (Ohachimeguri)
If you still have energy after reaching the summit, you can extend your Mt Fuji experience by walking the Summit Rim Trail (Ohachimeguri), a circular route around the volcanic crater. The trail takes around 1.5 hours to complete, depending on conditions and stops along the way. It also includes Kengamine Peak (3,776 metres), the highest point on Mt Fuji. The Summit Rim Trail is an optional addition to your climb, so consider the extra time, altitude and effort before setting off, particularly if you're undertaking a sunrise climb.
The Mt Fuji Route We Followed: Yoshida Trail
We summited Mt Fuji via the Yoshida Trail, so the rest of this itinerary focuses on our experience along this route. If you are planning to summit via the Subashiri, Gotemba or Fujinomiya Trails, the routes, terrain, access and overall experience can differ. For details on these alternative routes, refer to the official Mt Fuji climbing website when planning your climb.
How Difficult Is Mt Fuji Actually?
Mt Fuji is accessible to many reasonably fit hikers, but that doesn't mean it is an easy walk. The high starting elevation means you are already above 2,000 metres on most routes before beginning the main climb. From there, you continue upwards to 3,776 metres, with increasingly exposed terrain and thinner air. The combination of altitude, steep sections, loose volcanic gravel, and the potential for rapidly changing weather conditions can make the climb physically demanding. Even experienced hikers can find the ascent challenging, particularly if they are not acclimated to high altitudes. The challenge is not necessarily one particular steep section. It is the combination of:
- sustained uphill climbing
- loose volcanic gravel and rocky sections
- altitude
- cold and wind
- limited sleep if undertaking a sunrise climb
- long periods on your feet
- rapidly changing weather conditions
- descending immediately after reaching the summit
Don't judge the climb solely by the distance. The altitude and conditions are a major part of the challenge!
Training and Fitness Preparation
You don't need to be an elite mountaineer to climb Mt Fuji, but preparing beforehand is worthwhile. Focus your training on sustained uphill walking rather than simply trying to increase your walking speed. Climbing stairs, steep tracks and longer bushwalks can all be useful preparation. A good preparation routine should include:
- regular walks
- longer weekend hikes
- stairs or sustained uphill sections
- leg-strength exercises
- carrying the daypack you intend to use
- practising with your hiking footwear
- gradually increasing your walking distance and elevation
If your itinerary involves a mountain hut and an early-morning summit push, practise hiking when you're tired as well. The physical challenge isn't limited to the first day.
What to Pack
Your Mt Fuji packing list should balance preparedness with weight. You will be carrying everything you need for the climb, and unnecessary weight becomes increasingly noticeable as the trail gets steeper. Weather conditions can change dramatically as you gain elevation, so layers are more useful than relying on one heavy jacket.
Essential Equipment
- Day pack (30-45 litres)
- Sturdy hiking shoes or boots
- Hiking poles
- Rain gear (separate top and bottom)
- Winter clothing (fleece, down jacket, gloves, neck warmer)
- Headlamp with extra batteries
- Hiking socks (Merino preferred)
- Gloves
- Hat and a Beanie
- Sunscreen and lip balm
- Spare clothing
- Water bottles or hydration bladders
- Snacks and energy bars
- Sunglasses
- Garbage bags (for carrying trash back from hiking)
- First aid kit (band-aid, painkillers, blister pads etc.)
- Plenty of cash and 100-yen coins (for mountain huts and toilets)
- Power bank (to charge your devices)
Please note that Hiking boots, rain gear (jacket and pants), and cold-weather clothing are essential and will be checked at the trailhead. If you don't have the right equipment, you may be refused entry to the mountain area.
Stations and Mountain Huts Along the Yoshida Trail
One thing that can be confusing when planning a Mt Fuji climb is the way the mountain is divided into stations. Rather than starting at the foot of Mt Fuji, climbers on the Yoshida Trail begin much higher up at the Fuji-Subaru Line 5th Station, at approximately 2,305 metres above sea level. From there, the Yoshida Trail continues through the numbered stations towards the summit at 3,776 metres.
Following are the stations along the Yoshida Trail:
- Fuji-Subaru Line 5th Station – The main access point and starting point for our Yoshida Trail climb, at approximately 2,305 metres.
- 6th Station (2,390 m)
- 7th Station (2,700 m)
- 8th Station (3,100 m)
- Original (Hon) 8th Station (3,370 m) - The Yoshida Trail meets the Subashiri Trail here and the route becomes considerably busier from this point upwards.
- 8.5th Station (3,450 m)
- 9th Station (3,580 m)
- Summit (3,710 m) - Access to Kengamine Peak (3,776 m), the highest point on Mt Fuji
As you climb, the stations provide useful landmarks and help you gauge your progress. They are also important when planning an overnight climb, as mountain huts are located at several points along the Yoshida Trail, particularly around the 7th and 8th stations. Your chosen mountain hut will determine how far you climb on the first day and how much remains for your summit push the following morning. Huts higher up the mountain can leave you with a shorter climb to the summit the following morning, while staying at a lower elevation means completing more of the ascent after waking up. Your choice will depend on hut availability, your planned schedule, fitness, acclimatisation and how you want to approach the summit.
The Yoshida Trail has more mountain huts than the other Mt Fuji routes. Even if you are not staying at a certain mountain hut, you can still use them for rest and refreshments, as the mountain huts serve food, snack and drinks, and provide a place to rest, use the toilet and warm up if needed. They are an important part of the climbing experience, particularly for those who are not accustomed to high-altitude hiking. Do note that the you cannot step inside a mountain hut for rest or food unless you have booked your stay there; all food and drinks served will need to consumed outside the hut if you are not staying there. Also, carry plenty of cash for food and drinks, as the mountain huts do not accept credit cards. Toilets are available at the mountain huts, but they are not free. Expect to pay around 200-500 yen for a toilet visit depending on the hut (higher elevation huts are more expensive), so carry plenty of 100-yen coins for this purpose.
It is also worth remembering that the station number does not necessarily correspond to a single mountain hut. Several huts can be located around the same station or between stations, and they can differ in elevation, facilities and distance from the summit. When booking, look at the actual location of the hut and its elevation, rather than choosing one based solely on its station number. As you follow our Mt Fuji Summit Experience itinerary post, we will refer to the stations as useful milestones along the Yoshida Trail and explain where our mountain hut fitted into our climb. For a detailed list of mountain huts, their locations and current operating information, check the Route Comparison page on the official Mt Fuji climbing website before your trip.
Booking Your Mountain Hut
Mountain huts are basic mountain accommodation rather than conventional hotels. Expect shared sleeping areas, simple meals and limited facilities. The experience is very much part of climbing Mt Fuji, but it's worth adjusting your expectations before you arrive.
Availability can be limited during the short climbing season, particularly around weekends and holidays. Once you've decided on your route and approximate climbing dates, check the available huts along your chosen trail and book as early as possible. Fuji Mountain Guides provides a useful list of mountain huts along each Trail, including their locations, booking information and contact details. Hut reservations open at midnight or in the morning times (Japan local time) depending on the hut and sell out within a couple of minutes. We climbed in the second week of July on a weekday and were able to secure a hut only after our fifth or sixth attempt! Not all huts open reservations at the same time, so if your preferred hut is unavailable, don't give up immediately. Check the opening dates for other huts and consider alternatives along the route. If you're unable to secure a booking at a higher-elevation hut, a hut at a lower station may still work for your itinerary, but you'll need to allow for a longer climb on Day 2.
While some huts provide you with a private sleeping area, most offer shared dormitory-style accommodation. Expect to sleep in a small space with other climbers, and be prepared for limited privacy. Eye masks and earplugs can be useful for a better night's sleep, particularly if you are not accustomed to sleeping in a shared environment. Even when staying at a mountain hut, you may still need to pay to use the toilet, although the fee can be lower for overnight guests than for climbers who are not staying at the hut.
A hut lower down the mountain may mean a longer final ascent in the darkness, while a higher hut can reduce the distance you need to climb before sunrise. However, reaching a higher hut also means completing more of the climb on your first day as well as staying at a higher altitude, which can cause altitude sickness if you are not acclimatised properly. A hut in 7th or 8th station can be a good compromise, allowing you to complete a significant portion of the climb on Day 1 while still leaving a manageable distance for the summit push the following morning, without having to sleep at a higher altitude. When planning your itinerary, work backwards from your intended sunrise arrival. Consider how long you expect the final ascent to take, allow time for slower progress at altitude and avoid creating an itinerary that leaves no margin for delays or rest breaks.
Prefer a Guided Mt Fuji Experience instead?
If you'd rather avoid organising every detail yourself, guided tours are also available for climbing Mt Fuji. Book your experience through Klook via this link.
Getting To Fuji-Subaru Line 5th Station (Trailhead)
If you're climbing Mt Fuji via the Yoshida Trail, your climb begins at the Fuji-Subaru Line 5th Station, located at around 2,305 metres above sea level. How you get to the 5th Station can make a significant difference to your overall experience, particularly if you've booked a mountain hut and are planning to reach the summit for sunrise. There are three practical ways to approach the Yoshida Trail, depending on how much time you have and where you're staying before the climb.
Option 1: Travel Directly from Tokyo (Our Choice)
One option is to travel from Tokyo to the Fuji-Subaru Line 5th Station on the first suitable morning Highway Bus, arriving at the 5th Station before beginning your climb to the mountain hut. This is the option we chose. We booked and boarded the 6:45am (the first bus in the morning) direct express bus from Shinjuku Expressway Bus Terminal (Busta Shinjuku) and arrived at the Fuji-Subaru Line 5th Station at 9am. There were no traffic delays on our day of travel, but it is worth allowing some contingency for unexpected delays. The direct express bus operates only during the Mt Fuji climbing season, so check the current timetable when planning your trip. The journey takes approximately 2.5 to 3 hours, depending on traffic. Book your bus tickets online here to avoid any last-minute hassles. This option works well if you're already staying in Tokyo and don't want to spend the previous night around Mt Fuji. However, timing is important; choose a bus that gives you enough time at the 5th Station to acclimatise and complete your preparations before beginning your ascent.
Pros
- No need to change hotels before the climb.
- Convenient if your Japan itinerary is based in Tokyo.
- Direct bus service can take you straight to the Fuji-Subaru Line 5th Station.
- Potentially avoids paying for accommodation near Mt Fuji the night before.
Cons
- You need a very early start from Tokyo.
- A bus delay can affect your entire climbing itinerary.
- Requires you to manage your acclimatisation time within a fixed arrival schedule.
- The combination of an early start, bus journey and long climb can make for a tiring day.
- Less flexibility if you miss your planned bus.
Option 2: Stay in Kawaguchiko the Night Before
Another option is to stay in Kawaguchiko the night before your climb and travel to the Fuji-Subaru Line 5th Station early the following morning by bus or taxi, depending on when you'd like to depart to the 5th station. The first bus, as of writing this post in 2026, leaves from Kawaguchiko Station at 6:40am during the climbing season and arrives at the 5th Station at around 7:35am. The up-to-date bus timetable is available online here. If you'd like to start your climb earlier, you can consider taking a taxi to the 5th Station instead. Once you arrive at the 5th Station, allow some time to acclimatise, prepare your equipment and complete the required entry procedures and gear checks before starting the climb towards your mountain hut.
Pros
- Much more choice of accommodation, restaurants and other facilities than at the 5th Station.
- You can arrive in Kawaguchiko the previous day without needing to go all the way up the mountain.
- Easier place to organise food and last-minute supplies.
- You can travel to the 5th Station in the morning and begin your climb from there.
- A good balance between convenience and allowing time to acclimatise.
Cons
- You need to get up early enough to catch a suitable bus or make cab arrangements the night before.
- Your climbing day starts with a bus or cab journey rather than directly on the trail.
- A delayed or full bus could affect your planned start time. This bus cannot be prebooked and is subject to potential queues.
- You have less flexibility than someone who is already staying at the 5th Station.
Option 3: Stay at the 5th Station the Night Before
The third option is to arrive at the Fuji-Subaru Line 5th Station the afternoon or evening before your climb, stay overnight, and begin walking towards your booked mountain hut the following morning. This approach means you're already at altitude and at the trailhead when your climbing day begins. You can have a relaxed morning, complete your preparations and then start the ascent without having to worry about transport from Tokyo or Kawaguchiko.
Pros
- You are already at the trailhead when your climbing day begins.
- No early-morning bus/cab journey is required.
- More time to reach your mountain hut.
- More time to acclimatise to the altitude before ascending further.
- Less risk of transport delays affecting the start of your climb.
Cons
- Accommodation options are limited at the 5th Station.
- Staying at the 5th Station can be more expensive than staying in Kawaguchiko.
- Facilities and accommodation at the 5th Station are more limited than in Kawaguchiko.
- You will already be sleeping at around 2,305 metres before beginning the main ascent, which may not suit everyone.
What to Do When You Arrive at the 5th Station
Don’t rush to start climbing as soon as you arrive at the Fuji-Subaru Line 5th Station. This is your last opportunity to acclimatise, make final preparations and check that you have everything you need before heading higher up Mt Fuji. We arrived at the 5th Station at around 9:00am and spent about 1 hour and 30 minutes acclimatising before starting the climb. We also used this time to do some last-minute shopping and make sure we had everything we needed for the climb. After that, we headed to the trail entrance, where our gear was checked before we were allowed to proceed. We completed the entry process at around 10:30am and then started our climb up the Yoshida Trail. If you arrive early, use the time at the 5th Station wisely. Rather than treating it simply as the starting point, allow yourself some time to adjust to the altitude, organise your gear, use the facilities and make any final purchases before beginning the climb. Once you leave the 5th Station, the climb ahead is long, so it is worth starting prepared rather than realising later that you have forgotten something!
Registration, Fees and Climbing Requirements
Mt Fuji's climbing arrangements have changed in recent years, so information from older blog posts can quickly become outdated. As of writing this post in 2026, the official Mt Fuji climbing site states that climbers on the four main trails are required to pay a ¥4,000 Hiking Fee, with mountain entry registration available through the relevant web systems. This fee is not part of the mountain hut booking fee and should be paid separately.
There are also other restrictions such as, the daily entry limit and a gate closure between 2 PM and 3 AM, with an exception for climbers staying in mountain huts. Always check the official information for your climbing year rather than relying on a previous season's rules.
Use the Official Mt Fuji App!
Before starting your climb, download the official Mt. Fuji app and select your climbing route. The app uses GPS to track your progress, even in areas where there may be no mobile phone signal, and can provide a voice warning if you stray from the designated route.
Pro Tip: Make sure you tap the Start Climb button when you actually begin your climb. The app needs to record your climb from the start through to the summit for the Summit Climb Certificate to be generated. If you forget to start the climb in the app, you may not be able to obtain the certificate afterwards. If you miss this step, another option is noboru noboru FUJISAN, which provides an official Mt Fuji summit certificate as a paid service. The current fee, as of writing this post in 2026, is ¥1,100 plus postage and you need to submit a summit photo for verification.
Weather and Trail Conditions
Mt Fuji's weather can be very different from conditions at the base. Temperatures drop as you climb, and wind can make the summit feel significantly colder than the temperature suggests; even in summer, temperatures at the summit can be below freezing. It's important to dress in layers, and to be prepared for the possibility of rain. You won't require the thermals at the trailhead, but they become essential as you gain elevation. As noted earlier, carrying a separate rain jacket and pant is also mandatory.
Weather can also affect whether a route is open. Check the forecast on the day of your climb and be prepared to change or abort your plans if conditions deteriorate. The official site warns that trails may be closed in an emergency, including when heavy rain or other conditions make climbing unsafe. More details on current weather forecast, warnings and advisories can be found on the Weather forecast page of the official Mt Fuji climbing website.
What to Expect at Altitude
Altitude is one of the biggest differences between Mt Fuji and a typical day hike. As you climb higher, the air pressure decreases and there is less oxygen available with each breath. At the summit of Mt Fuji, at 3,776 metres, the amount of oxygen available is significantly lower than at sea level. Even at the Fuji-Subaru Line 5th Station, at around 2,305 metres, you are already at an altitude where some people may notice the effects. This is why it is important not to rush straight into the climb after arriving at the 5th Station. Give your body some time to adjust before setting off, take a steady pace throughout the ascent and drink plenty of water. Spending some time at the 5th Station can also give you an opportunity to check how you are feeling before committing to the climb.
Altitude sickness can affect anyone, regardless of age or fitness level. Symptoms can include headache, nausea, dizziness, fatigue, loss of appetite and shortness of breath. These symptoms should not simply be treated as part of the normal discomfort of climbing Mt Fuji. Pay attention to how you feel, take breaks when needed and be prepared to slow down or stop if your symptoms are getting worse. Our own experience made this particularly clear. Although our family of four had completed hikes at altitude before, one adult and two children experienced mild altitude sickness during our Mt Fuji climb. Their symptoms included a persistent headache, nausea and loss of appetite. We first noticed the symptoms after passing the 7th Station, at around 3,000 metres, and the symptoms continued throughout our hike to the summit and until we descended back to the 5th Station.
We were monitoring how everyone was feeling throughout the climb and, in our particular circumstances, decided to continue towards the summit. However, once we reached the top, we did not stay for long and began our descent shortly afterwards. We also decided to skip the walk to Kengamine Peak, the highest point on Mt Fuji, as the additional time and effort at that altitude was not worth taking the risk for our family on that day. Our experience is a good reminder that reaching the summit should not become the only goal. If you develop altitude sickness symptoms, particularly if they are worsening, do not simply push higher in the hope that they will disappear. Continuing to ascend can make altitude-related illness more serious. If symptoms are severe, or if you develop warning signs such as confusion, difficulty walking, severe breathlessness or loss of coordination, descend to a lower altitude immediately and seek medical assistance. You can also seek help from the first-aid centres located at the 7th and 8th Stations on the Yoshida Trail. These centres are staffed by trained personnel who can provide advice and assistance if you are feeling unwell during your climb.
Could Diamox Have Helped Us?
Before climbing Mt Fuji, we had never heard of Diamox (acetazolamide) as a medication that can help prevent altitude sickness. It was only after our climb, when we started researching altitude sickness and trying to understand our experience, that we came across it. We cannot say whether Diamox would have prevented the altitude symptoms experienced by our family, but it is certainly something we would consider discussing with our doctor before attempting Mt Fuji again. Acetazolamide can help the body acclimatise more quickly and is used to reduce the risk and severity of acute mountain sickness (AMS). Current altitude-medicine guidelines recommend considering it, particularly for people at moderate or high risk of AMS. That doesn't mean Diamox should be treated as a guarantee against altitude sickness or as a reason to ignore symptoms. It is a medication that should be discussed with a healthcare professional before your climb, particularly when travelling with children. Gradual acclimatisation, sensible pacing and recognising when to stop or descend remain important parts of managing altitude.
Sunrise from the Summit vs Mountain Hut
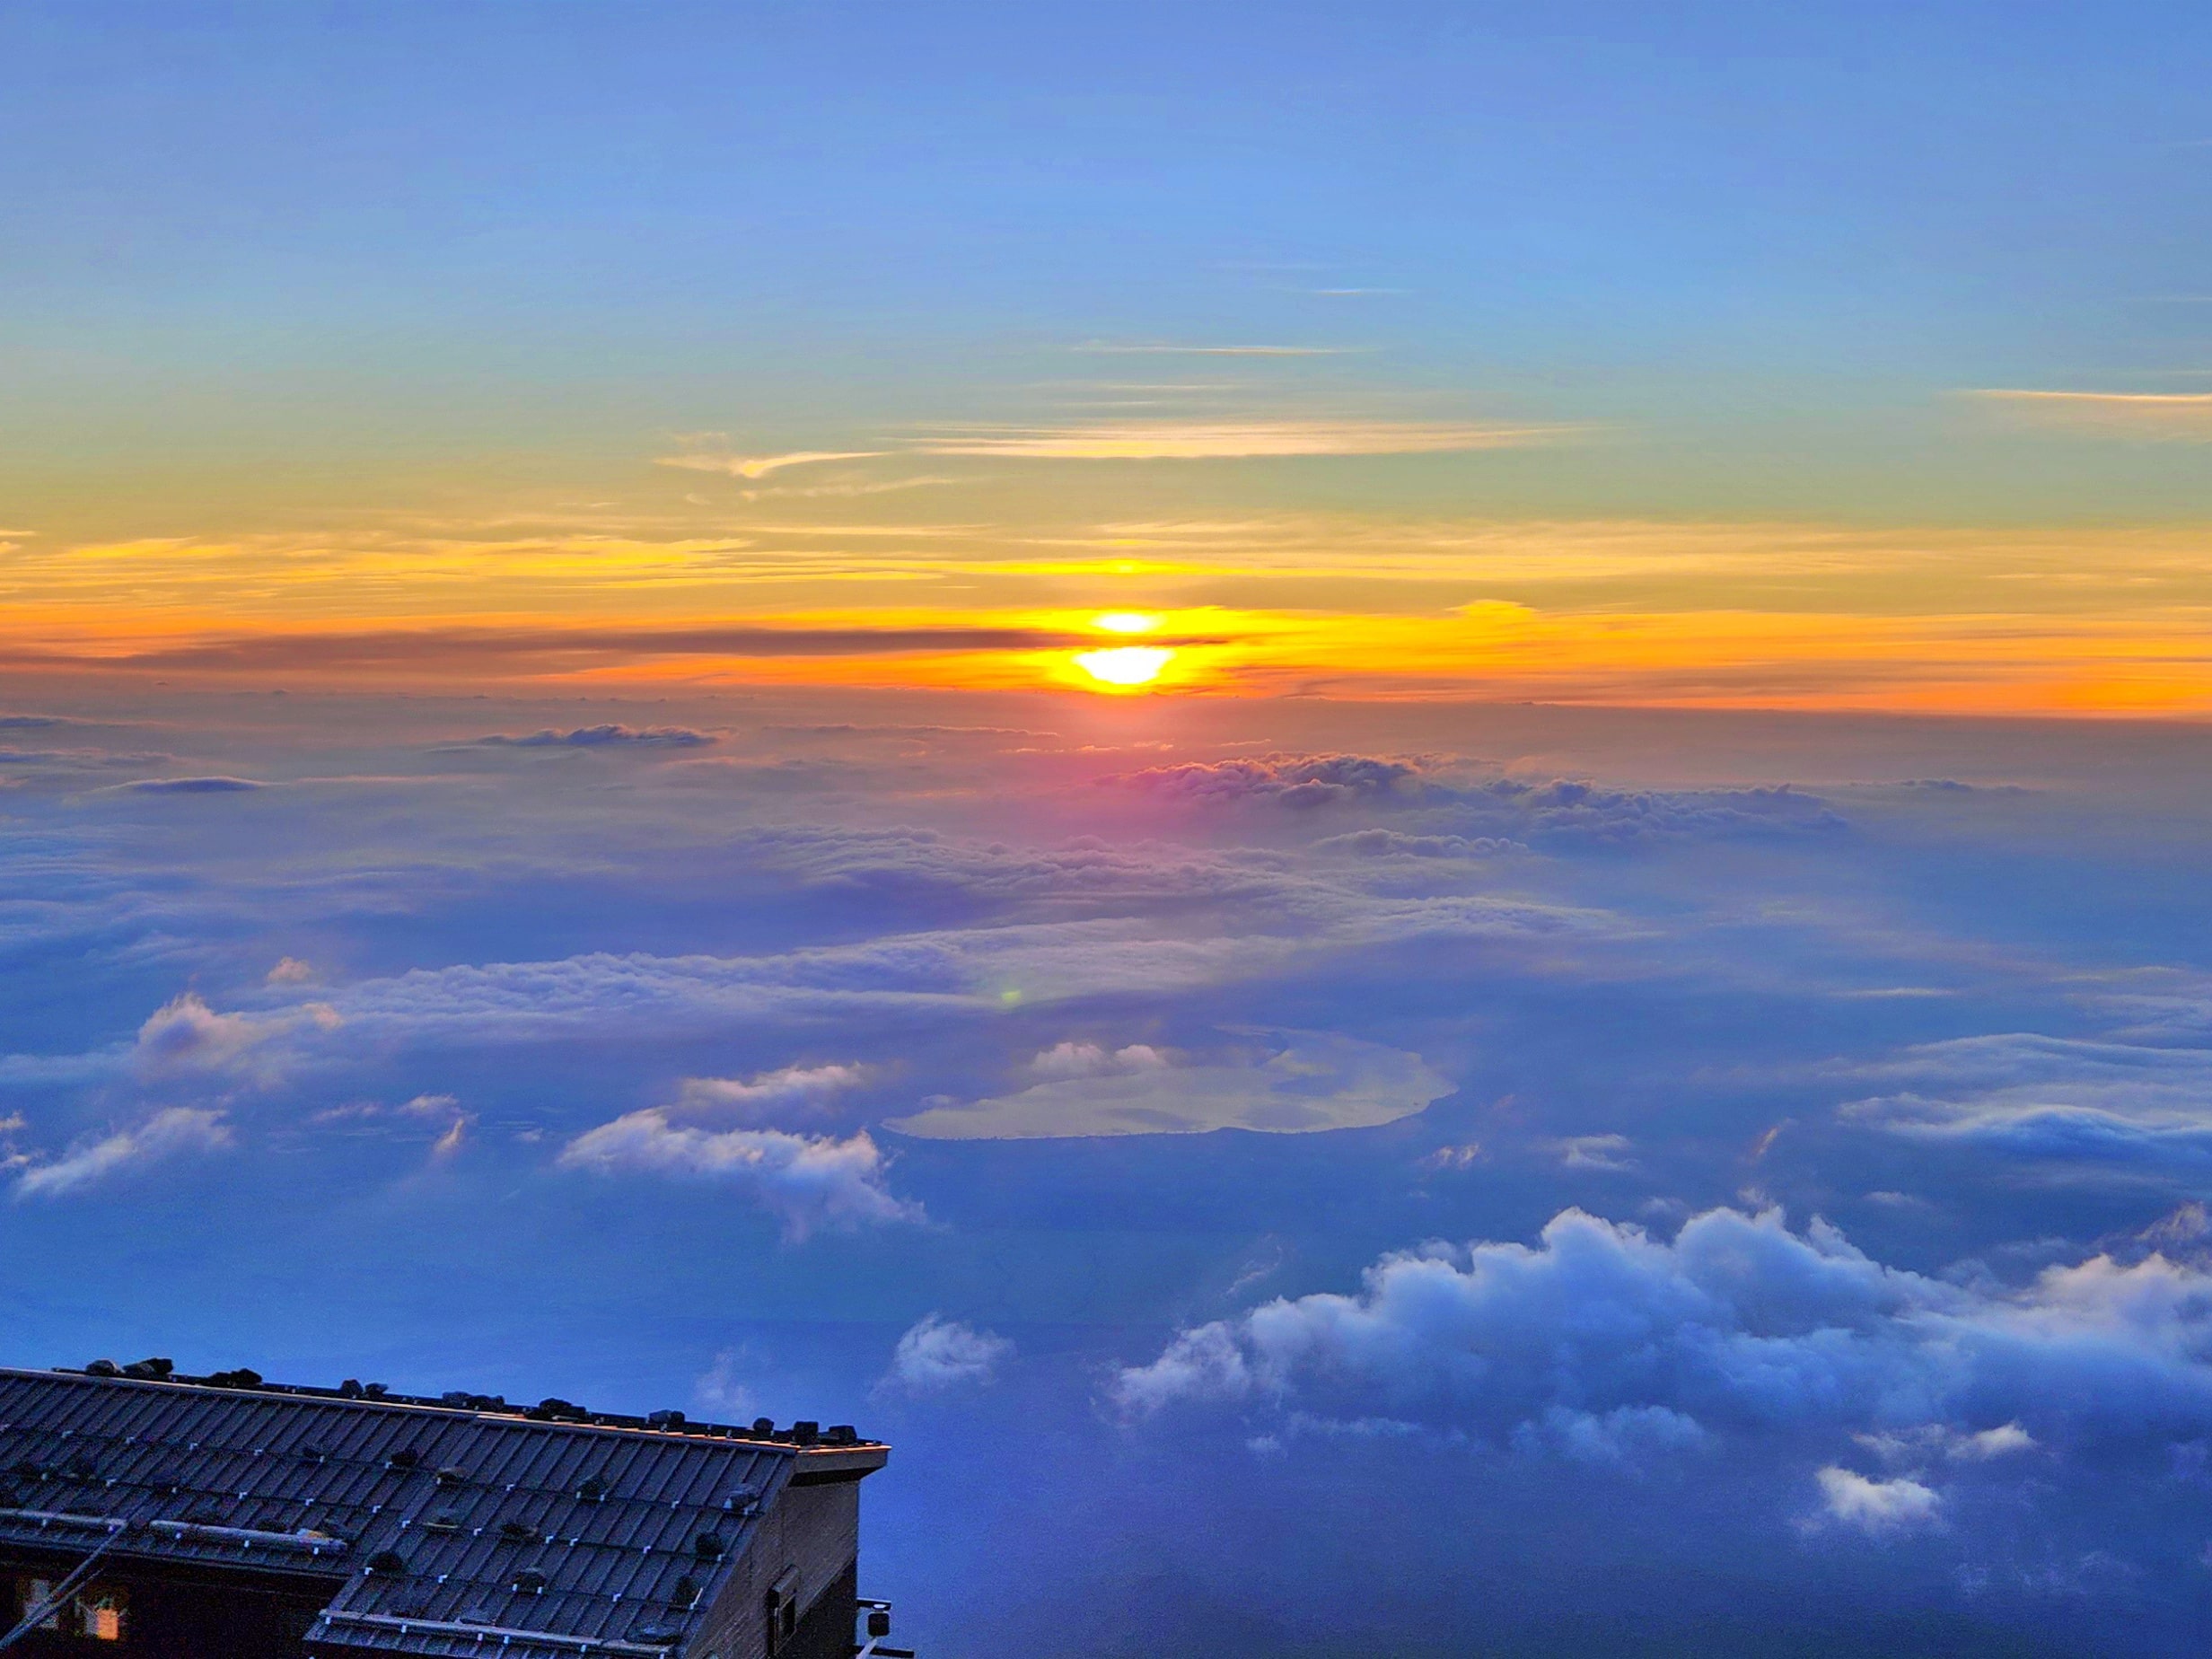
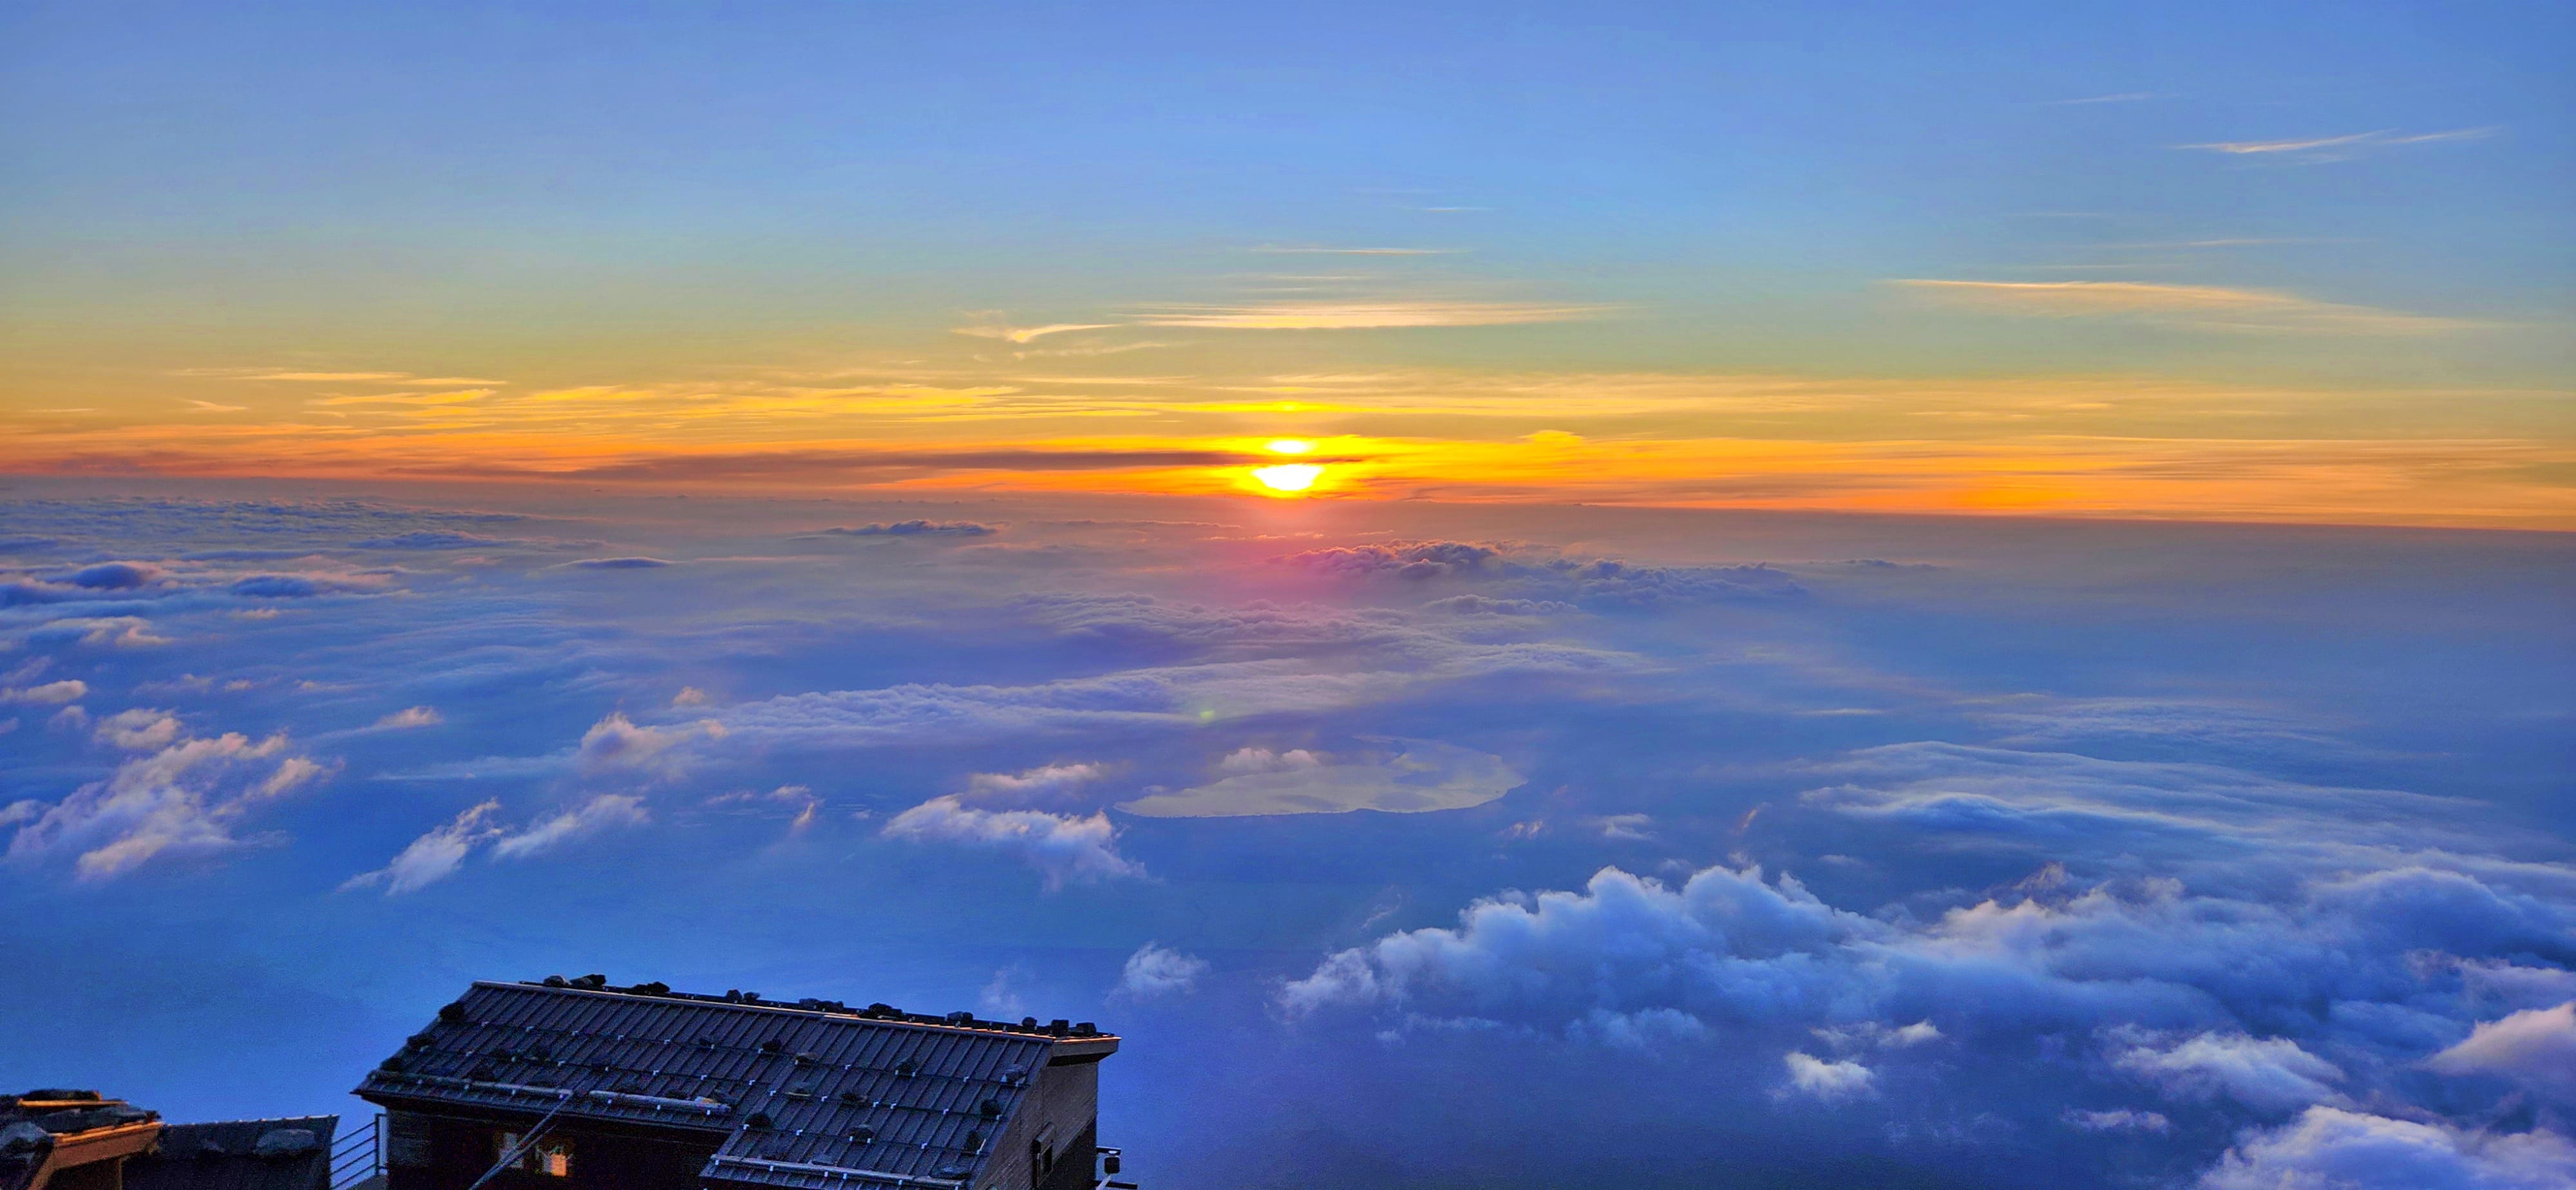
Watching the sunrise is one of the highlights of climbing Mt Fuji, but you don't necessarily need to reach the summit before sunrise to enjoy it. Sunrise can be viewed from mountain huts along the Yoshida Trail, giving you two options: make the early-morning climb to the summit for sunrise, or watch sunrise from your mountain hut and continue to the summit afterwards.
Sunrise from the summit offers the experience of reaching Japan's highest point as the first light appears over the surrounding landscape. However, it requires an early start, usually climbing in darkness with headlights, and can mean getting very little sleep after your mountain hut stay. The final ascent is also more demanding at altitude, particularly when combined with cold temperatures, fatigue and queues on the upper sections of the trail. Sunrise from your mountain hut is a less demanding alternative. You can stay warm, rest longer and watch the sunrise without having to reach the summit at a fixed time. The trade-off is that you will need to climb the remaining section to the summit after sunrise and manage the descend on the same day.
Our original plan was to leave our mountain hut at the Original 8th Station around 2am and climb to the summit for sunrise at around 4:30am. We reached our mountain hut at around 6:50pm the previous night, but after experiencing mild altitude sickness symptoms, none of us managed to sleep. Rather than forcing ourselves to start the summit push without any rest, we stayed in our beds until sunrise, watched the sunrise from the mountain hut and then continued towards the summit once we were ready. We still enjoyed a spectacular sunrise! This turned out to be an important reminder that your Mt Fuji sunrise plan may need to change depending on how you feel on the mountain. Whether you watch sunrise from the summit or your mountain hut, take your altitude, fatigue and weather conditions into account and adjust your plans when necessary.
Our Experience with a Portable Oxygen Can
At the Original (Hon) 8th Station, we bought a small portable oxygen can to help with the altitude symptoms we were experiencing. It provided some temporary relief whenever we used it, but it did not get rid of the symptoms completely. For us, it was useful as a short-term comfort measure, but it certainly wasn't a solution to altitude sickness. We would recommend treating it as an aid rather than something you can rely on if altitude symptoms develop.
How Long Does It Take to Climb Mt Fuji Especially with Children?
How long it takes to climb Mt Fuji depends on your walking pace, breaks, altitude and whether you stay overnight. For the Yoshida Trail, the official model plan estimates around 6 hours 10 minutes for the ascent and 3 hours 35 minutes for the descent, excluding breaks. It also recommends allowing time at the 5th Station to acclimatise before starting the climb. Our family of four — two adults and two children aged 10 and 13 — took longer than these official estimates. We reached the Fuji-Subaru Line 5th Station at around 9:00am, spent about 1 hour and 30 minutes acclimatising and completing our last-minute shopping at the 5th station. We checked in at the gate at 10:30am, had our gear inspected and started climbing. We reached our mountain hut at the Original 8th Station at around 6:50pm, taking approximately 8.5 hours.
The following morning, we left the hut at 5:30am and reached the summit at around 8:20am. We took it slow as our 10-year old was a little tired. So, the total time for the ascent was around 11.5 hours. After spending about an hour at the summit, we started our descent at 9:30am and reached the 5th Station at around 4:00pm, taking approximately 6.5 hours. Our experience shows why the official hiking times should be treated as a guide rather than a target, particularly when climbing with children. Allow extra time for rest breaks, slower progress at altitude and unexpected delays, and be prepared to adjust your plans according to how everyone is feeling.
What Is Bullet Climbing on Mt Fuji?
Bullet climbing refers to attempting to climb Mt Fuji from the 5th Station to the summit and back within a very short period, typically without staying overnight at a mountain hut. The term is often used for climbers who arrive at the 5th Station in the afternoon or evening, climb through the night and aim to reach the summit for sunrise before descending the same day. While this may seem like an efficient way to climb Mt Fuji, it means spending a long period hiking at altitude with little or no opportunity to rest or acclimatise properly. The combination of a late start, night-time hiking, physical exertion, limited sleep and increasing altitude can make the climb considerably more demanding.
If you're planning to climb Mt Fuji, we recommend allowing enough time for a more gradual ascent and considering an overnight stay at a mountain hut. This gives you the opportunity to break the climb into two days, rest during the night and adjust your plans according to how you are feeling at altitude. As indicated earlier, We originally planned to leave our mountain hut at around 2:00am and climb to the summit for sunrise. However, after reaching the Original 8th Station, one adult and both children in our group experienced mild symptoms of altitude sickness and none of us managed to sleep. Rather than continuing through the night, we stayed at the hut until sunrise, watched the sunrise from there and then began our final climb to the summit at 5:30am. Our experience was a good reminder that having a fixed sunrise target should not mean pushing ahead when your body is telling you to slow down. Conditions, altitude and how you feel can all change during the climb, so build flexibility into your itinerary and be prepared to adjust your plans.
Collecting Stamps on Your Mt Fuji Walking Pole
One of the fun traditions of climbing Mt Fuji is collecting stamps on a wooden walking pole as you make your way up the mountain. Many mountain huts offer stamps to mark your progress, turning the walking pole into a unique souvenir of your climb. If you plan to collect as many stamps as possible, make sure your hiking pole is long enough. We saw some climbers with walking poles that were too short to get all the stamps, and they were very disappointed! We bought a 150 cm wooden hiking pole and were able to collect the stamps available along our Yoshida Trail climb. There is usually a small fee for each stamp, commonly around ¥100–¥500 depending on the hut, and some huts may offer more than one stamp. Check with each hut for the current options and fees. The stamps are a great way to commemorate your Mt Fuji experience and create a lasting memory of your journey to the summit.

While the 150 cm pole made a great souvenir, getting it home to Australia required a little creativity. We initially planned to ship it back to Australia through Japan Post, but discovered at the post office after our hike that the maximum permitted length for EMS (Express Mail Service) parcels to Australia was 1.05 metres, so our 150 cm pole was too long. No websites or blogs that we read before the hike suggested this! The maximum length varies by destination, so a pole that is too long for Australia may be accepted for another country. For example, Japan Post's current EMS limit for the USA is 1.5 metres. Be sure to check the latest size restrictions for your destination on the Japan Post website before heading to Mt Fuji.
Our solution was to buy a fishing rod case from Joshuya Fishing Tackle Shop in Kabukicho (Shinjuku), place the wooden pole inside and take it home as oversized checked luggage at no additional cost in our case. This worked for us and meant we could keep the complete stamped pole rather than cutting it down to meet the postal size limit. The walking pole stamps are completely optional, so don't feel that you need to collect them to enjoy the Mt Fuji climb. If you prefer to travel light or don't want to carry a wooden pole, you can simply focus on the climb and the experience itself. If you do want to collect the stamps, however, a longer pole is worth considering before you start your climb.
What We Would Do Differently for Our Next Mt Fuji Climb
If we were to climb Mt Fuji again, we would approach the climb differently based on what we learned from our first experience. We would still follow the Yoshida Trail, but we would give ourselves more time to prepare our bodies for the altitude and would be more deliberate about hydration, nutrition, pacing and our summit plan.
Stay at the 5th Station the Night Before
One of the biggest changes we would consider is staying at the Fuji-Subaru Line 5th Station the night before starting the climb. On our first climb, we arrived at the 5th Station at around 9:00am and began climbing at approximately 10:30am. That meant we went from a relatively low sleeping altitude directly into a long ascent towards 3,370 metres at Original 8th Station and eventually 3,700 metres at the summit. If we climbed again, we would consider arriving at the 5th Station the previous afternoon and spending the night there. This would give us more time at approximately 2,305 metres before beginning the main climb the following morning. It is important to understand that one night at the 5th Station is not a guarantee against altitude sickness. Proper acclimatisation generally takes longer, and the amount of benefit varies from person to person. However, given our experience, we would prefer to introduce the altitude more gradually rather than arriving in the morning and immediately beginning a long climb.
Discuss Diamox Before the Trip
We would also speak to our doctor about Diamox (acetazolamide) before attempting the climb again. We didn't know about Diamox before our first Mt Fuji climb and only came across it afterwards while researching altitude sickness. We have no way of knowing whether taking it would have prevented the symptoms experienced by our family, but knowing what we know now, it is something we would discuss with a healthcare professional before another high-altitude climb. Acetazolamide can speed up acclimatisation and reduce the risk and severity of AMS, but it should not be viewed as a replacement for sensible acclimatisation or as permission to continue climbing when symptoms are getting worse.
Stay Well Hydrated — But Don't Overdo It
We would pay more attention to maintaining adequate hydration throughout the climb. Dehydration can cause symptoms that overlap with altitude sickness, including headache and fatigue, so starting the climb well hydrated and drinking regularly makes sense. However, there is an important difference between staying adequately hydrated and deliberately drinking excessive amounts of water. Overhydration has not been shown to prevent AMS and can create its own problems. For us, the lesson would be simple: drink regularly, replace fluids lost through exertion and don't wait until we are thirsty, but don't force ourselves to drink excessive quantities either.
Fuel the Climb with Enough Carbohydrates
We would also be more deliberate about nutrition, particularly carbohydrates. A Mt Fuji climb involves many hours of sustained physical effort, and appetite can become a challenge as altitude increases. On our climb, the lack of appetite was one of the symptoms we experienced at higher altitude, which made eating more difficult. Next time, we would make sure everyone starts the climb well fuelled and carries easily digestible carbohydrate-rich snacks that can be eaten regularly throughout the day. Things such as energy bars, bananas, rice-based snacks, bread, gels or other familiar foods that the children are happy to eat would be useful. The aim wouldn't be to eat large meals while climbing, but to fuel little and often so that we don't reach the higher stations already depleted of energy.
Slow Down and Pace Ourselves
We would also be more conservative with our pace from the beginning. Our first day involved around 8.5 hours of climbing from the 5th Station to Original 8th Station, so there was a lot of physical effort before we even reached the highest sections of the mountain. Next time, we would focus even more on maintaining a comfortable, sustainable pace, taking regular breaks and paying close attention to how everyone was coping as we gained altitude. With children especially, we would rather arrive at the mountain hut later but feeling reasonably comfortable than push for a particular arrival time and arrive exhausted.
Be More Flexible About Sunrise
We would also keep our sunrise plan much more flexible. Our original goal was to climb from the mountain hut during the early hours and reach the summit for sunrise. Instead, after the experience we had at the hut, we watched sunrise there and climbed to the summit afterwards. That experience taught us that sunrise does not need to dictate the entire itinerary. If everyone is feeling well and conditions are suitable, a pre-dawn summit push can be part of the plan. But if altitude, fatigue, weather or lack of sleep becomes a concern, we would be completely comfortable watching sunrise from the mountain hut and climbing to the summit later.
Allow More Time for the Whole Journey
Finally, we would build more buffer into the itinerary after the climb. We had originally planned to finish the hike early enough to visit Lake Kawaguchi and the Mt. Fuji Panoramic Ropeway before catching our 7:10pm bus from Kawaguchiko. Our slower progress on the mountain meant that those plans had to be cancelled, and we eventually found ourselves relying on the 5:45pm bus from the 5th Station to reach Kawaguchiko in time. Next time, we would treat any sightseeing after the climb as a bonus rather than part of the fixed itinerary. The mountain should determine when the day finishes, not a sightseeing schedule or transport connection.
Our Biggest Lesson
The biggest lesson we learned from our first Mt Fuji climb was that the mountain should dictate the pace and timing of the climb, not a fixed itinerary. Altitude, fatigue, weather and other factors can change how you feel during the climb, so it is important to be flexible and adjust your plans accordingly. The summit is a wonderful goal, but it should not come at the expense of safety or well-being. By listening to our bodies, taking breaks when needed and being willing to adjust our plans, we were able to enjoy the experience and create lasting memories of our Mt Fuji adventure.
Climbing Mt Fuji is much more than simply walking to the highest point in Japan. The altitude, volcanic terrain, weather, early starts and long hours on the trail make preparation an important part of the adventure. Choosing the right route, booking your mountain hut, packing appropriately and understanding what to expect at altitude can make the experience considerably more enjoyable. But no amount of preparation completely tells you what it feels like to actually climb Mt Fuji. For that, you'll need to come with us on the mountain.
Love our itinerary? Excited to summit Mt Fuji? Book your accommodation via Booking.com below at cheaper prices!
This post may contain affiliate links. This means that, at no additional cost to you, we may earn a small commission if you make a purchase through the links provided. These commissions help support our website and allow us to continue sharing our travel experiences. Thank you for your support.
This itinerary is based on our personal experiences and recommendations. All information is provided for general guidance only and may change due to circumstances beyond our control. Travellers are encouraged to independently verify details and make choices according to their own preferences and safety considerations. We do not accept responsibility for any loss, injury, or inconvenience sustained by anyone using our itineraries.