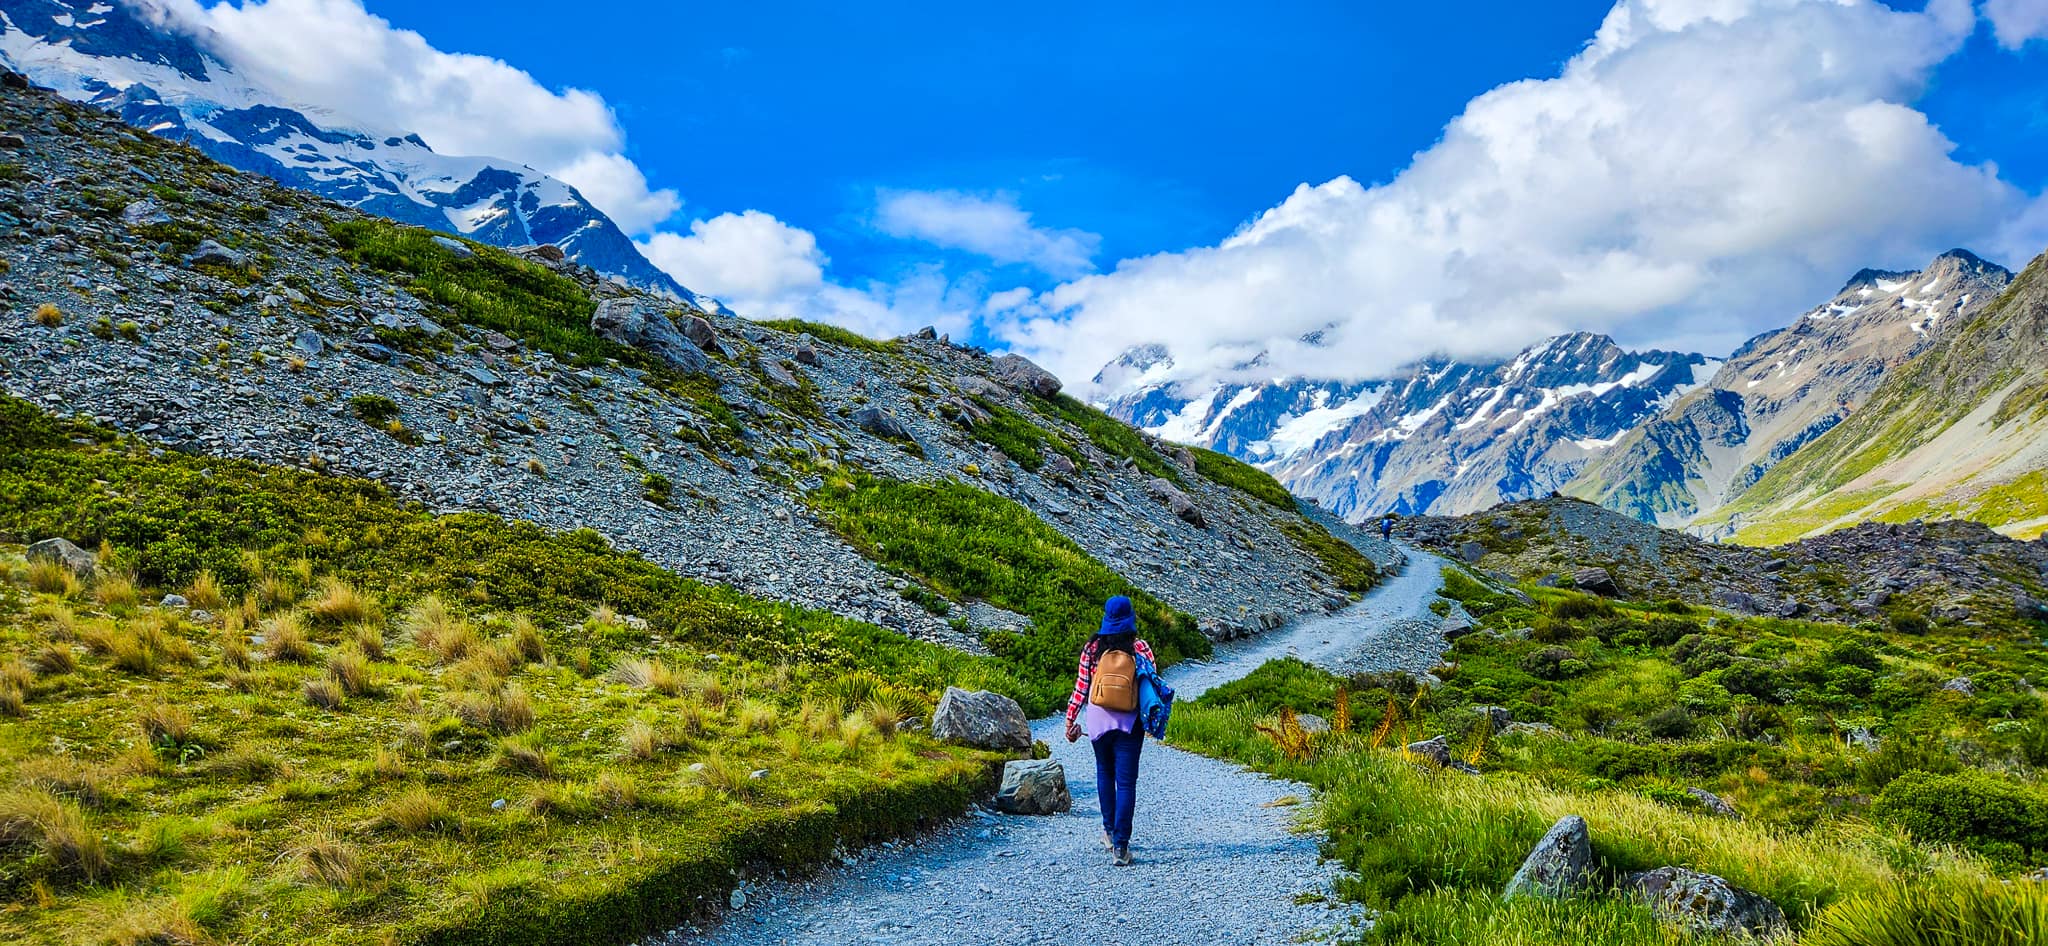
The Hooker Valley Track is one of New Zealand’s most breathtaking day walks, offering extraordinary alpine scenery without the need for technical skills or intense fitness. Located in Aoraki/Mount Cook National Park, this iconic trail weaves through glacier-carved landscapes, crosses three swing bridges, skirts shimmering tarns and tussock fields, and finishes at the spectacular Hooker Lake with Aoraki/Mount Cook towering over the water. It’s easy to see why this track is considered one of the absolute must-dos in the South Island — accessible, dramatic, and endlessly photogenic.
Explore our itineraries hassle-free with these recommended services!
Car Rental
Getting there
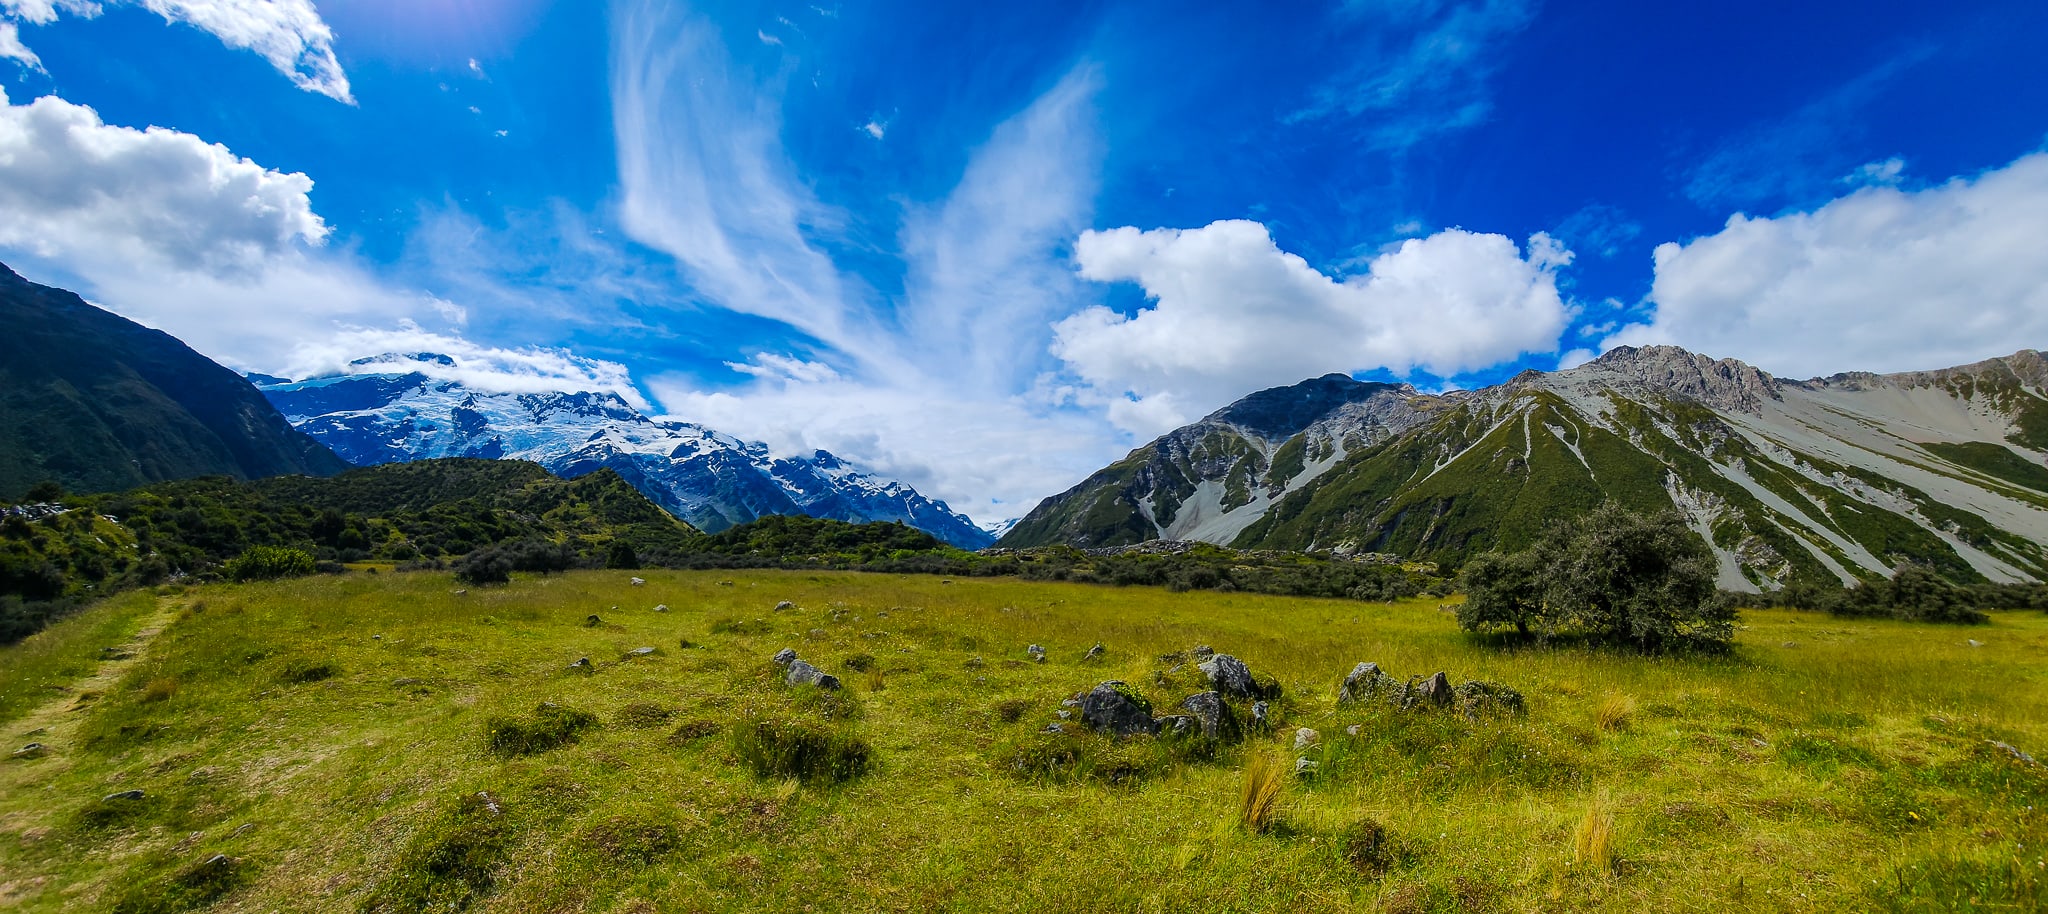
The walk begins at White Horse Hill Campground, just a short drive from Mount Cook Village. The carpark at the trailhead is well signed and includes public toilets, a shelter, picnic tables and information boards. Due to the trail’s popularity, especially in summer and holiday periods, arriving early or later in the day helps avoid peak crowds and ensures easier parking.
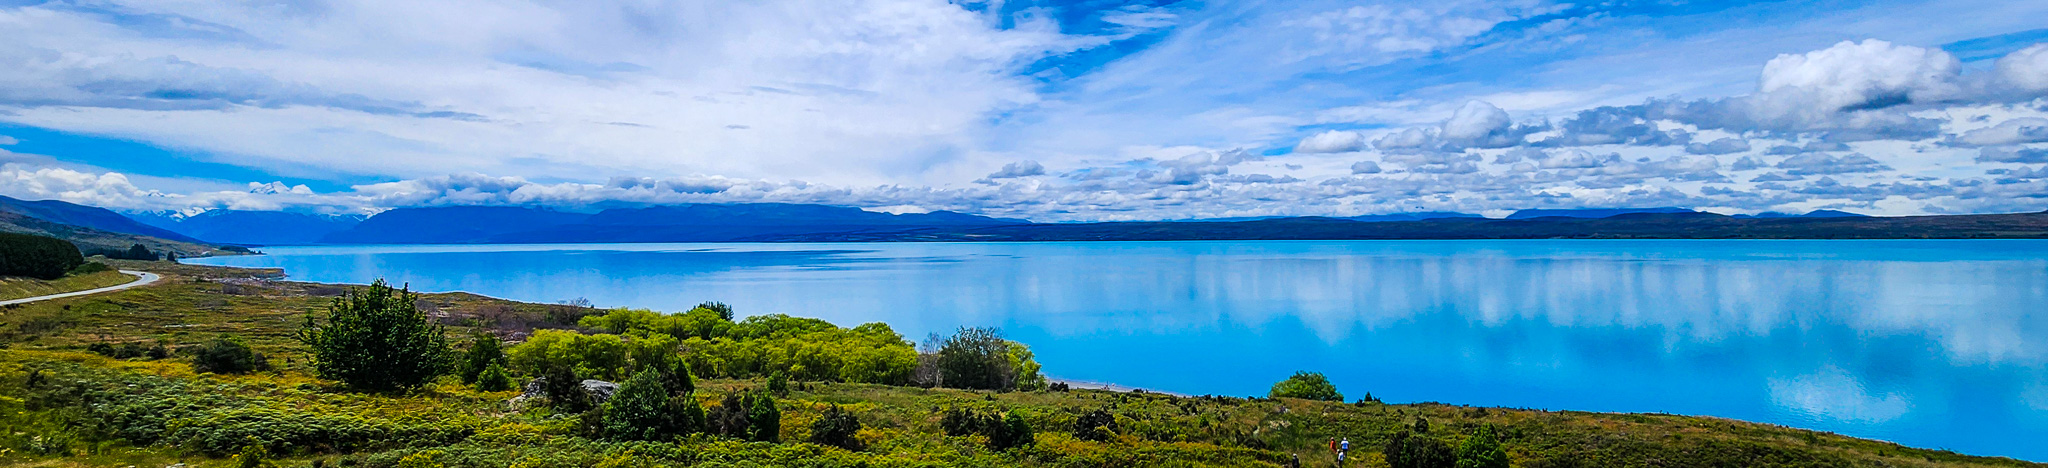
If you’re arriving from Tekapo or Twizel, the approach along State Highway 80 beside Lake Pukaki is part of the magic — the vivid blue water and the towering Southern Alps build an unforgettable sense of anticipation!
Pro-Tips for the Hooker Valley Track
- Start early or late for softer light and fewer people.
- Pack for all conditions: Weather changes extremely fast in Mount Cook National Park.
- Wear sturdy footwear: The lake’s rocky shoreline can be uneven.
- Take care on swing bridges: They can sway strongly in wind.
- Take snacks and water: No facilities beyond the toilet stop.
- Check the DOC page for any temporary bridge or track closures.
- Protect the landscape: Stay on the boardwalk in tussock areas to prevent erosion.
Key Facts About the Hike
- Distance: 11 kilometres (6.8 miles) — While the walk out to Hooker Lake comes to about 5.7 km including short detours to lookouts, the return leg is a more direct 5.3 km, bringing the total distance for the hike to 11 km.
- Duration: 3 to 4 hours
- Elevation Gain: 201 metres (660 feet)
- Difficulty: Easy to moderate
- Track Type: Gravel path, boardwalks, short inclines
- Trailhead: White Horse Hill Campground
Provided below is the AllTrails map for the walk.
Sections of the Walk: What to Expect
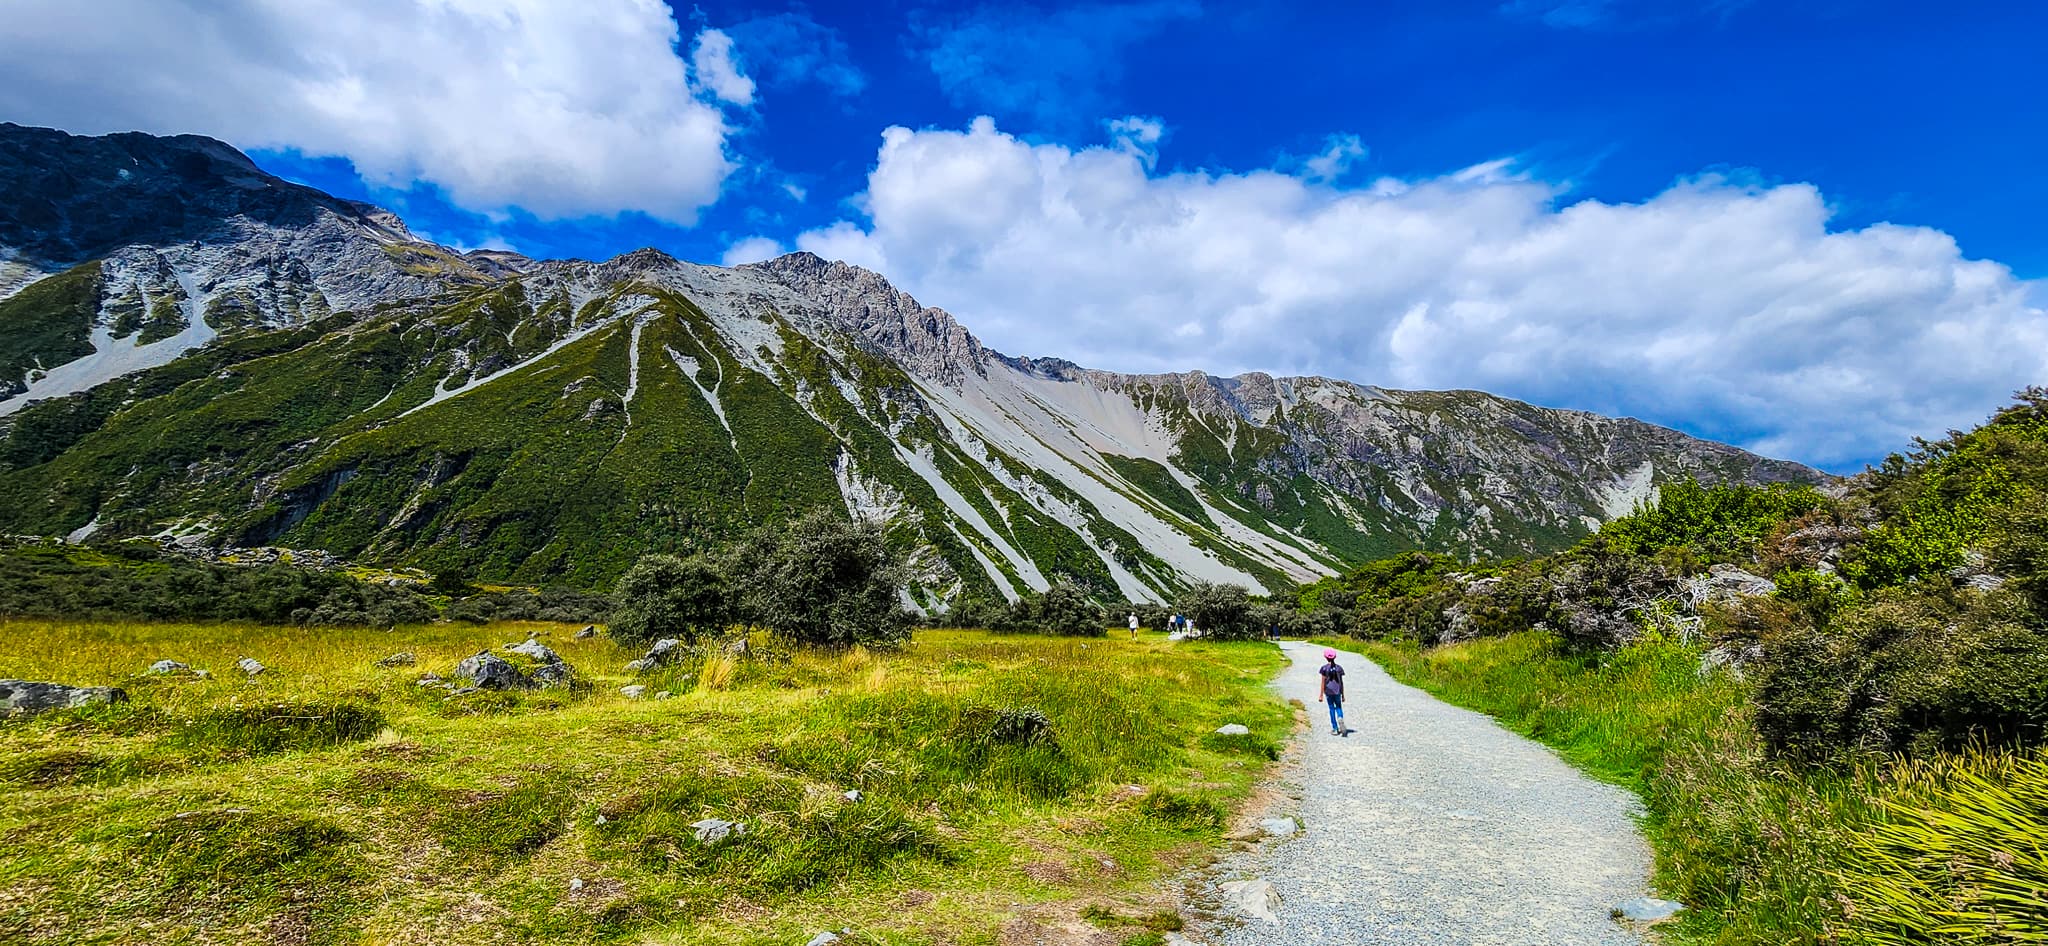
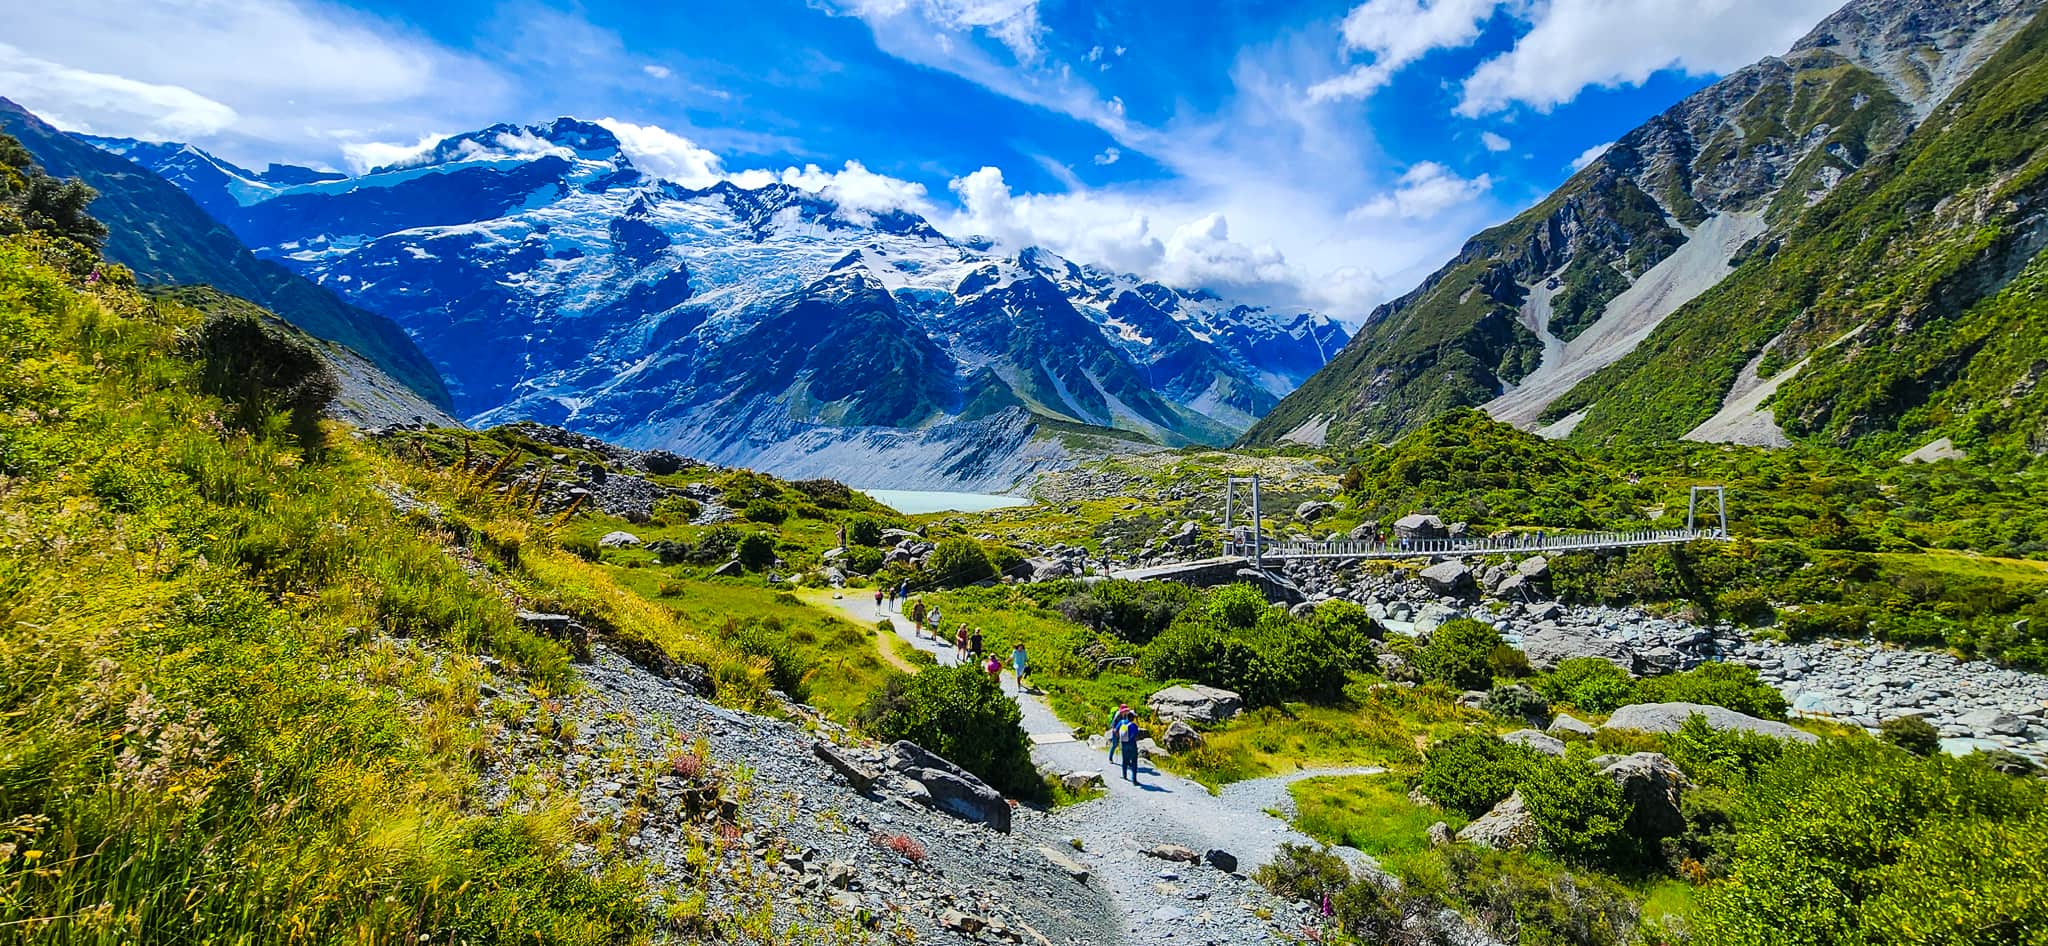
This trail delivers a steady mix of changing landscapes, each bringing its own highlights as you move from lowland forest to open alpine country. The route is divided into clear sections that shift in character—from shaded bush tracks and swing-bridge crossings to elevated boardwalks, sweeping tussock fields, and serene alpine tarns. With every stage, the scenery evolves, the terrain varies, and new vantage points emerge, creating a walk that feels both diverse and rewarding. Knowing how the track unfolds helps you anticipate the transitions, pace yourself comfortably, and fully appreciate the natural contrasts along the way.
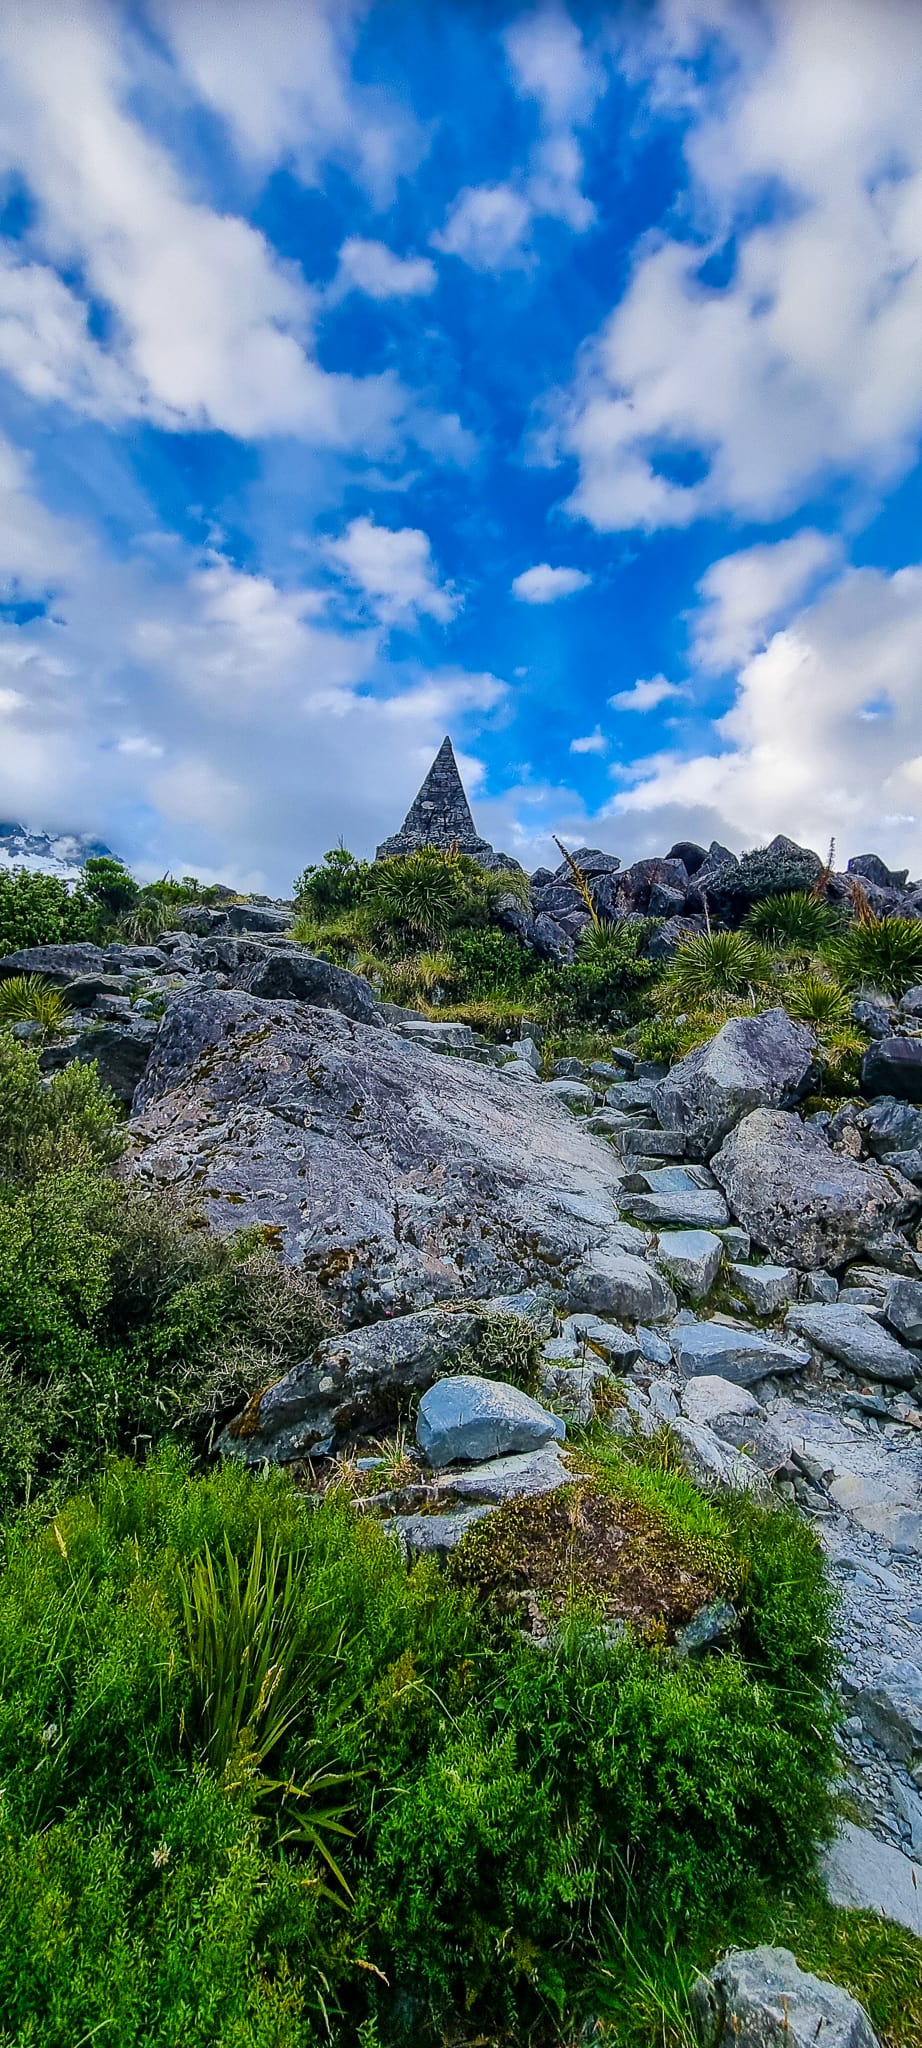
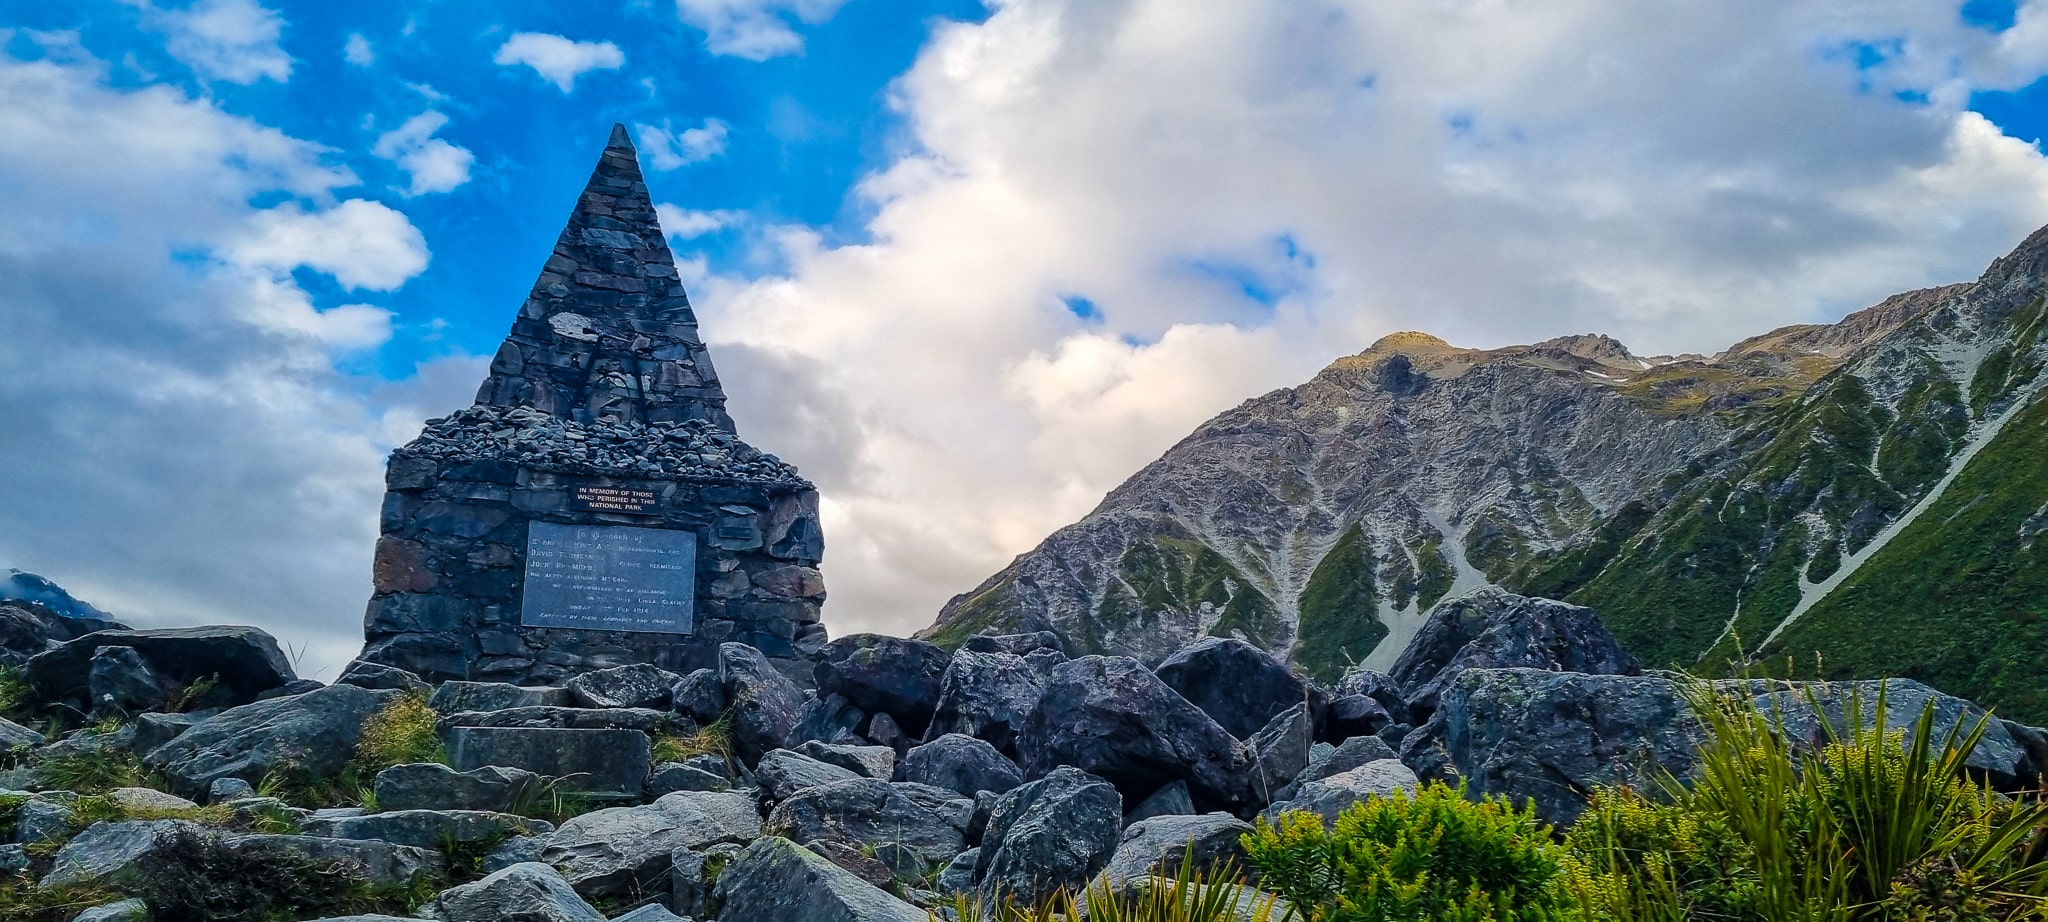
Stop 1: Alpine Memorial
Distance from trailhead: ~0.5 km
Shortly after setting out across flat alpine terrain, a signposted side track leads up to the Alpine Memorial. This stone cairn stands as a tribute to those who have lost their lives in the surrounding mountains. It offers elevated views across the valley and makes for a short but meaningful detour. The outlook towards Mount Sefton and the surrounding peaks is superb — a quiet, reflective moment early in the walk.
Stop 2: Mueller Lake Lookout
Distance from previous stop: ~0.6 km
Distance from trailhead: ~1.1 km
Continue along the main track to reach the Mueller Lake Lookout, which provides stunning views over the grey-blue glacial waters of Mueller Lake. On cooler days or after fresh ice calving, you may spot chunks of floating ice moving slowly across the lake’s surface. The rugged cliffs, moraines and expansive valley setting make this a great early photography stop before the trail drops slightly toward the first swing bridge.
Stop 3: First Swing Bridge (Hooker River Bridge 1)
Distance from previous stop: ~0.2 km
Distance from trailhead: ~1.3 km
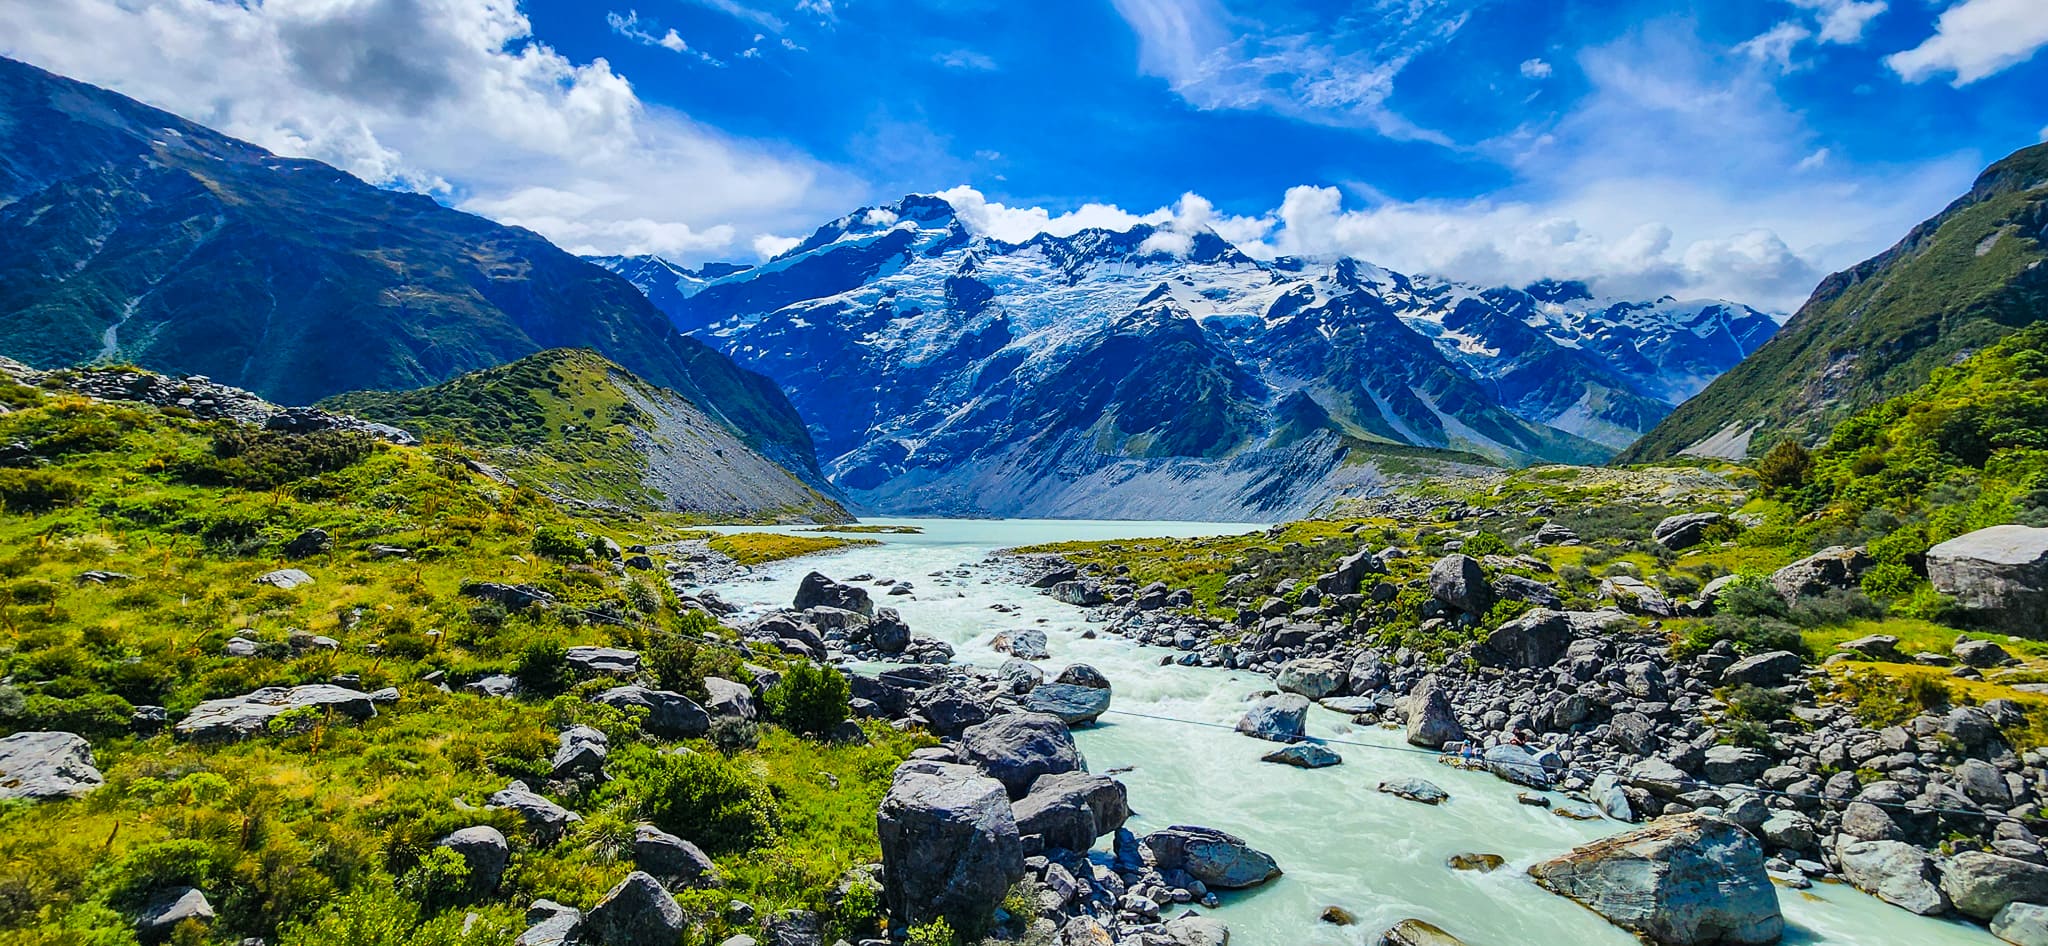
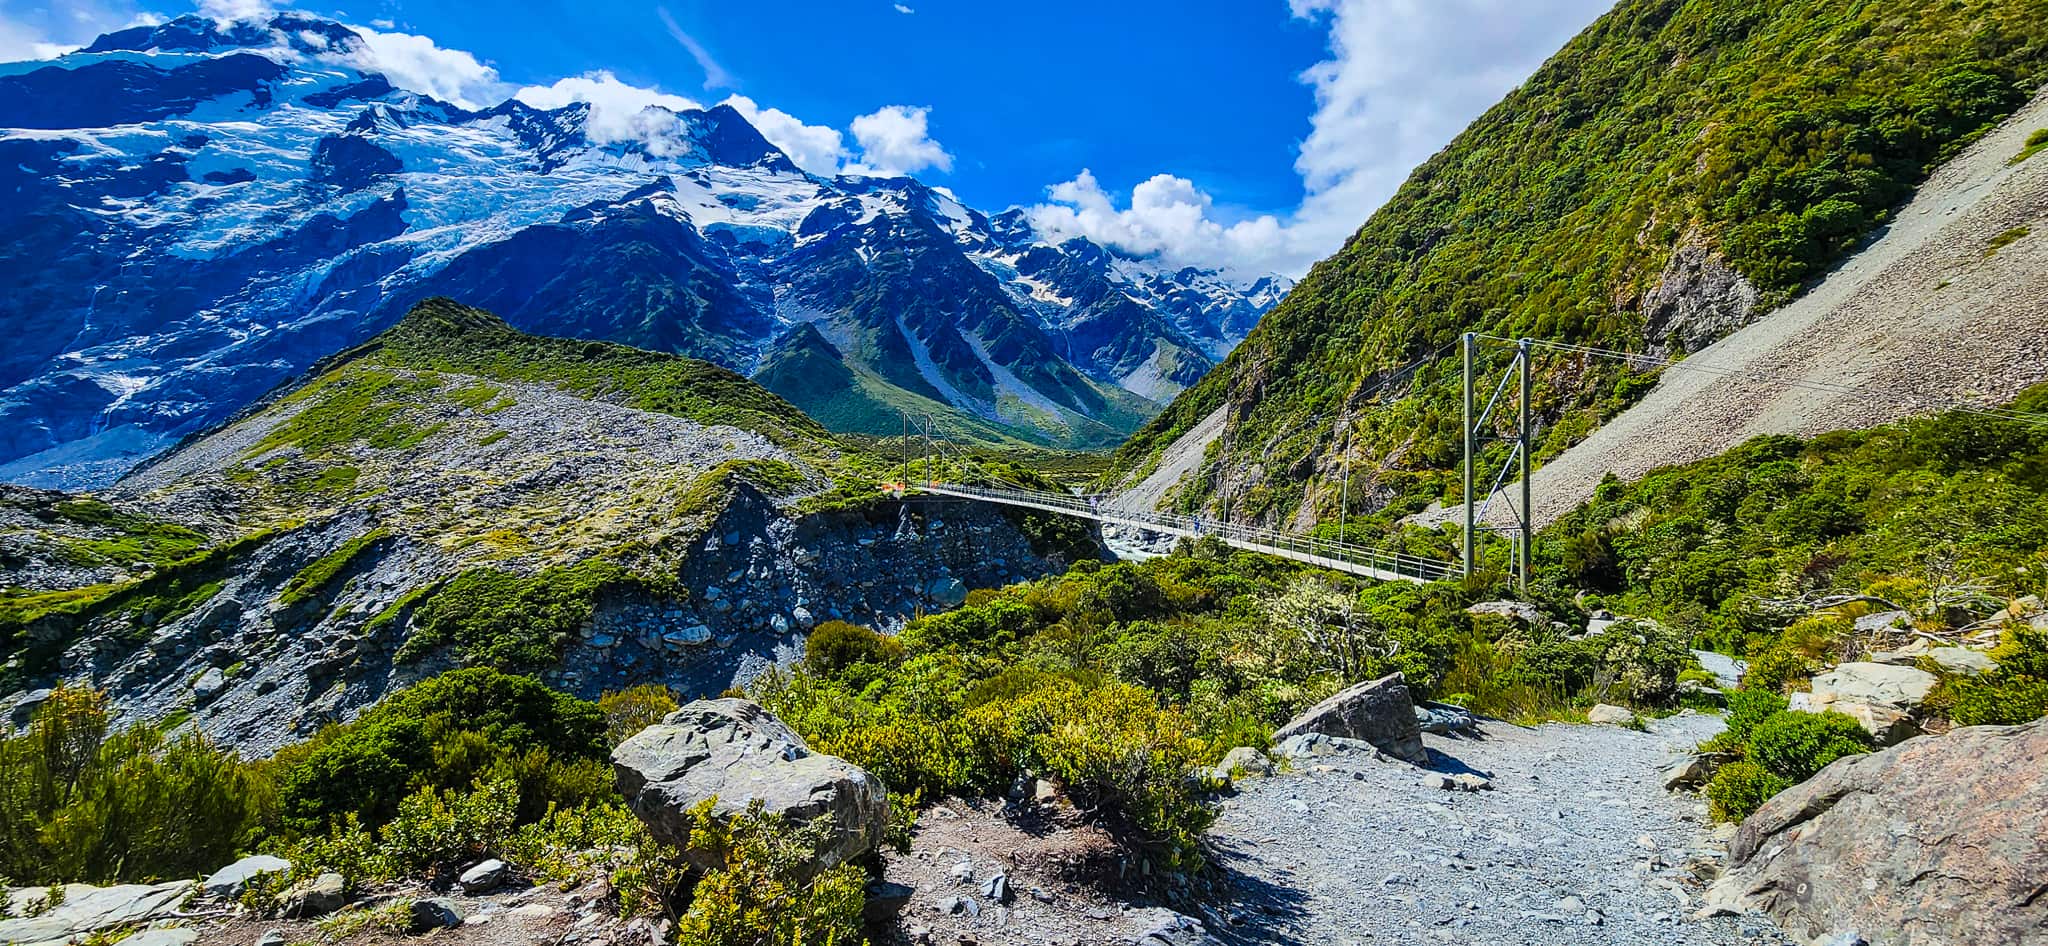
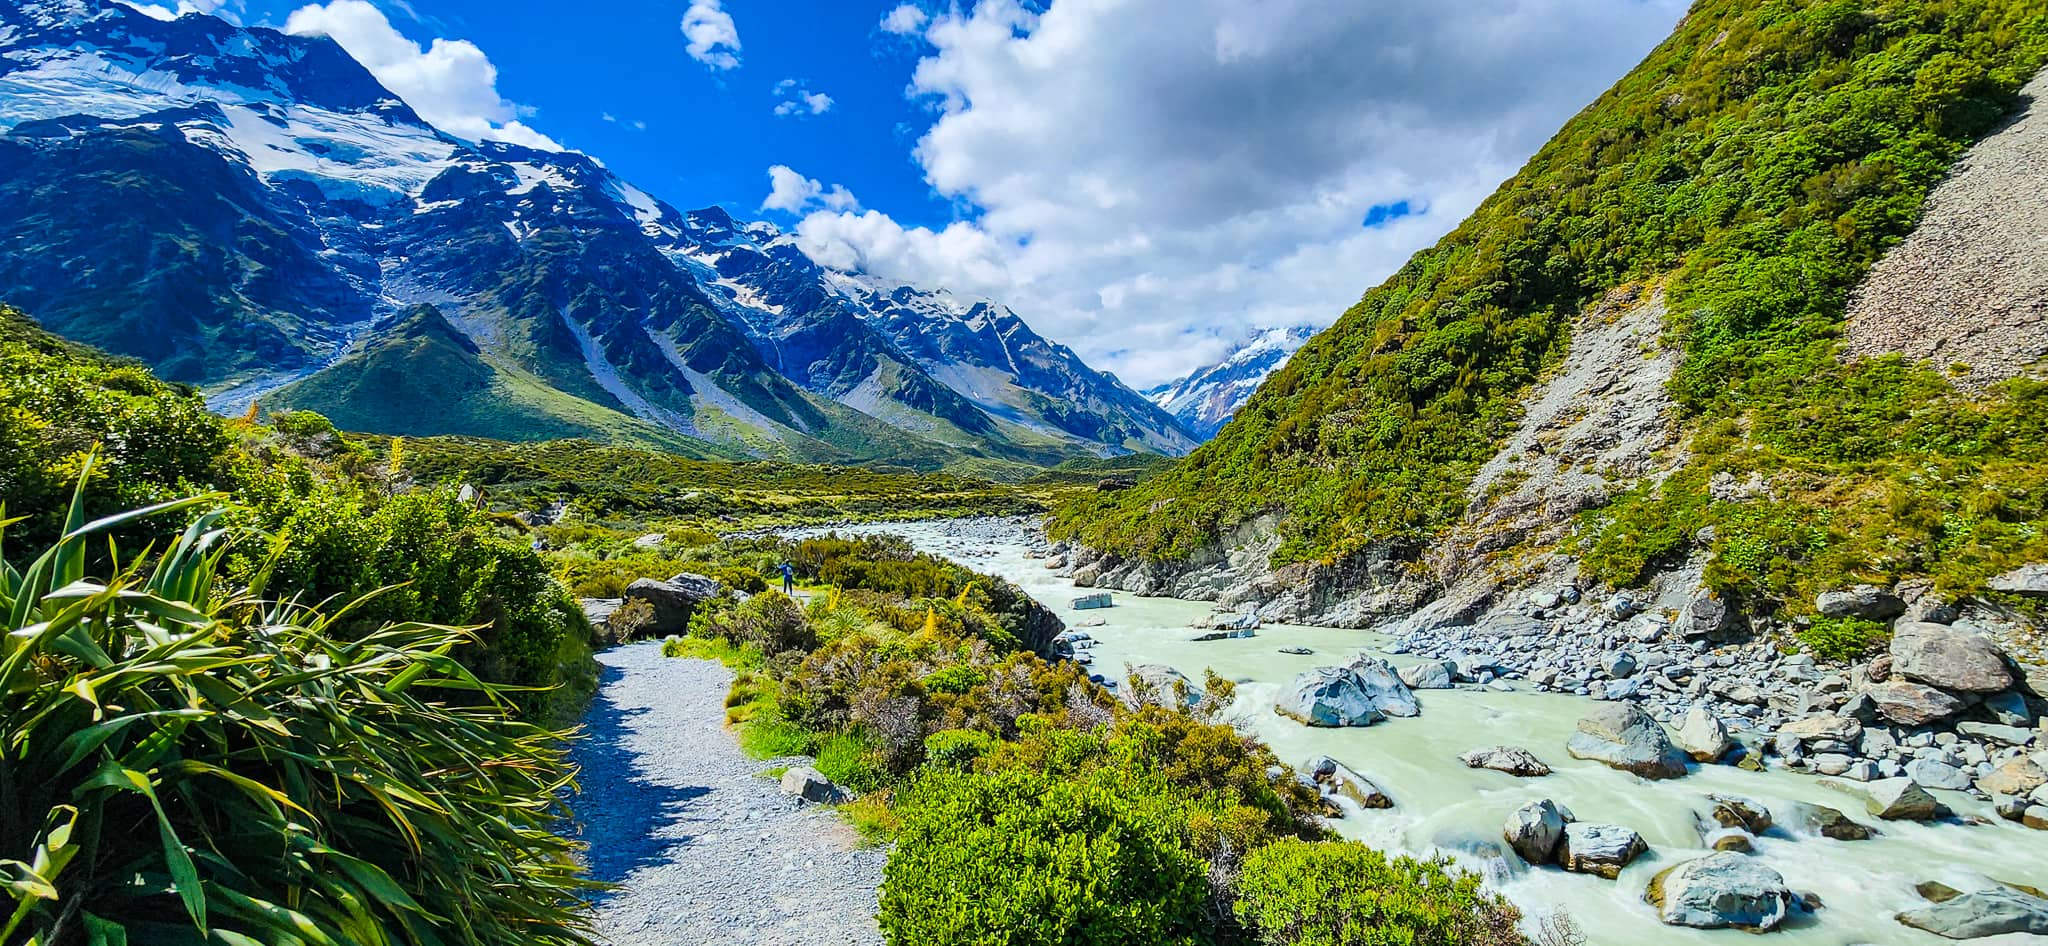
The track leads down to the first swing bridge, where the glacier-fed Hooker River churns beneath your feet. The milky turquoise water contrasts beautifully with the rocky terrain and alpine peaks. Crossing this bridge feels like the moment you officially enter the heart of Hooker Valley.
Stop 4: Second Swing Bridge (Hooker River Bridge 2)
Distance from previous stop: ~1.4 km
Distance from trailhead: ~2.7 km
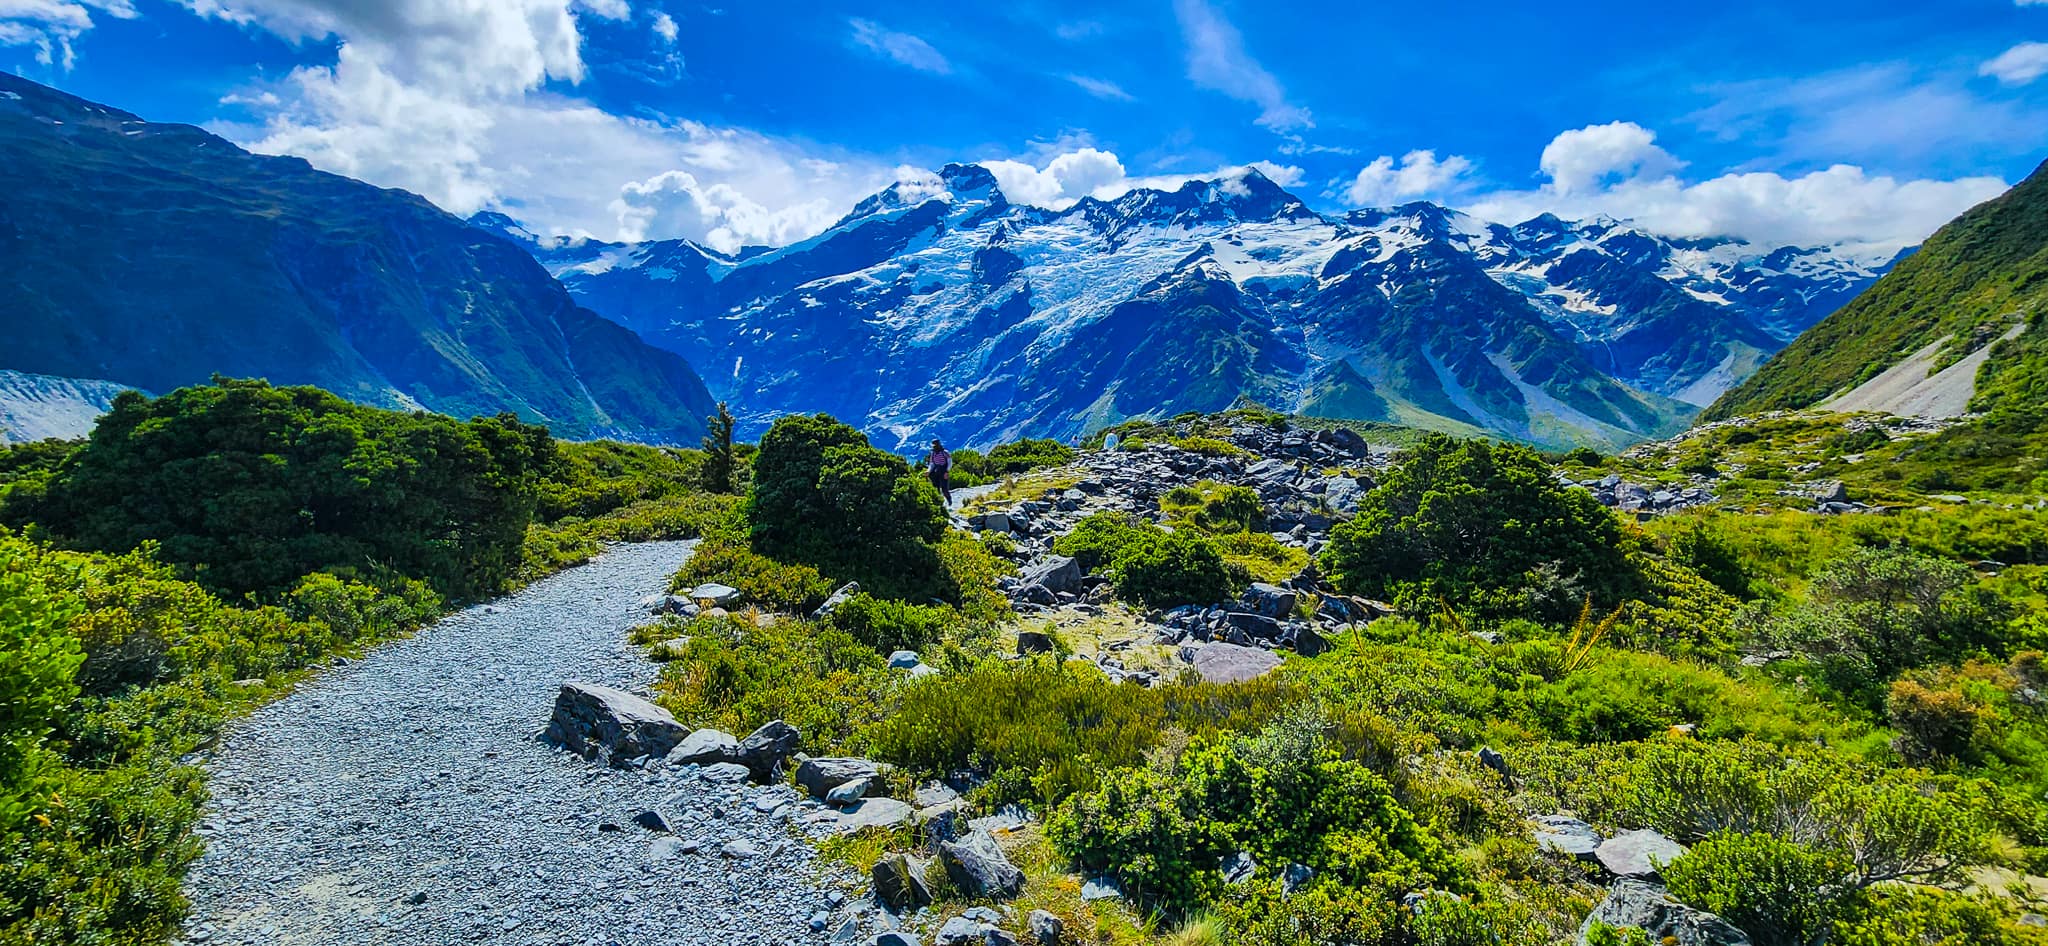
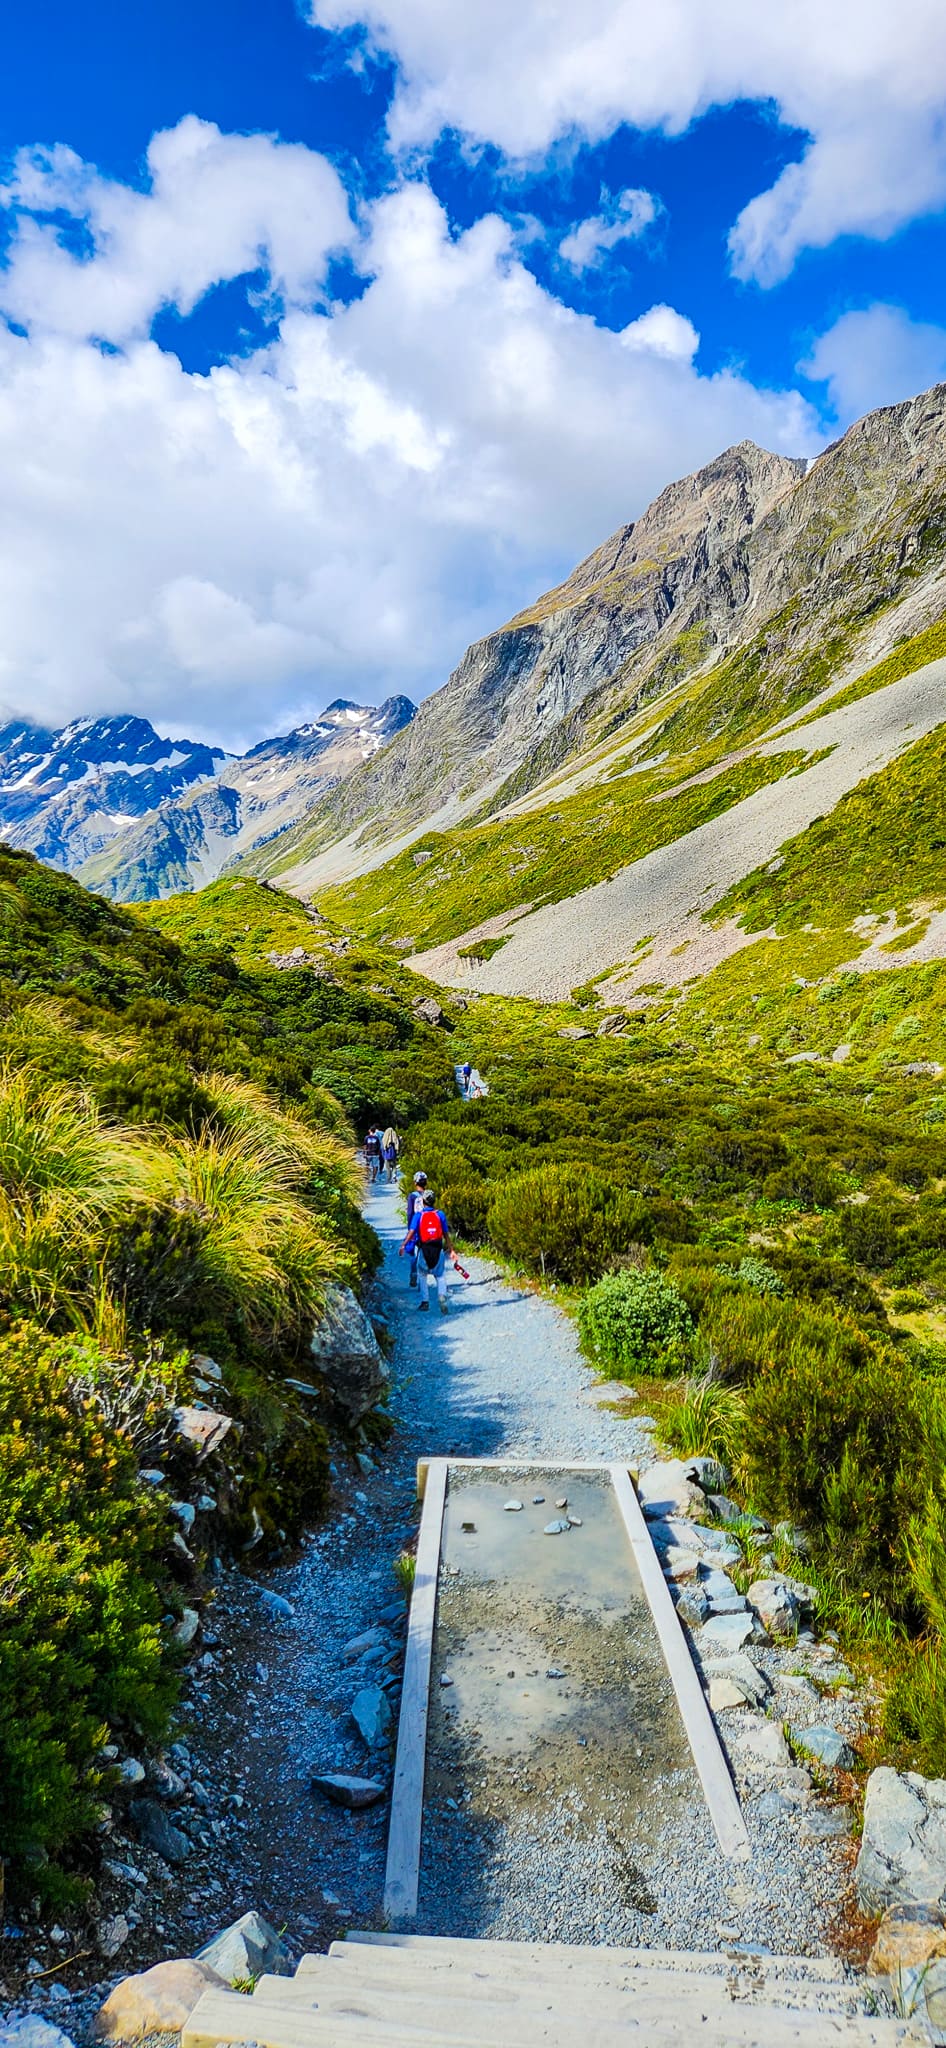
A gently rising gravel path guides you toward the second swing bridge. The valley widens, offering long, sweeping views and plenty of space to pause and take in the alpine atmosphere. Once across the bridge, the landscape begins to feel more open and exposed to the full panorama of surrounding peaks.
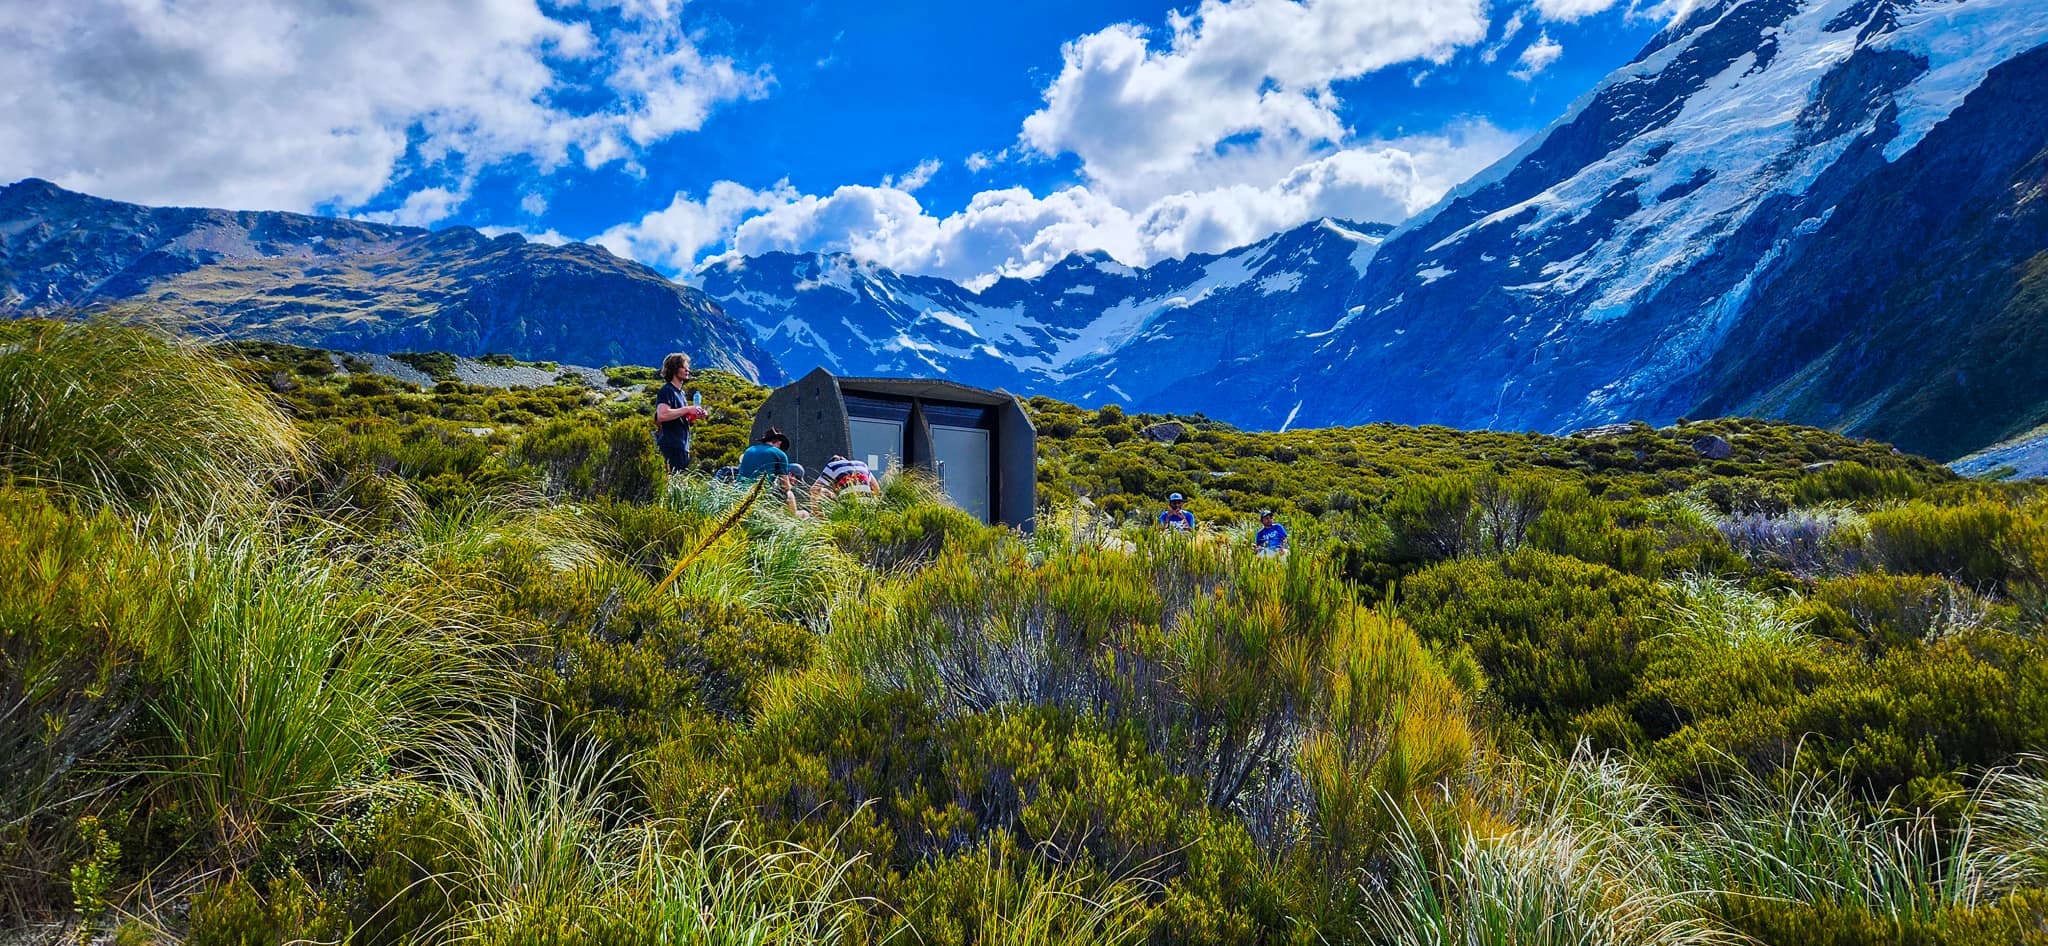
Stop 5: Mid-Valley Toilets
Distance from previous stop: ~0.9 km
Distance from trailhead: ~3.6 km
Approximately halfway between the second and third swing bridges, you’ll reach the mid-valley public toilets — the only facilities on the track aside from those at the trailhead. It’s a convenient spot for a quick breather before the landscape opens up further and the boardwalks begin to guide you through the valley’s shifting scenery.
Stop 6: Third Swing Bridge (Hooker River Bridge 3)
Distance from previous stop: ~0.8 km
Distance from trailhead: ~4.4 km
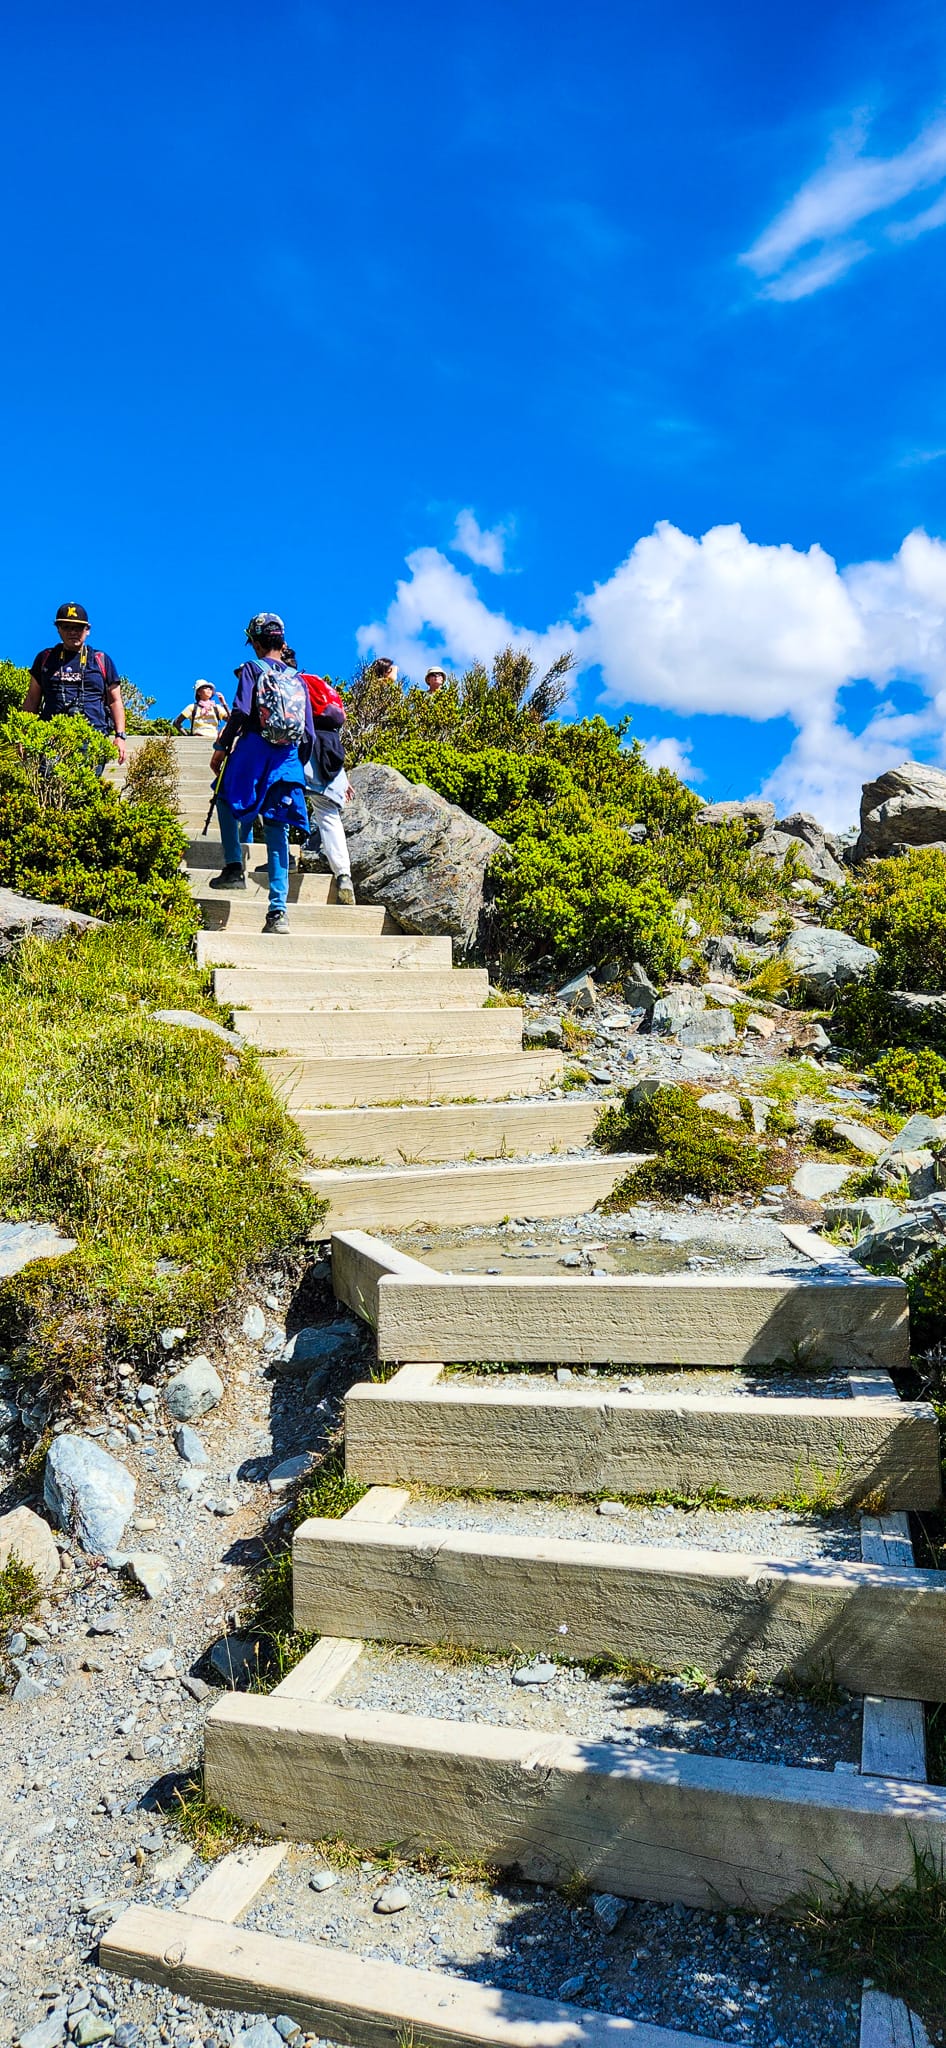
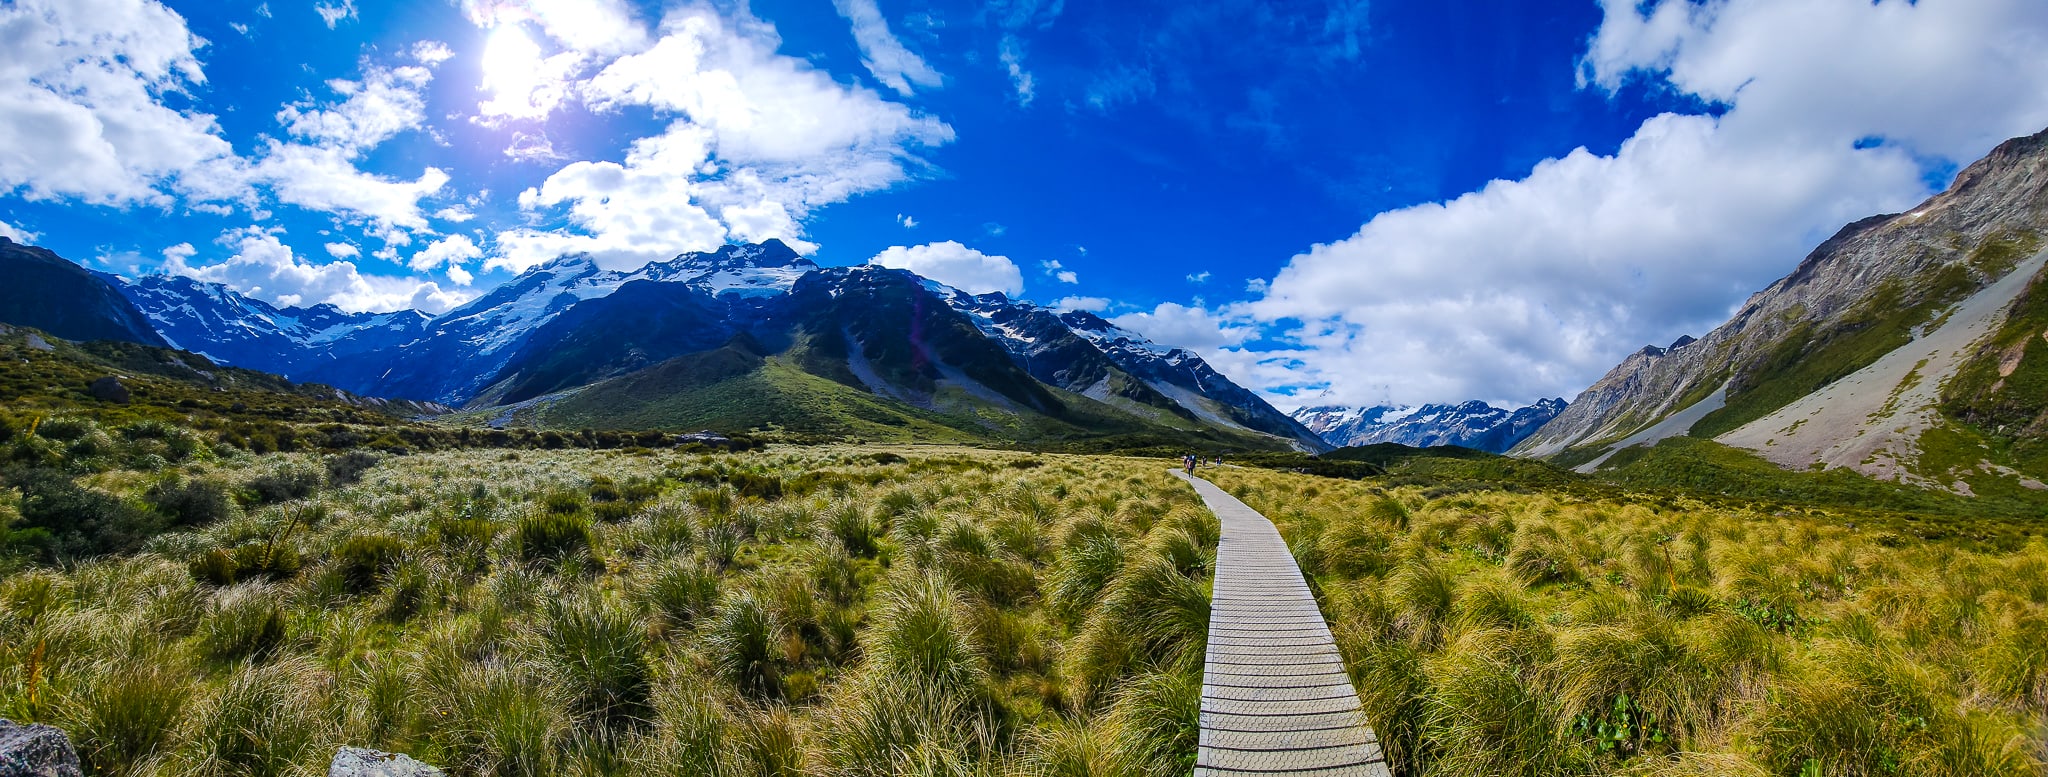
Immediately after the toilet area, the lush golden tussock fields open up in front of you — one of the trail’s most iconic landscapes. The famous boardwalk begins here, steering walkers through this fragile alpine environment. The contrast of the soft, swaying tussock against the hard-cut mountains and distant glaciers is breathtaking. Aoraki/Mount Cook now sits prominently at the head of the valley, drawing you forward with every step.
Continuing through the tussock plains and over gentle rises, you arrive at the third swing bridge, often considered the most photogenic of the three. With Mount Cook perfectly framed in the distance and the Hooker River surging below, this is a classic vantage point for walkers and photographers alike.

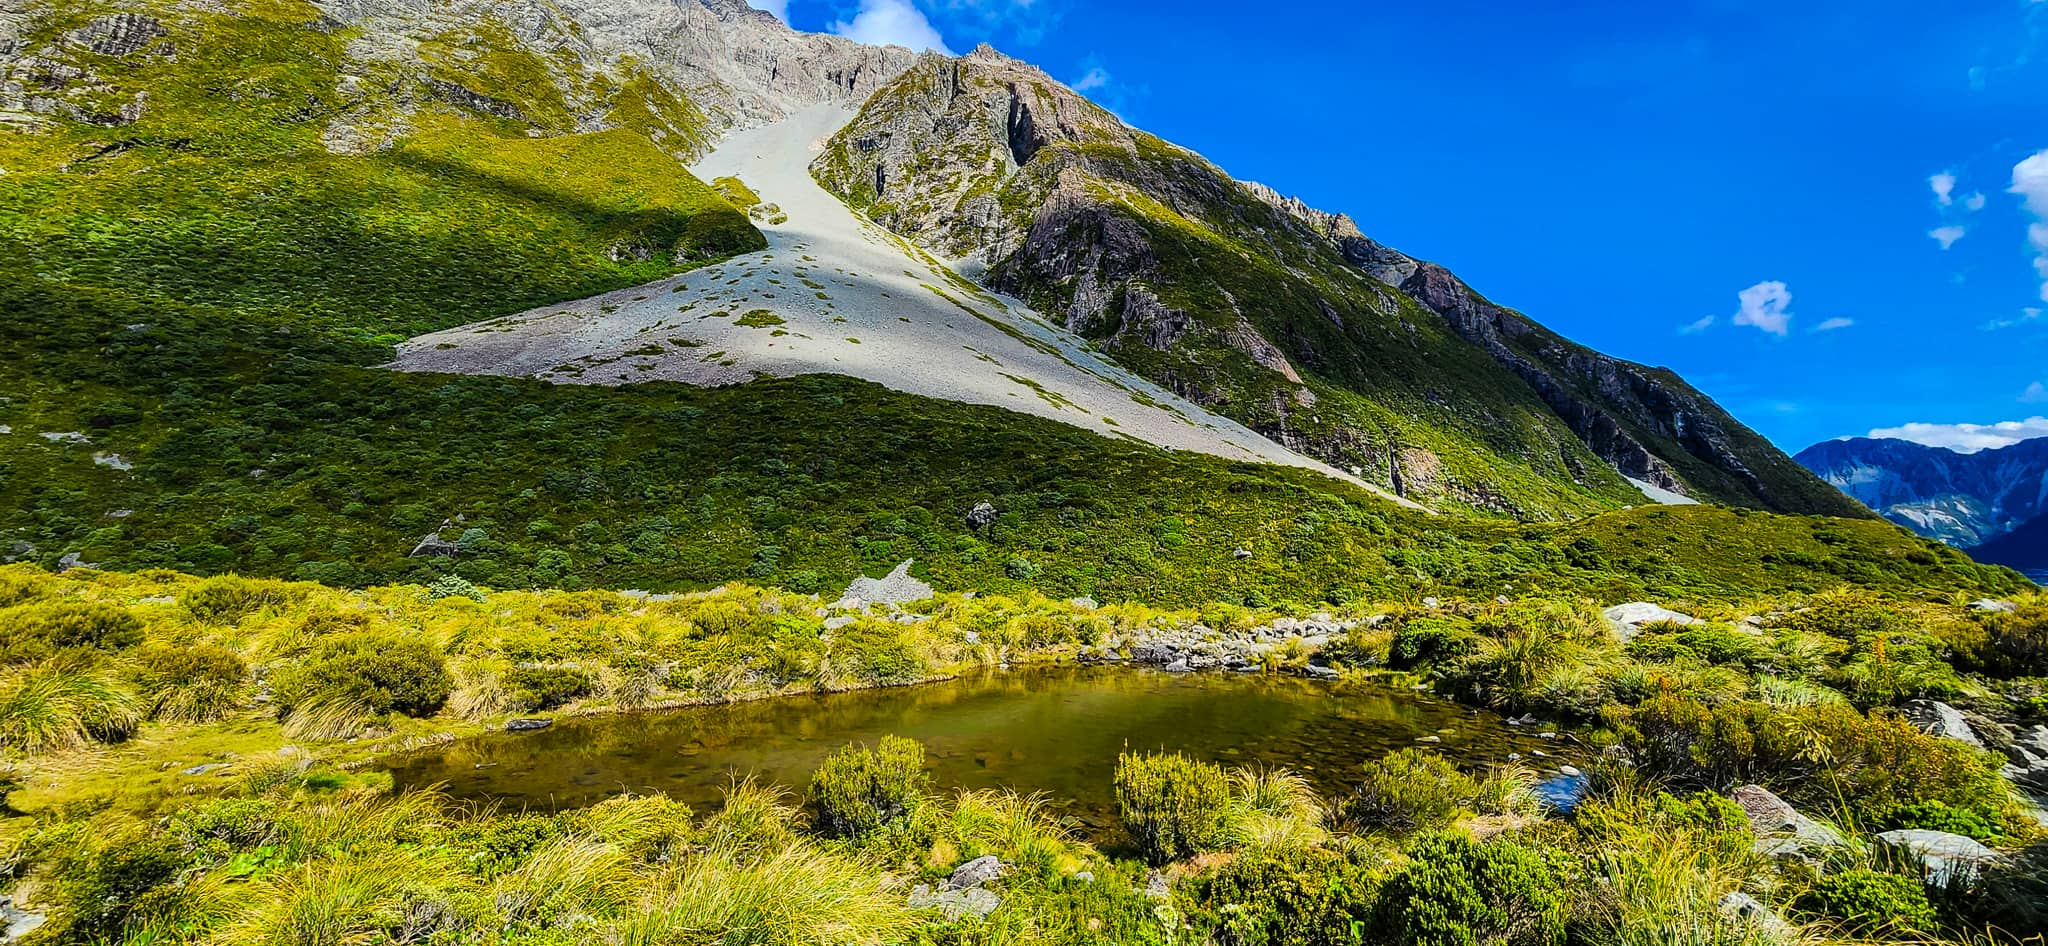
Stop 7: Alpine Tarn
Distance from previous stop: ~0.3 km
Distance from trailhead: ~4.7 km
Just beyond the third bridge lies a tranquil Alpine Tarn — a shallow, reflective glacial pool that beautifully mirrors the surrounding peaks on calm days. It’s a quiet, scenic spot with a sense of stillness that contrasts with the river’s energy behind you. The area is delicate, so stay on the main track as you take in the views.
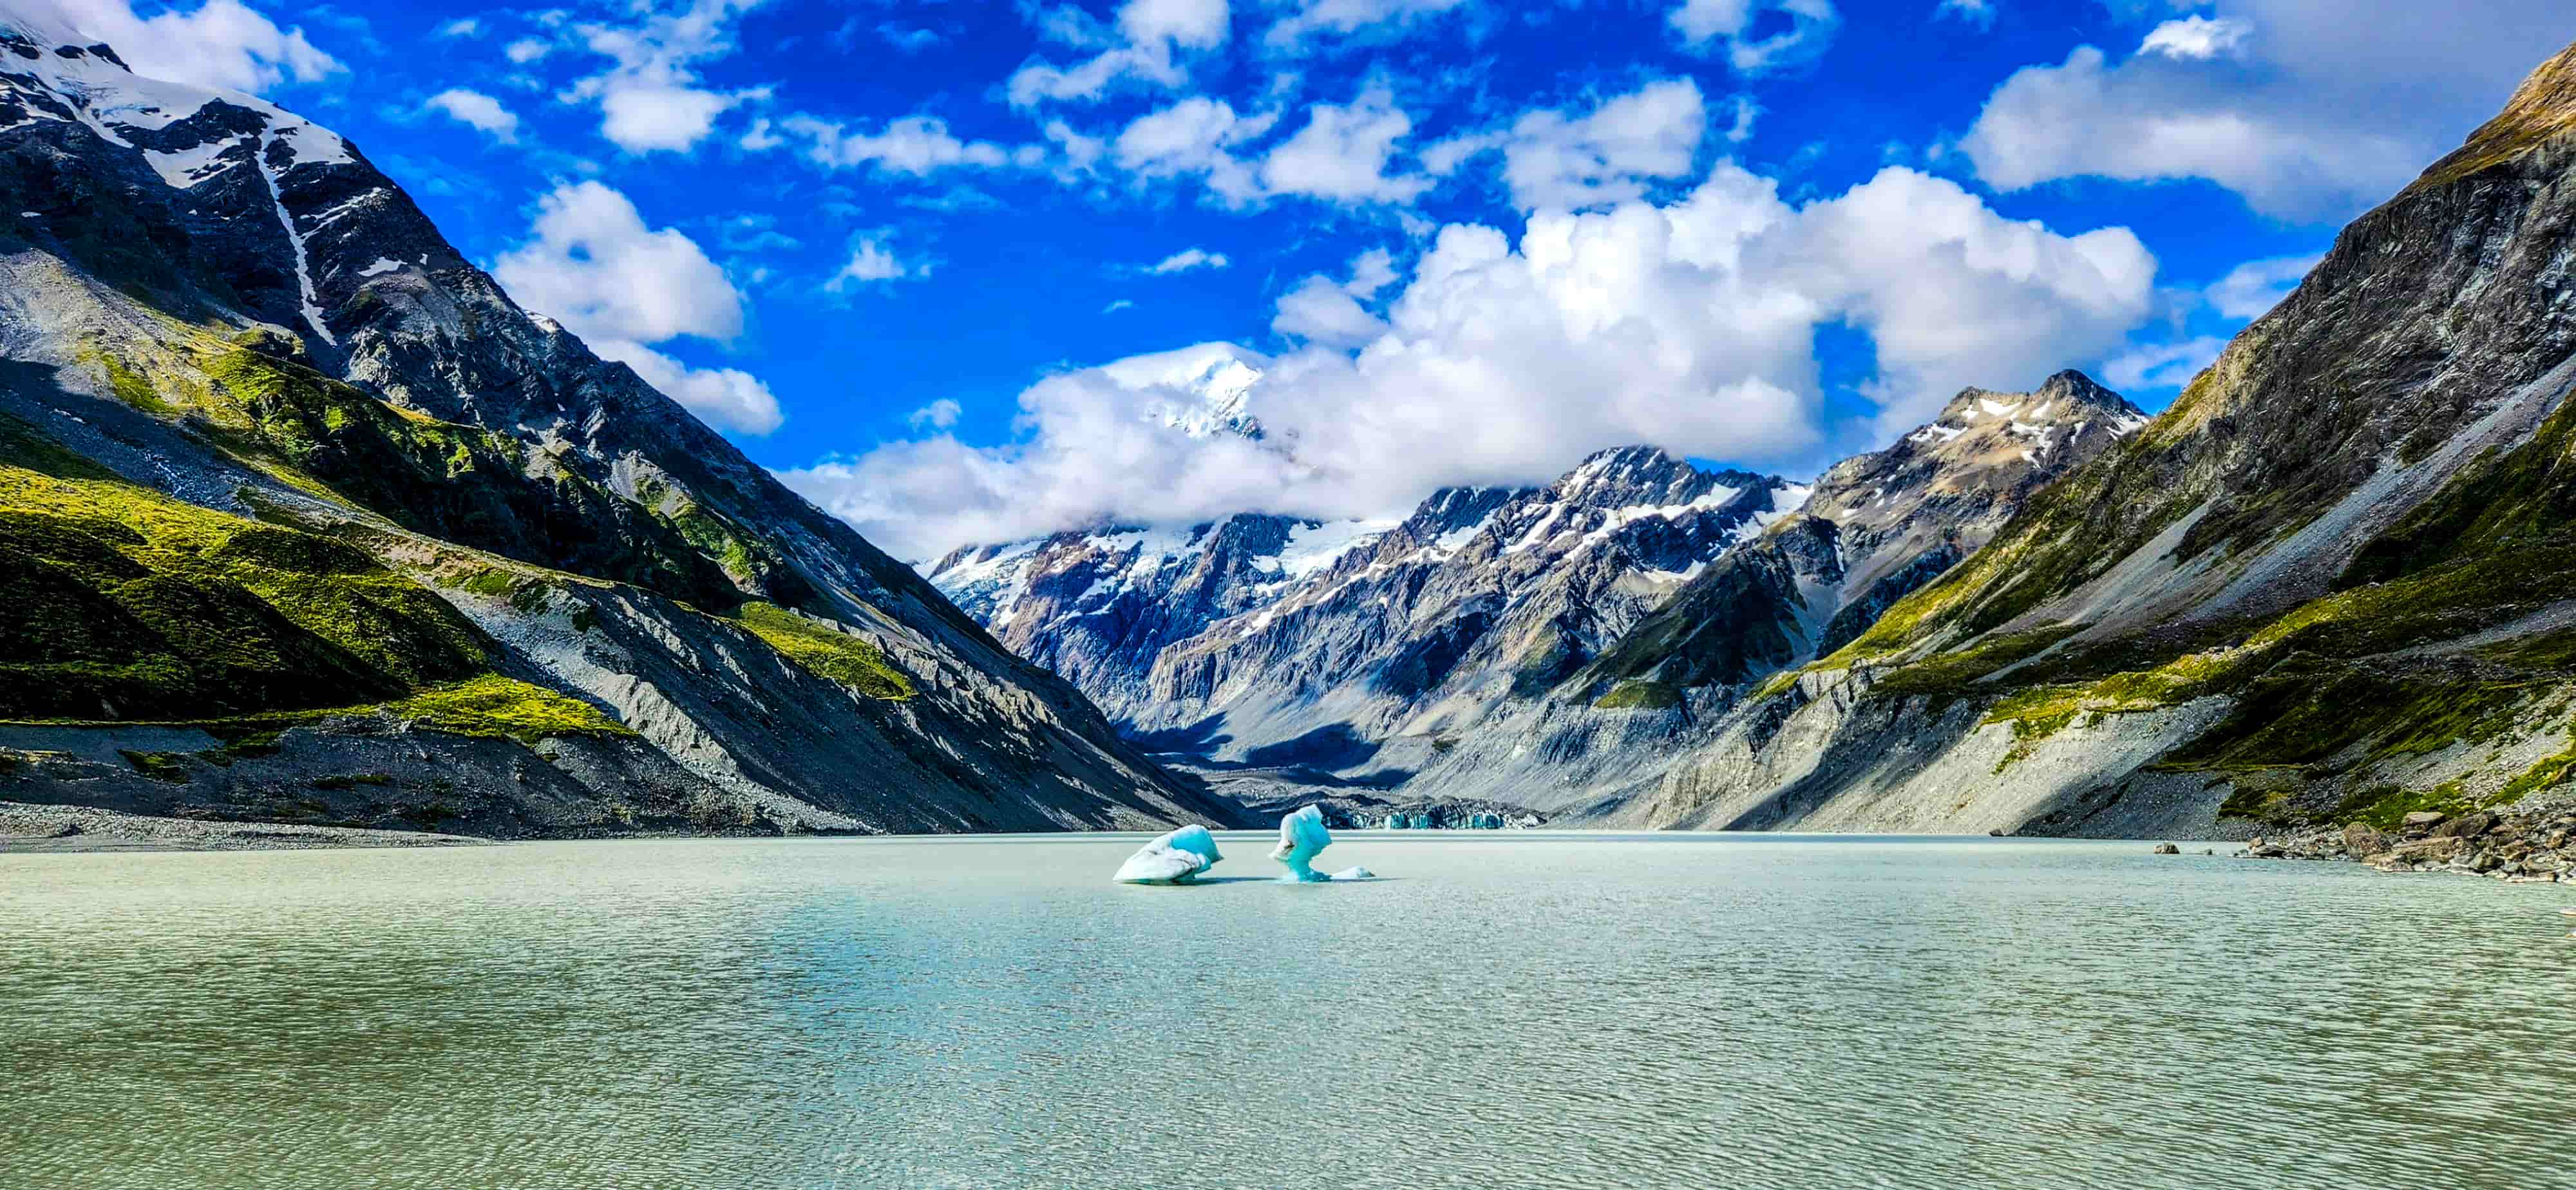
Last Stop: Hooker Lake
Distance from previous stop: ~1 km
Distance from trailhead: ~5.7 km
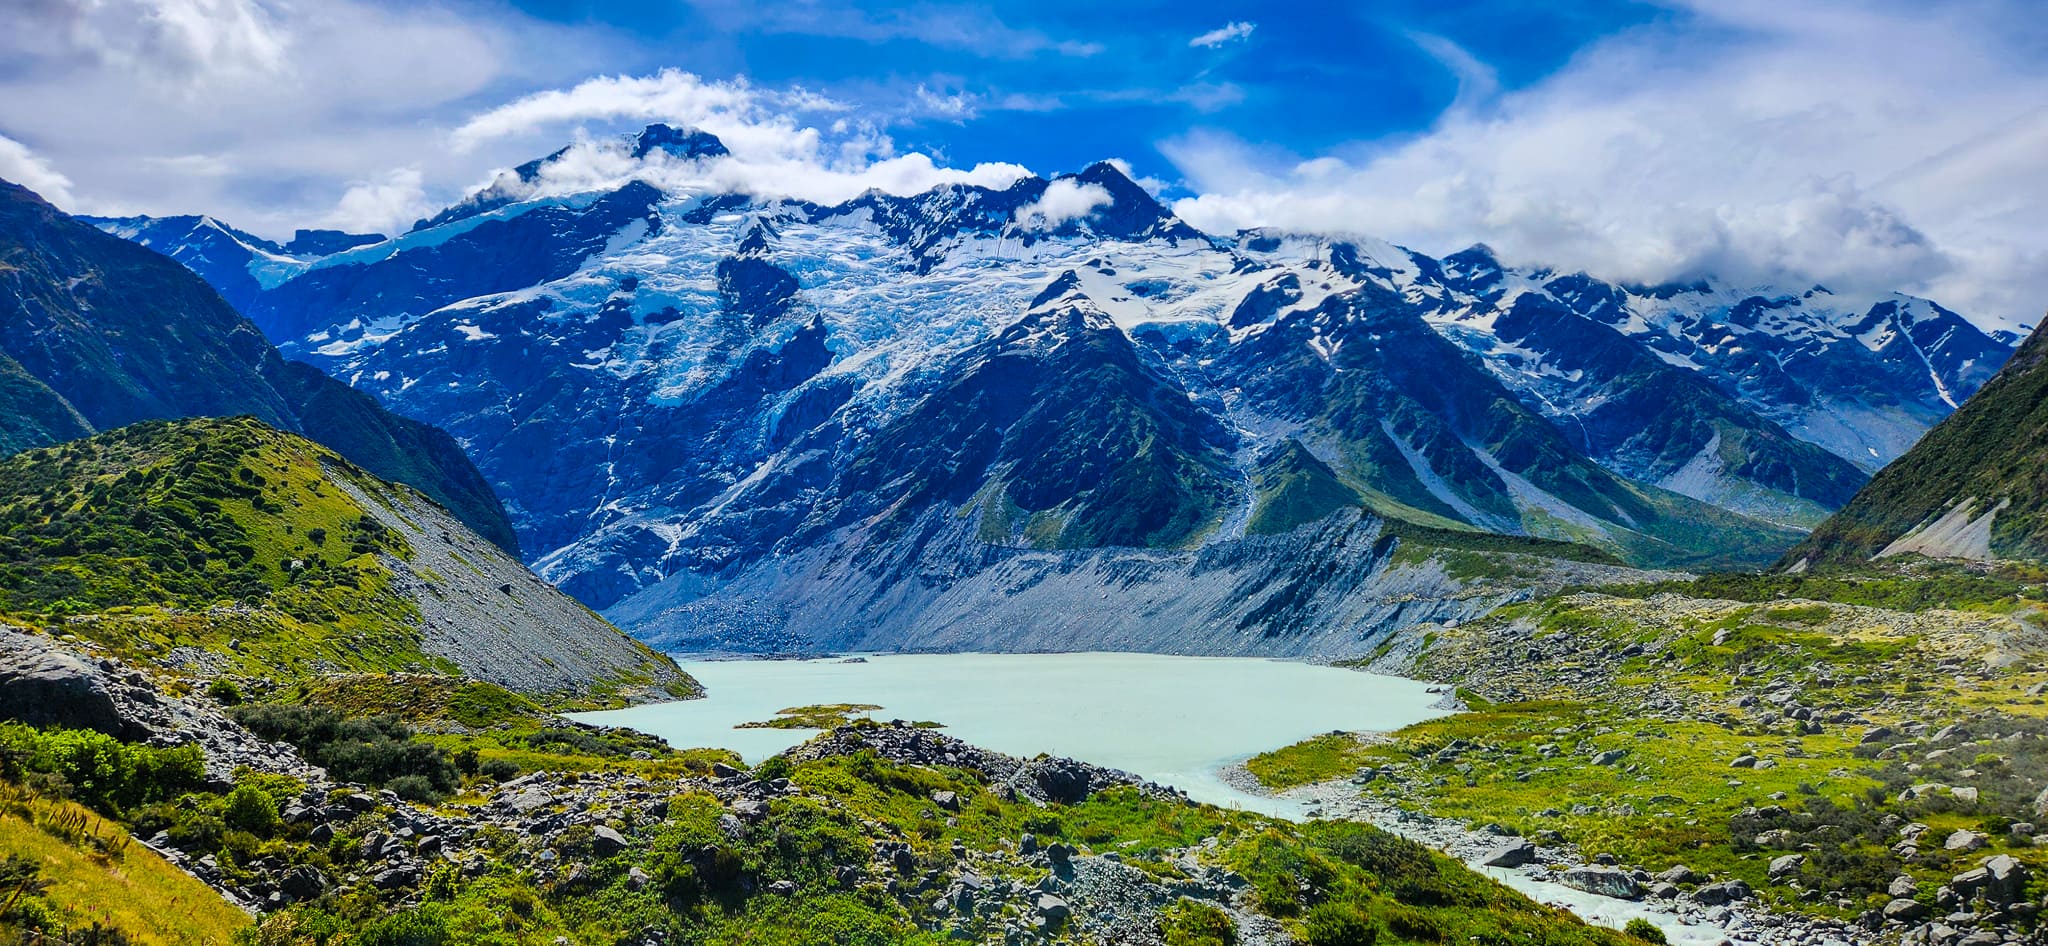
The final stretch climbs gently before descending a short, steeper section that leads you down to the shores of Hooker Lake. Here, you’ll likely see floating icebergs, even in summer — a striking reminder of the power and age of Hooker Glacier, which feeds the lake. And then the highlight: Aoraki/Mount Cook standing majestically across the water. On calm days, its reflection dances across the surface, making this one of the most rewarding and photogenic alpine viewpoints in New Zealand. There’s plenty of room to settle in along the rocky shoreline, or — if you’re feeling a touch more civilised — you can claim the lone picnic table for a more comfortable break!
After soaking in the incredible views at Hooker Lake — and perhaps lingering longer than planned — it’s time to retrace your steps back to the carpark. The return follows the exact same route, giving you another chance to enjoy the valley from a new perspective as the light shifts and the scenery unfolds in reverse. Many walkers find the journey back feels quicker, with the familiar swing bridges, boardwalks, tarns, and vast alpine vistas offering a satisfying sense of completion as you make your way towards the trailhead.
The Hooker Valley Track is one of the South Island’s most memorable and accessible adventures. With sweeping alpine views from the very first steps, captivating geological features, iconic swing bridges and the unforgettable finale at Hooker Lake, this track captures the scale and drama of New Zealand’s highest peaks. Whether you’re road-tripping through the Mackenzie region or staying in Mount Cook Village, this walk deserves a prime spot on your itinerary — it’s as scenic as day hikes come.
Love our itinerary? Excited to embark on the Hooker Valley Track? Book your accommodation via Booking.com below at cheaper prices!
This post may contain affiliate links. This means that, at no additional cost to you, we may earn a small commission if you make a purchase through the links provided. These commissions help support our website and allow us to continue sharing our travel experiences. Thank you for your support.
This itinerary is based on our personal experiences and recommendations. All information is provided for general guidance only and may change due to circumstances beyond our control. Travellers are encouraged to independently verify details and make choices according to their own preferences and safety considerations. We do not accept responsibility for any loss, injury, or inconvenience sustained by anyone using our itineraries.